Intermediate 4-6 hours Worsted yarn

Worked on the glider, counted out loud —

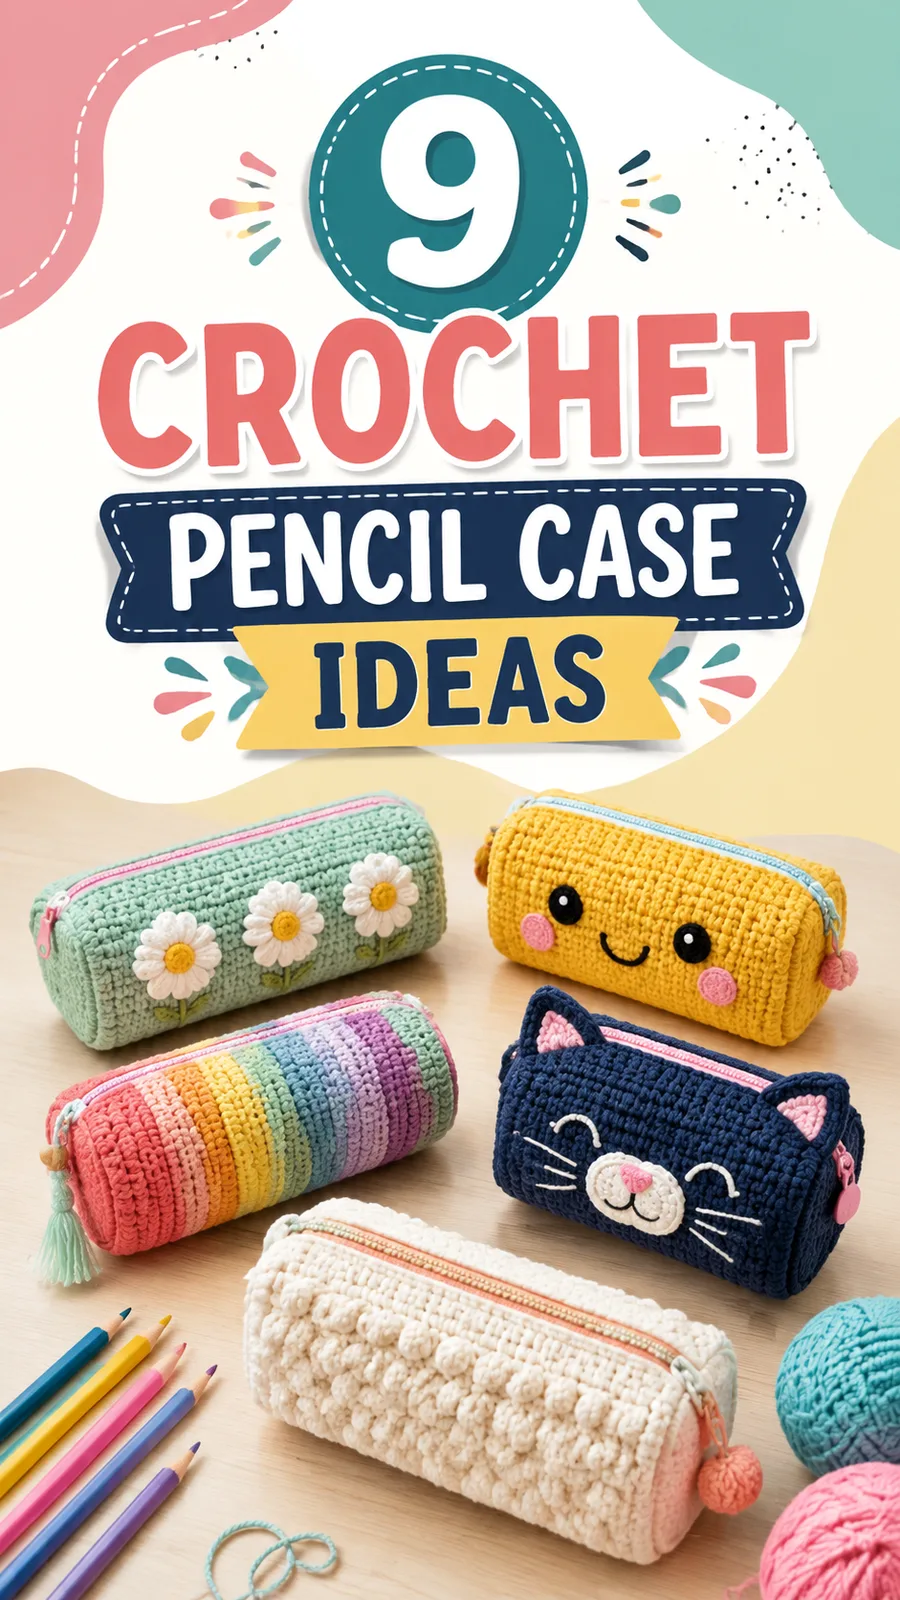
Textured crochet pencil bag with zipper closure

A sturdy panel-built crochet pencil bag for confident beginners, about 4-6 hours over two panels plus zipper.

Jump to the rounds

What this one is

This is the kind of project you pull out when you want something finished by the time your tea goes cold, not something that drags on for weeks. It suits the person who needs a proper home for pens and crochet hooks and the odd stray stitch marker, and who would rather carry something they made than something off a shelf. If you've got cotton in your stash and a free evening, this one's calling your name.

Your hands will spend most of their time in plain single crochet, with a little textured puff stitch dropped in every few rows to keep things interesting. You're building two flat panels from the bottom up, so there's no counting rounds in the round, just steady rows you can set down and pick up again. Finished size runs approximately 8 x 3.5 inches (20 x 9 cm). Expect somewhere in the four to six hour range once you count both panels and the zipper finishing.

Try it another way

There's something quietly satisfying about watching a flat panel grow row by row and knowing exactly how tall it needs to get before you stop. The single crochet base gives you that dense, structured fabric that actually holds a pencil case's shape, while the puff accent stitch breaks up the surface with a little raised bump you can feel under your fingers as much as see. Working two matching panels teaches you to trust your row counts rather than guess, and the payoff comes when you sew the sides and bottom together and the zipper finally closes over something sturdy. It's a small project, but it rewards attention to detail in a way that feels genuinely earned.

The rounds, in full

Written out, round by round

Intermediate4-6 hours4 mmWorsted

Bring to the porch

Everything this one takes, in the order you will reach for it.

  • Medium weight cotton or cotton blend yarn in main color and optional accent colors, approximately 150 yards (137 meters)
  • 4 mm US G-6 crochet hook
  • 7 inch (18 cm) zipper
  • Yarn needle
  • Scissors
  • Stitch markers
  • Sewing needle and matching thread for zipper installation

Main Pattern

Step by step Make 2 panels. Chain 37.

  1. Row 1Sc in second ch from hook and across. Turn. (36 sts)
  2. Row 2Ch 1, sc in each stitch across. Turn. (36 sts)
  3. Row 3Ch 1, sc in first 4 sts, make 1 puff accent stitch, *sc in next 5 sts, puff accent stitch in next stitch* repeat 4 times, sc in last 5 sts. Turn. (36 sts)
  4. Row 4Ch 1, sc in each stitch across. Turn. (36 sts)
  5. Rows 5–32Repeat Rows 2-4 until the panel measures approximately 8 inches (20 cm) tall.Fasten off and weave in ends.

Special Stitch

Textured Puff Accent: Insert hook into indicated stitch, yarn over and pull up a loop, repeat this step two more times in the same stitch until you have several loops on the hook. Yarn over and pull through all loops, then secure with a chain stitch. This creates a raised decorative bump.

Putting it together

Step 1

Place the two panels together with the right sides facing outward.

Step 2

Join yarn at one bottom corner.

Step 3

Single crochet through both layers along the bottom edge.

Step 4

Continue along both side edges using slip stitches or a neat whip stitch seam.

Step 5

Leave the top edge open for zipper installation.

Step 6

For a polished edge, crochet one round of single crochet around the zipper opening before attaching the zipper. This creates a cleaner finish and helps stabilize the top edge.

Step 7

Attach the zipper carefully using matching thread, keeping the fabric evenly spaced.

Step 8

Block the completed pouch lightly by placing it flat and shaping the corners. Allow it to dry completely before adding pencils or supplies.

Marlene's notes

Note 01

The turning chain at the start of each row does not count as a stitch, so keep your eye on the 36-stitch count across every row rather than relying on the chain. Each row begins in the first stitch of the previous row.

Note 02

Work both panels to the same measured height, approximately 8 inches, since even a small mismatch will show once you're sewing the sides together.

Note 03

If you're using an accent color for the puff stitches, carry your main color yarn loosely behind the work so your tension stays even across the row.

Note 04

Gauge: 18 single crochet stitches x 20 rows = 4 inches (10 cm). Finished size is approximately 8 x 3.5 inches (20 x 9 cm). The pouch is made from two identical panels; make both panels before assembling.

Note 05

Check your gauge before beginning the panels. A slightly tighter crochet fabric will create a stronger pencil bag that keeps its shape better over time.

Before you sit down

  • Check that you've got enough medium weight cotton or cotton blend yarn on hand for two full panels, since running short partway through a panel is frustrating to fix.
  • Have your 4 mm hook ready and work up a small swatch in single crochet to confirm your stitch gauge matches 36 stitches across comfortably.
  • Set aside stitch markers to flag the start of each row, which makes it much easier to catch a miscount before it travels up several rows.
  • Read through Row 3 before you begin, since the puff accent placement pattern repeats and it helps to see the spacing in your head first.

How the hours go

First panel (Rows 1-32 plus final row)
about 1.5 to 2 hours because it's mostly plain single crochet with periodic puff stitches to place carefully
Second matching panel
about 1.5 to 2 hours because you're repeating the same row count and need to match the first panel's height
Sewing panels together and installing the zipper
about 1 to 1.5 hours because hand-sewing a straight, even zipper line takes a bit more patience than the stitching itself

Looking after it

  • Hand wash the finished pouch in cool water rather than tossing it in a machine, since cotton and cotton blends can soften with rough handling.
  • Reshape the panels while still damp and let the bag dry completely and empty of supplies before you put it away, with a light blocking session to help it hold its rectangular shape.
FAQs

Asked on the glider

the ones that come up on the glider

Can I use a different hook size than the 4 mm recommended?

You can, but it will change your stitch count and gauge, so your panel won't line up with the 36-stitch pattern as written. If you do size up or down, swatch first and adjust your starting chain to compensate.

Why do my panels come out different heights?

This usually happens when row counts drift because the turning chain gets mistaken for a stitch. Use a stitch marker at the start of each row and recount against the 36-stitch total before moving on.

What does the puff accent stitch actually look like once it's done?

It creates a small raised bump on the surface of the fabric, since you're pulling up several loops in one stitch before closing them together. It reads as a subtle textured dot rather than a bold bobble, which keeps the overall look clean.

Do I need to block the panels before sewing them together?

A light blocking after washing helps restore shape, but you don't need to block before assembly since the single crochet fabric is already quite stable. Just make sure both panels measure the same before you start sewing.

Can I fit this pattern to a different zipper length than 7 inches?

Yes, though you'll want to adjust your panel width to match whatever zipper you're using. The written pattern is sized for a 7 inch zipper, so going longer or shorter means recalculating your starting chain.

Is cotton yarn necessary, or can I substitute something else?

Cotton is recommended here because it resists stretching once the bag is filled with pencils and hooks, which keeps the rectangular shape intact. A different fiber blend might work, but check that it has similar structure before committing to a full panel.