Leaves and Seeds
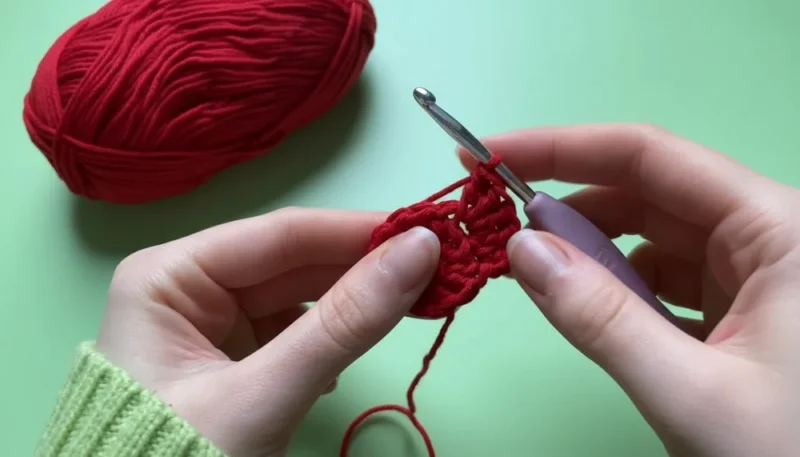
- Round 1Leaves (Green): Attach green yarn to the top of the strawberry. Work only in the front loops (FLO) . Chain 4, slip stitch back down the chain to create small leaf points. Repeat to make 3 or 4 small leaves.White Seeds: Use a tapestry needle and white yarn to embroider small vertical stitches over the red section.
Part 2: The Square (Squaring the Strawberry)
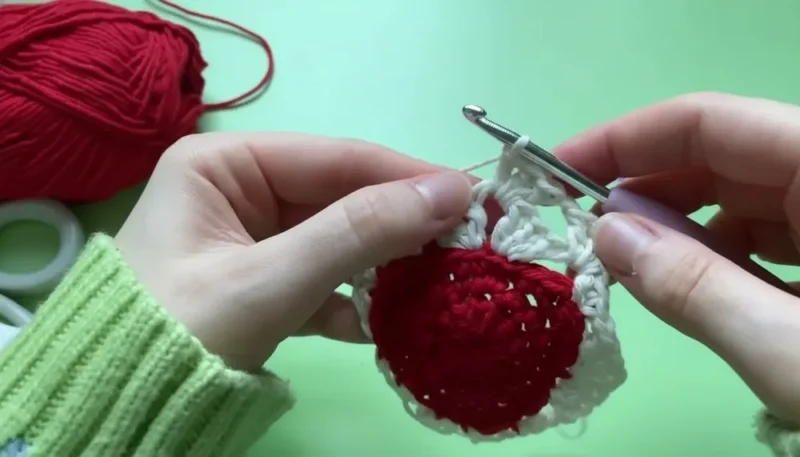
Work with Beige/Cream color.
Round 1: Attach beige yarn to the back loop (BLO) of a stitch on the strawberry. Work this entire round in the back loops only.
- Round 2Corners: (3 tr, ch 2, 3 tr).(3)
- Round 3Sides: Use a combination of tr, hdc, and sc to level out the curves of the strawberry and form a straight square.
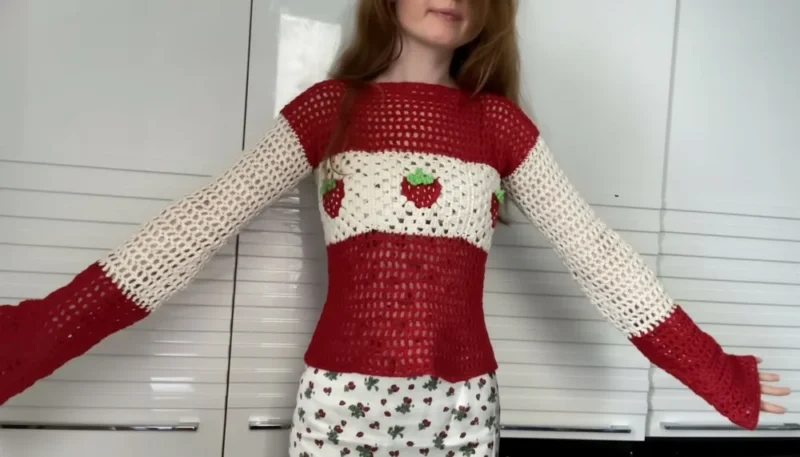
- Round 4Following Rounds Continue in “Granny Square” style: in the ch-1 spaces, work 3 tr . In the corners (ch-2 spaces), work (3 tr, ch 2, 3 tr) .Work until the square reaches the desired size (e.g., 14 cm).Part 3: Joining the Central Panel Place 3 squares in a row, all with leaves pointing in the same direction.Union: Join them with slip stitches, picking up only the inner loops of the stitches (front loop of one, back loop of the other) for an invisible, flat seam.(3)
Part 4: The Body (Front and Back)
Front Extension
Attach beige yarn to the top of the joined squares.
Mesh Stitch: Ch 4 (counts as 1 tr + ch 1). Skip one stitch, work 1 tr in the next.
Repeat: ch 1, skip 1, 1 tr .
Repeat this process on the bottom of the squares. Work until you reach the desired total height (e.g., 14 cm on top and bottom).
Back Panel
Create an initial foundation chain with the same number of stitches as the front (e.g., 103 chains).
Work in mesh stitch (1 tr, ch 1, skip 1) to match the front.
Change colors to match the stripes on the front (Beige and Red/Green according to your design).
Part 5: Sleeves Start with an odd number of chains (sleeve width, e.g., 30 cm).
Work in mesh stitch .
Work the first 20 cm in Red and the remainder in Beige until the total length is reached (e.g., 58 cm).
Fold the sleeve in half and sew the side seam using a tapestry needle.
Part 6: Final Assembly Shoulders: Sew the front to the back at the shoulders (leave about a 22 cm opening for the head).
Sides: Sew the side seams of the body, leaving openings for the armpits.
Sleeves: Fit the sleeves into the side openings, aligning the sleeve seam with the armpit. Sew around the circumference.
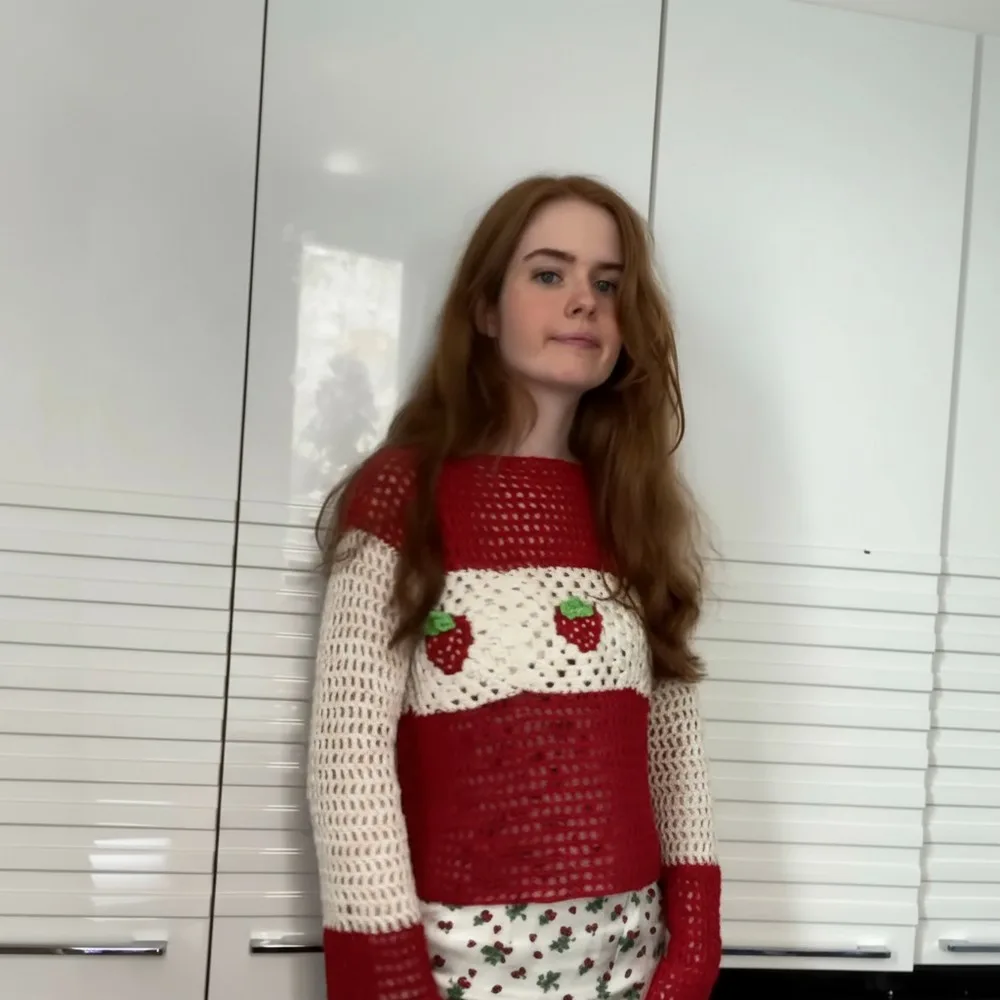
Turn the garment right side out, weave in all ends, and your strawberry top is ready!
Size Tip: For an 85 cm bust, the 3 joined squares should measure about 43–44 cm (half the circumference). If you need a larger size, add more squares or more rounds to each square.