Intermediate 4-6 hours Bulky yarn

Worked on the glider, counted out loud —

Soft plush bunny amigurumi pattern with safety eyes

A soft plush bunny amigurumi suited to confident beginners, with safety eyes and face-shaping - about 4-6 hours start to finish.

Jump to the rounds

What this one is

I made this plush bunny for a quiet evening when your hands want something soft to hold and your mind wants something simple to follow. It is the kind of project you reach for when you want a gift that feels like a hug - a nursery shelf, a baby shower, or a little one who needs a companion built from chenille softness rather than fuss. If you love working with plush yarn and want a project that stays forgiving from the first round to the last, this bunny is for you.

Your hands spend most of the time increasing in spiral rounds, shaping the body's 17 rounds and the head's 13, then stuffing as you go so the fabric stays smooth. Expect somewhere around four to six hours total, split across the arms and legs, the body, and the head with its face-gathering step. None of it is rushed work, but none of it is slow either - just steady, repetitive stitching that adds up fast once you settle into rhythm.

Try it another way

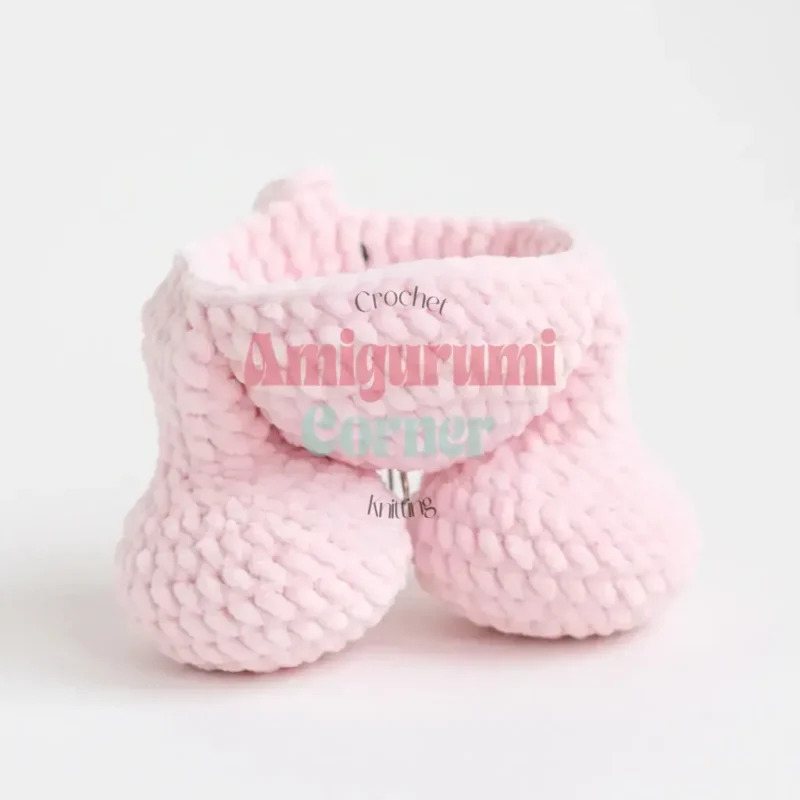
You have real room to play with this bunny once you know the bones of it. Swap the bulky plush for a worsted-weight yarn and you'll end up with a smaller, denser bunny, good for a crowded gift table where every inch counts. The materials list already invites a contrast color on the lower arms and legs, so try a cream or brown for paws against the pink body for a two-tone effect that reads almost painted on. The tail only needs a small amount of white bulky plush, so if you're making several bunnies, keep one skein aside just for tails and work them in batches. Eye placement and color matter too - swap the 16mm safety eyes for a smaller pair if you want a younger-looking face, or embroider them in cotton-blend yarn instead if the bunny is headed for a baby who shouldn't have anything that could pull loose. The nose only takes about 1 to 1.5 yards of microfiber yarn, so experimenting with pink or brown instead of gray costs you almost nothing. If you want a different personality for each bunny, the body's 30-stitch round and the legs' 24-stitch round give you a steady base to add a sweater, a bow, or a tiny patch of contrasting plush without touching the shaping underneath.

What I love about this bunny is how much shaping happens through nothing more than single crochet and increases worked in continuous spiral rounds, no joins interrupting the flow until you reach the head's two flat rows. The arms and legs build fast at just 5 and 10 rounds, so you see a limb finished before you've settled into your seat, while the body's 17 rounds give you room to feel the increase pattern ring itself outward. Then there's the face-gathering step, pulling thread between Rounds 9 and 10 to sculpt real depth around the 16mm safety eyes. That single technique turns a plain round head into something that genuinely looks back at you.
The rounds, in full

Written out, round by round

Intermediate4-6 hours4 mmBulky

Bring to the porch

Everything this one takes, in the order you will reach for it.

  • Plush/chenille yarn, Bulky (5) weight, 100g/120m — main color in pink (2–2.5 skeins, depending on gauge and plush density; the lower portions of the arms and legs can be worked in a contrast color if desired)
  • Plush/chenille yarn, Bulky (5) weight — small amount in white, for the tail
  • Cotton-blend yarn, Sport/DK weight, 50g/160m — small amounts of black and white, for finishing the eyes (under 1 yard needed)
  • Microfiber yarn, Bulky (5) weight, 50g/115m — small amount in gray, for embroidering the nose (about 1–1.5 yards)
  • 100% cotton thread, Fingering weight, 25g/150m — for sewing on the ears and head, and for face-gathering (color to match your main yarn)

Hook

  • US G-6 (4mm) — size down to US D-3/E-4 (3.25–3.5mm) if you tend to crochet loosely
  • A pair of straight or double-pointed knitting needles, to hold the head steady while sewing it on

Tools

  • Safety eyes, 16mm, 1 pair
  • Stuffing / fiberfill
  • Stitch markers
  • Yarn needle / tapestry needle (a metal one is easiest to work with on plush yarn)
  • Scissors

Arms (make 2)

this … Stuff only the lower portion of this piece.

Step by step: Stuff this piece as you go.

Work these loosely — sizing up to a 4.5mm hook can help keep the fabric soft and flexible.

  1. Round 17 sc in MR. (7)
  2. Round 2inc in each st around. (14)
  3. Rounds 3–6sc in each st around. (14) Stuff the bottom of the arm now.Step by step: sc in each st around. (36).Step by step: sc in each st around. (24).
  4. Round 7(1 sc, dec) around. (10)Change to contrast color here if desired.
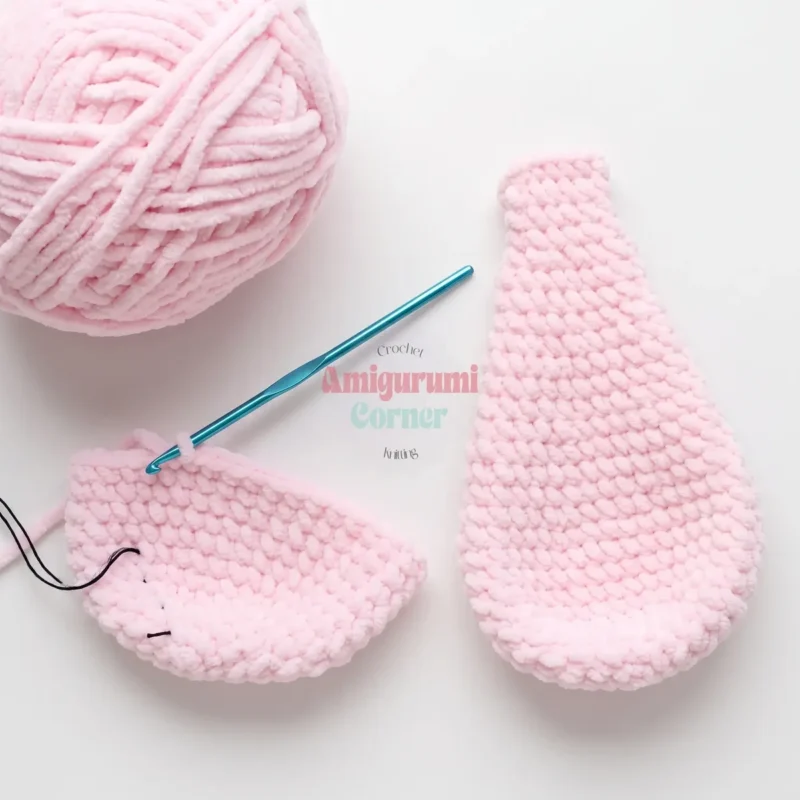
  5. Rounds 8–14sc in each st around. (10)Flatten the opening and close with 5 sc worked through both layers. Weave in the tail to the inside of the piece. Repeat for the second arm.

Legs (make 2)

Stuff only the lower portion of this piece.

  1. Round 16 sc in MR. (6)
  2. Round 2inc in each st around. (12)
  3. Round 3(1 sc, inc) around. (18)
  4. Round 4(2 sc, inc) around. (24)
  5. Round 5(3 sc, inc) around. (30)
  6. Rounds 6–8sc in each st around. (30)Change to contrast color here if desired, after completing Rnd 7.
  7. Round 9(3 sc, dec) around. (24) From this point on, the start of the round marks the back of the leg.
  8. Round 104 sc, dec 8 times, 4 sc. (16)
  9. Round 116 sc, dec twice, 6 sc. (14) Begin stuffing.
  10. Rounds 12–16sc in each st around. (14) Round 16 should end exactly above the last stitch of Round 9 — work an offset stitch here if needed to realign the back-center marker.Step by step: sc in each st around. (24).Flatten the piece and close with 7 sc. Weave in the tail to the inside. The closing seam should run perpendicular to the sole of the foot. Repeat for the second leg.

Body

  1. Round 16 sc in MR. (6)
  2. Round 2inc in each st around. (12)
  3. Round 3(1 sc, inc) around. (18)
  4. Round 4(2 sc, inc) around. (24)
  5. Round 5(3 sc, inc) around. (30)
  6. Round 6(4 sc, inc) around. (36)
  7. Round 7(5 sc, inc) around. (42)
  8. Rounds 8–9sc in each st around. (42)
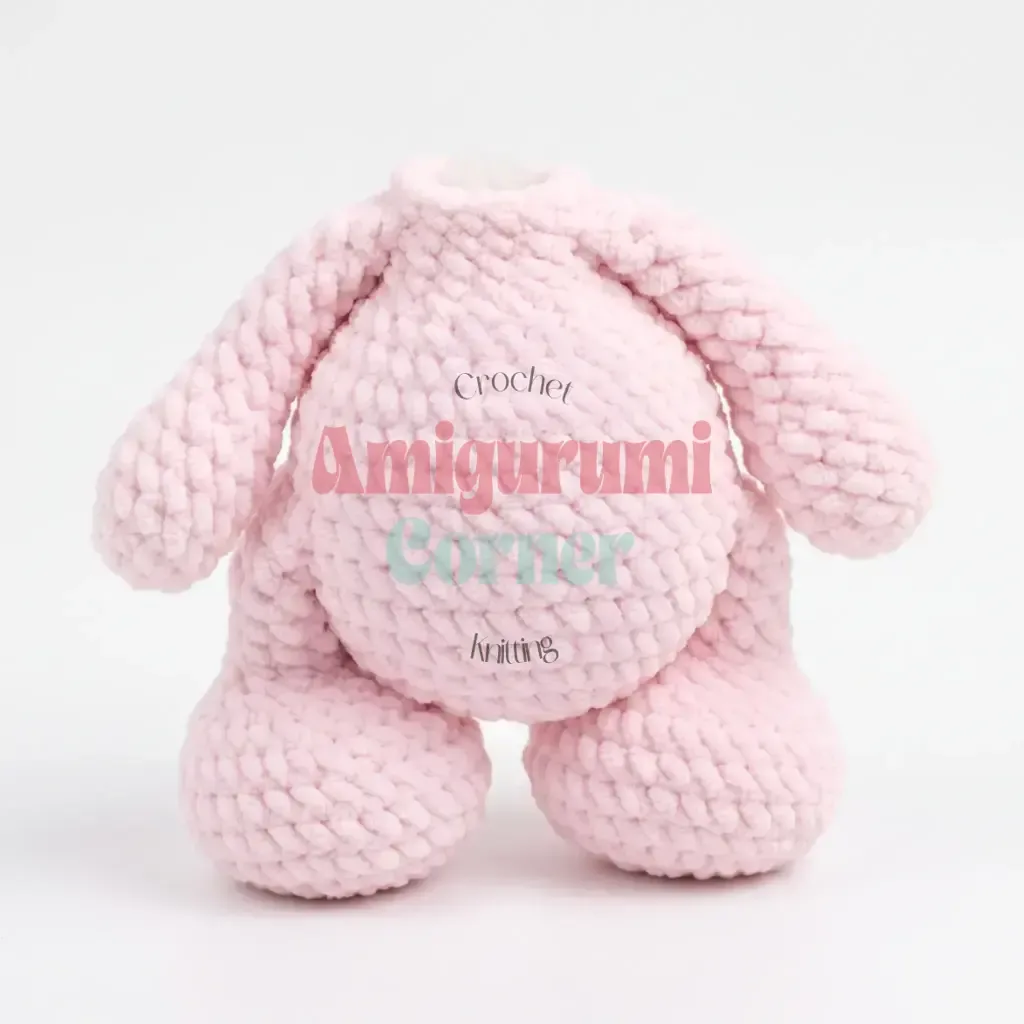
  9. Round 106 sc, sc 8 sts joining across Leg 1, 14 sc, sc 8 sts joining across Leg 2, 6 sc. (42) Attach the legs here, working through 8 stitches on each leg. The round marker sits at center back. Position each leg with its closing seam facing the same direction — this keeps both legs facing forward.
  10. Rounds 11–13sc in each st around. (42) Work an offset stitch as needed so the round begins exactly at center back.
  11. Round 14dec twice, 34 sc, dec twice. (38) Begin stuffing the body; continue stuffing as you go.
  12. Round 15dec, 3 sc, dec, (4 sc, dec) twice, dec, 3 sc, dec, (4 sc, dec) twice. (30)
  13. Round 16(3 sc, dec) around. (24)
  14. Round 17(2 sc, dec) around. (18)
  15. Rounds 18–19sc in each st around. (18) Realign the round marker with an offset stitch so the round begins again at center back before attaching the arms. Leave 4 sc in front between the arms and 2 sc at back.Step by step: sc in each st around. (12).Repeat for the second ear. Flatten each ear and close with 6 sc worked through both layers; weave in the tail, or leave a tail for sewing the ear on later. For extra-soft, floppy ears, gently stretch each piece by hand after finishing — this loosens the plush fabric and gives the ears a relaxed, natural droop.

Join with a sl st, cut the yarn, and weave the tail to the inside by pulling it under the last stitch. If you’d rather sew the tail on with the working yarn instead of a separate length, leave a long tail here.

  1. Round 201 sc, sc 6 sts joining across Arm 1, 4 sc, sc 6 sts joining across Arm 2, 1 sc. (18)
  2. Round 21sc in each st around. (18)Finish with a sl st, cut the yarn, and weave the tail to the inside of the body, pulling it under the last stitch. Finish stuffing the body completely.

Head

  1. Round 15 sc starting in the 2nd ch from hook, 3 sc in the last ch. Turn. 4 sc, inc. (14)
  2. Round 2inc, 4 sc, inc 3 times, 4 sc, inc twice. (20)
  3. Rounds 3–4sc in each st around. (20)
  4. Round 5inc worked in hdc 9 times, 11 sc. (29) Work an offset stitch here as needed so the round begins along the side of the muzzle.
  5. Round 6(1 hdc, inc worked in hdc) 8 times, 13 sc. (37)
  6. Round 7(3 sc, inc) 5 times, 17 sc. (42) Insert the safety eyes now, into Round 5: place the first eye between the 2nd and 3rd hdc-increases, and the second eye between the 7th and 8th hdc-increases.
  7. Rounds 8–14sc in each st around. (42)
  8. Round 15(5 sc, dec) around. (36)
  9. Round 16(4 sc, dec) around. (30)
  10. Round 17(3 sc, dec) around. (24) Begin stuffing the head; continue stuffing as you go.
  11. Round 18(2 sc, dec) around. (18)
  12. Round 19(1 sc, dec) around. (12)
  13. Round 20dec 6 times. (6)

Cinch the opening closed and weave the tail to the inside of the head.

Putting it together

Step 1

Shape the face. Thread your Fingering-weight cotton thread onto a needle. Insert it from the bottom of the head, between Rounds 9 and 10, and bring it out next to one eye on the outer edge. Re-insert on the inner edge of that same eye, and bring it out again between Rounds 9 and 10, one stitch toward center. Insert again, one stitch further. Bring the needle out next to the second eye on its inner edge, insert on the outer edge, and bring it out between Rounds 9 and 10, one stitch past your last exit point. Pull the thread until the eyes sit at your desired depth, tie off, and weave the tail inside the head.

Step 2

Finish the eye rims. Using your white cotton thread, work a small line along the lower rim of each eye; switch to black thread for the upper rim.

Step 3

Sew on the head. Attach the head to the body using Round 8 on the front of the head and Round 13 on the back, sewing all the way around with a whipstitch. Hold the head steady with a pair of straight or double-pointed knitting needles as you work, so it stays centered and level. Stuff the neck area as you go.

Step 4

Sew on the tail. Pin the tail in place with plastic-head pins. Sew the lower edge between Rounds 8–9 of the body, and the upper edge between Rounds 12–13, stitching all the way around. Leave roughly 4 stitches of clearance between each leg and the tail.

Step 5

Embroider the nose. Using your gray microfiber yarn, stitch a small triangle: the bottom point centered on Head Row 1, and five top points spread between Head Rounds 2–3.

Step 6

Sew on the ears. Pin each ear in place, leaving 4 rows of clearance between the eye and the base of the ear. Attach each ear across Rounds 10–14 of the head, spacing them about 7–8 stitches apart at the top.

Step 7

Weave in all remaining ends and give your bunny a final check for any loose stitches or gaps before setting it on the shelf.

Marlene's notes

Note 01

The pattern calls for a US G-6 (4mm) hook, but size down to a D-3/E-4 (3.25-3.5mm) if your stitches tend to run loose on plush yarn.

Note 02

Because the legs, body, and head are worked in continuous spiral rounds, a stitch marker at the start of each round saves you from losing your place partway through the body's 17 rounds.

Note 03

Stuff the arms and legs only in their lower portion as you go, and consider working that lower portion in a contrast color if you want visual definition between paw and limb.

Porch photos

Before you sit down

  • Count out your yarn before casting on: 2-2.5 skeins of pink bulky plush for the main pieces, a small amount of white bulky plush for the tail, cotton-blend sport/DK in black and white for the eyes, microfiber bulky yarn in gray for the nose, and fingering-weight cotton thread for sewing and face-gathering.
  • Set out your stitch markers now - you'll want one marking the start of every round once you move into continuous spiral work on the legs, body, and head.
  • Crochet a small test round first to check your tension; the fabric should stay tight enough that stuffing never peeks through, even on plush yarn.
  • Read through the Head section before you start it, since it opens with two flat rows before joining into rounds, and the face-gathering step references Rounds 9 and 10 specifically.

How the hours go

Arms and legs (make 2 each)
about 45 minutes to an hour, because the arms are just 5 rounds and the legs 10, so the shaping moves quickly even across four pieces.
Body
about 1.5 hours, because 17 rounds of steady increasing is the longest continuous stretch of the whole project.
Head and face finishing
about 1.5 to 2 hours, because 13 rounds plus the face-gathering thread work between Rounds 9 and 10 asks for a slower, careful hand.

Looking after it

  • Hand wash this bunny in cool water with a gentle detergent, since the plush/chenille yarn and cotton-blend accents hold up better without a washing machine's agitation; press out water in a towel rather than wringing.
  • Lay it flat to air dry away from direct heat, then fluff the plush pile with your fingers once dry and reshape the ears and limbs by hand before setting it on a shelf out of direct sunlight.
FAQs

Asked on the glider

the ones that come up on the glider

What hook size does this bunny actually need?

The pattern calls for a US G-6 (4mm) hook. If you tend to crochet loosely and your stitches gap, size down to a D-3/E-4 (3.25-3.5mm) instead.

How much yarn should I buy before starting?

Plan on 2 to 2.5 skeins of bulky plush yarn in your main color, plus small amounts of white bulky plush for the tail, cotton-blend sport/DK for the eyes, and microfiber bulky yarn for the nose. The fingering-weight cotton thread for sewing and face-gathering only needs a small amount too.

Why does the face-gathering happen between Rounds 9 and 10?

That's where the head has the right curve to pull the fabric in around the safety eyes and create real dimension in the face. Gathering there, rather than higher or lower on the head, is what gives the bunny its expression.

Do I need to join rounds as I go?

No, the arms, legs, body, and most of the head are worked in continuous spiral rounds without joining or chaining between rounds. The head starts differently, with two flat rows before it joins into rounds.

How do I keep from losing count on the longer pieces?

Use a stitch marker to flag the first stitch of every round, especially once you reach the body's 17 rounds or the head's 13. Moving the marker up each round takes a few seconds and saves you from recounting later.