Intermediate 4-6 hours Worsted yarn

Worked on the glider, counted out loud —

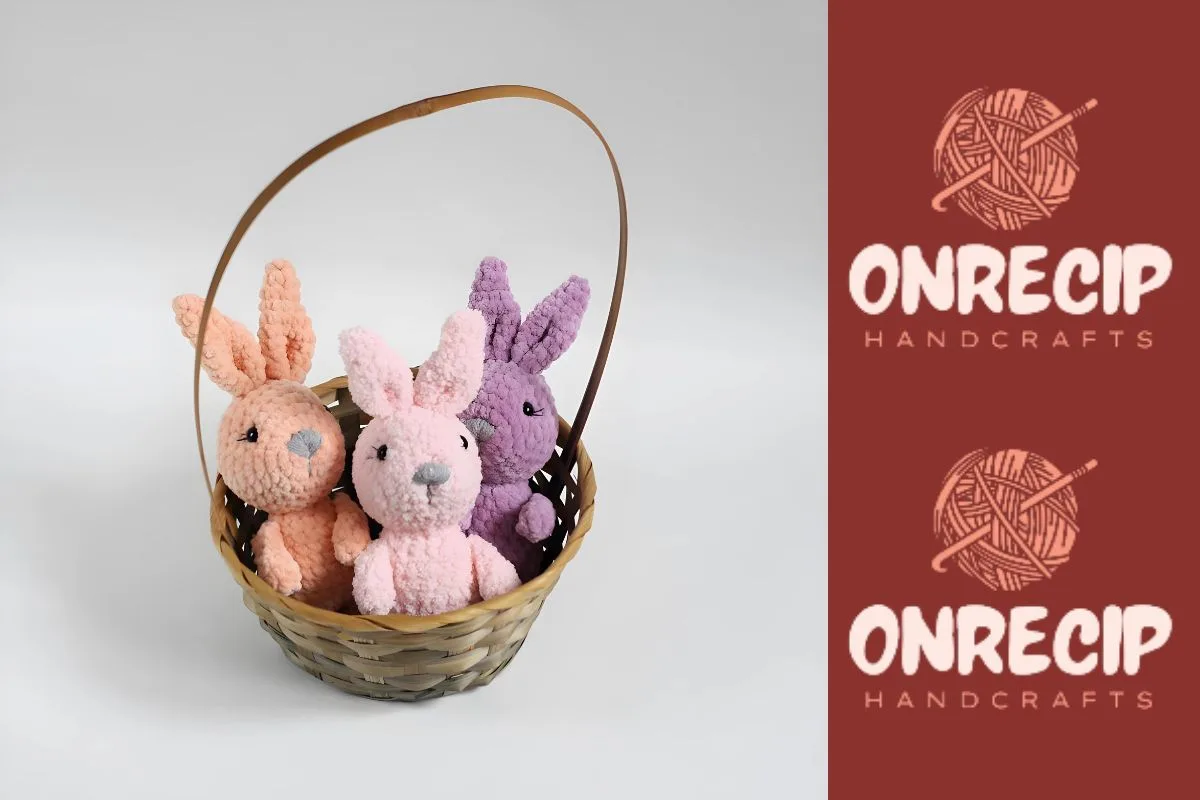
Soft plush amigurumi bunny with joined legs

A plush-yarn amigurumi bunny for confident beginners; joined legs and folded ears, about 4-6 hours start to finish.

Jump to the rounds

What this one is

You make this one for the shelf by the window, the spot where a soft thing gets picked up and squeezed more often than you'd guess. It suits a crocheter who's made a round or two of amigurumi before and wants the next small challenge: two separate legs that come together into one body. It also suits anyone making a gift for a child who likes their stuffed animals a little velvety under the hand.

Your hands spend most of this project building up from tiny starting rounds, shaping two legs on their own hooks before carrying them into the body as one continuous piece. The ears get worked flat-ish and folded, then sewn shut at the top. Between the body, head, ears, and the finishing work of eyes and embroidery, plan for an evening plus a bit more at the table.

Try it another way

The satisfying part of this bunny is the leg join: you crochet R 3-5 on each leg separately, fasten off one, and carry the yarn on the other through a 2-chain bridge so the two become a single 22-stitch body round without a seam down the middle. The ears ask for a different kind of patience, worked straight for four rounds, then folded flat and sewn closed by hand rather than crocheted shut. Add the eye buttons sunk into the plush yarn, a nose embroidered in a contrasting Jeans-weight thread, and floss eyelashes stitched on at the very end, and you get a face that looks hand-finished rather than assembly-line, which is really the whole point of making one of these yourself.

The rounds, in full

Written out, round by round

Intermediate4-6 hours5.0 mmWorsted

Bring to the porch

Everything this one takes, in the order you will reach for it.

Yarn

  • Himalayas Dolphin Baby or YarArt Dolce, Alize Softy Plus

Hook size

  • 4.0-5.0 mm
  • YarnArt Jeans yarn for embroidering nose
  • Black embroidery floss for eyelashes
  • Thin thread in the tone of yarn for sewing

Tools

  • 10 mm eye buttons
  • Sewing needle and scissors
  • Fiberfill

R 5

  1. Round 1(1 sc, inc)x3, 1 sc (10)

R 2

  1. Rounds 3–59 sc (3 rows) F.o. Don’t cut the yarn when you will finish the second leg! From second leg: 2 ch, join with the first leg.Continue crocheting the body in the round:
  2. Round 69 sc on the first leg, 2 sc in 2 ch, 9 sc on the second leg, 2 sc in 2 ch (opposite side) (22)

R 6

  1. Rounds 7–1012 sc (4 rows) Fold top of ears flat and sew both sides together. F.o. Embroider nose and sew on eye buttons.

Designed and photos by @anna_tee_toys

R 1

2 ch, 6 sc on the 2nd ch (6)

R 9

10 sc, 4 sc cluster st in next st, 11 sc

R 11

4 sc, dec, 10 sc, dec, 4 sc (20)

R 13

4 sc, dec, 8 sc, dec, 4 sc (18)

R 16

F.o. and leave a long tail for sewing.

R 1

2 ch, 6 sc on the 2nd ch (6)

R 13

F.o.

R 1

2 ch, 4 sc on the 2nd ch (4)

R 7

F.o.

R 1

2 ch, 3 sc on the 2nd ch (3)

R 3

1 sc, inc, 1 sc, inc, 1 sc (7)

Marlene's notes

Note 01

Use a hook somewhere in the 4.0-5.0 mm range and go down a size from what the yarn label suggests if your stitches look loose, since a tight fabric keeps stuffing from peeking through on a plush yarn.

Note 02

Mark your round starts rather than relying on counting back, especially through the leg rounds and the R 6 join where stitch counts shift from 9 to 22 in one round.

Note 03

Stuff the legs and body firmly before closing them up, since plush yarn has more give than cotton and will look under-filled if you're conservative with the fiberfill.

Before you sit down

  • Check that you have enough plush yarn in your main color to cover body, head, and both legs before you start the first leg, since running short mid-piece is hard to match.
  • Have a stitch marker or scrap of contrasting yarn ready to mark the start of each round, since the rounds on this bunny aren't joined with a slip stitch.
  • Read through the leg-joining instruction before you crochet the first leg, so you know to fasten off one leg but leave the yarn on the second ready to bridge with a 2-chain.
  • Set your eye buttons and embroidery floss out next to your hook, since the 10 mm eyes and the eyelash stitching are easiest to plan for before the head is stuffed firm.

How the hours go

Legs and body join (through R 6)
about 1.5 hours because you're working two separate legs through R 3-5 and then carrying the join into a 22-stitch round
Head shaping and increases (through R 5 and beyond)
about 1.5 hours because the early increase rounds like (1 sc, inc)x3, 1 sc need steady counting to keep the shape round
Ears, finishing and face (R 7-10 plus embroidery)
about 1.5-2 hours because folding and sewing the ears flat, setting eye buttons, and embroidering the nose and eyelashes are all hand-finishing steps done one at a time

Looking after it

  • Hand wash the finished bunny in cool water with a gentle soap, since plush yarns like these hold their nap and softness better without a washing machine's agitation.
  • Reshape the ears and body by hand while damp and let the bunny air dry flat, away from direct heat, so the plush fiber doesn't flatten or felt.
FAQs

Asked on the glider

the ones that come up on the glider

Can I use a different plush yarn than the ones listed?

Yes, any velvet or plush worsted-weight yarn should work as a substitute for Himalayas Dolphin Baby, YarArt Dolce, or Alize Softy Plus. Just crochet a small swatch first to check your gauge still gives a tight enough fabric to hold the fiberfill in.

Why does the body round suddenly jump to 22 stitches?

That's the point where both legs come together. Each leg finishes at 9 sc, and the 2-chain bridge on either side adds the remaining stitches, bringing the combined round to 22.

Do I need to join each round with a slip stitch?

No, the rounds here are worked continuously without a join, which is why a stitch marker at the start of each round matters. Without one it's easy to lose track of where a round begins.

What size hook should I use with eye buttons that are 10 mm?

Stay within the 4.0-5.0 mm range given in the materials; the eye button size doesn't change the hook choice. Pick the end of that range that gives you a snug fabric so the fiberfill doesn't show through.

How do I attach the ears after R 7-10?

Fold the top of each ear flat so the two sides meet, then sew them together by hand before attaching the ears to the head. This is a hand-finishing step, not a crocheted closure.

What's the embroidery floss for versus the Jeans yarn?

The black embroidery floss is for stitching the eyelashes, while the YarnArt Jeans yarn is for embroidering the nose. They're worked separately, usually after the eye buttons are sewn on.