Intermediate 4-6 hours DK yarn

Worked on the glider, counted out loud —

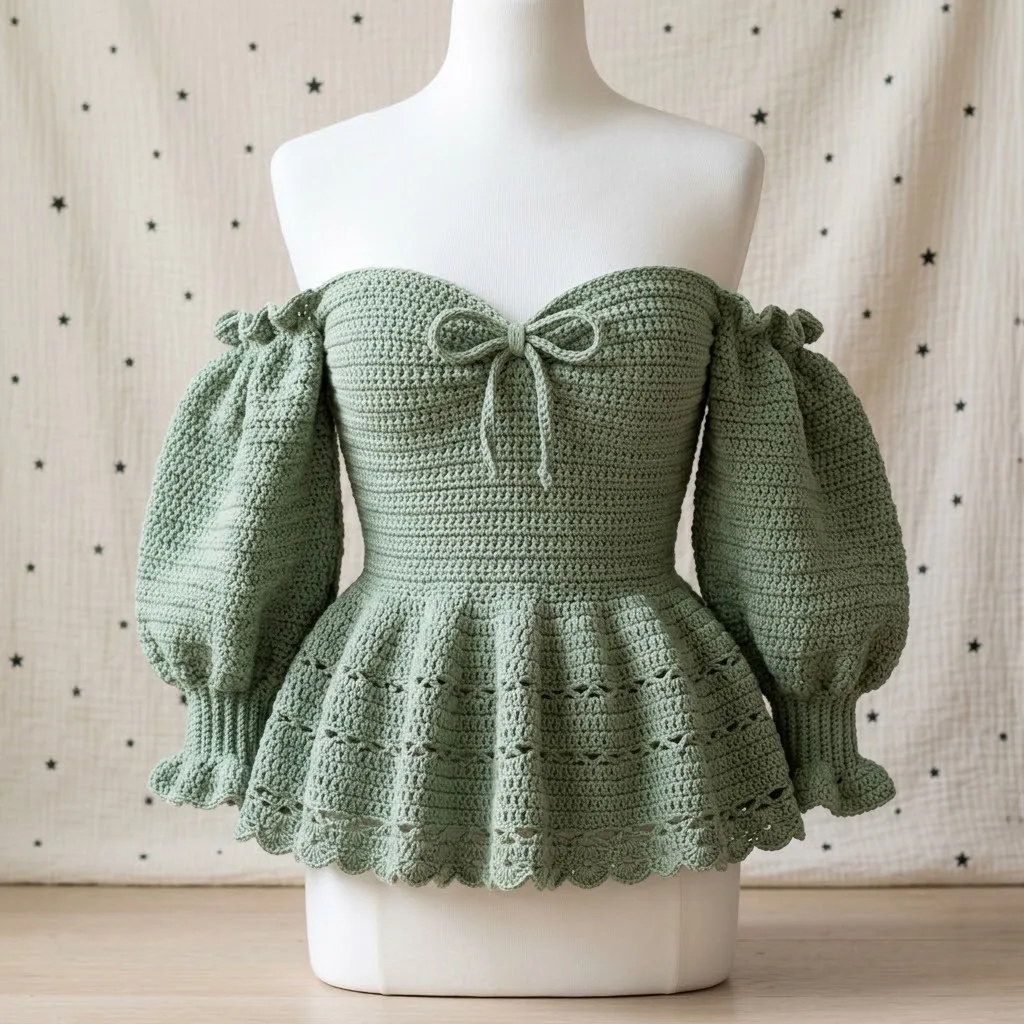
Sage Green Peplum Crochet Top With Sweetheart Shaping

A fitted sweetheart top with flared peplum, best for confident intermediates with a free weekend or two.

Jump to the rounds

What this one is

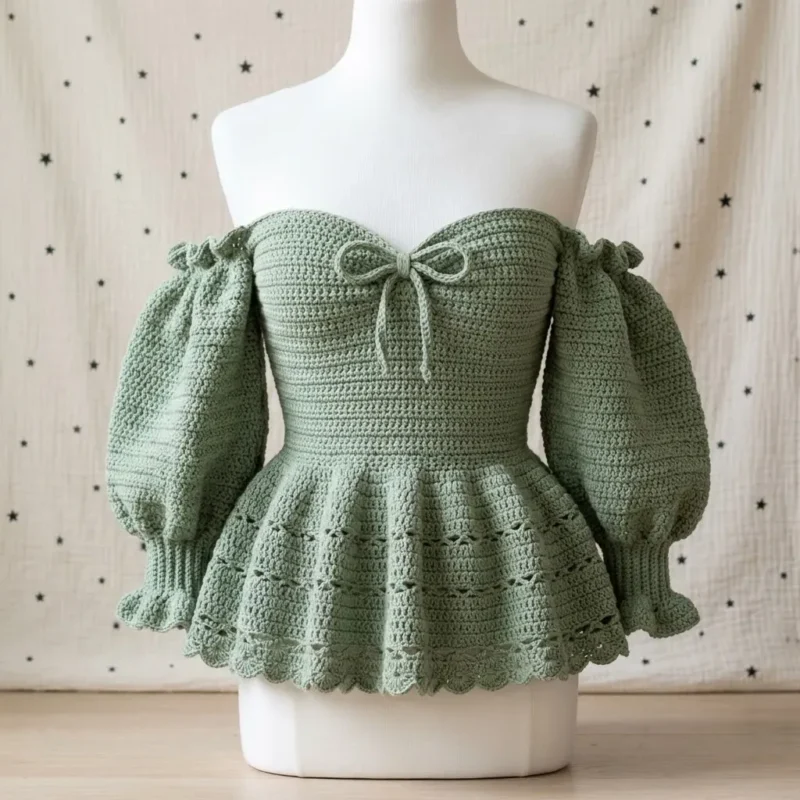
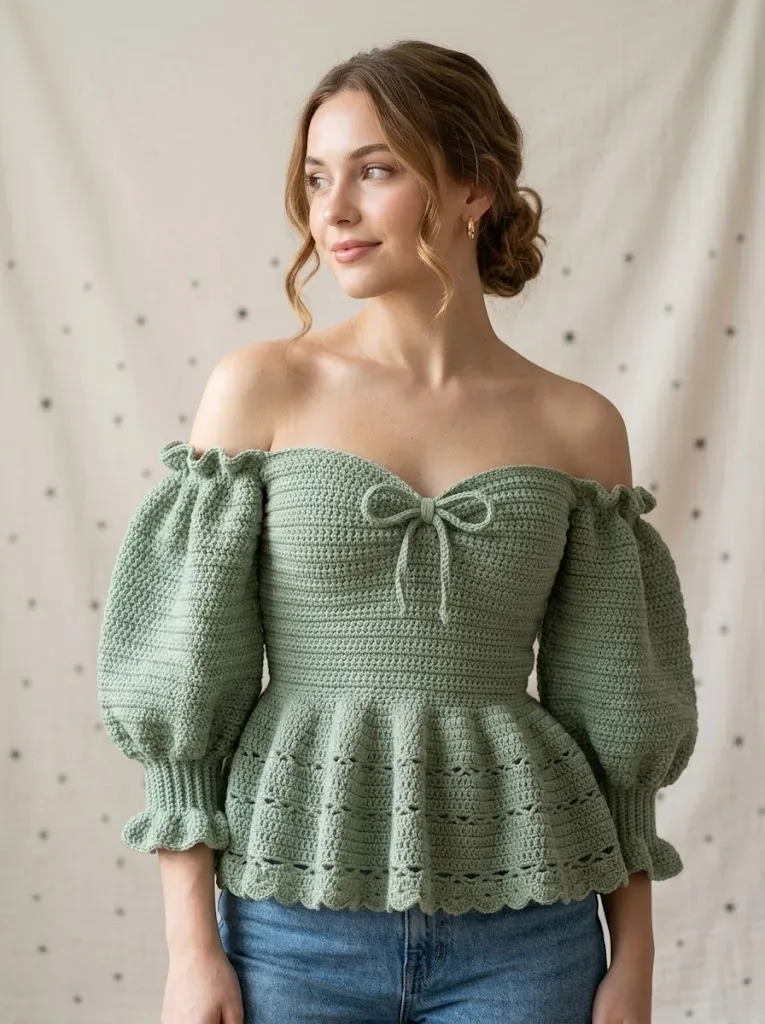
This is the top you reach for when you want to look like you tried without anyone knowing how much math went into it. The sweetheart dip at the bodice and the flare of the peplum give it a soft, romantic shape that works over jeans or a skirt. It suits someone who already trusts their hook a little, since the shaping asks for attention rather than autopilot.

Your hands spend most of their time in back loops only, building rows that decrease steadily until the bust cups and center dip take form. Between the fitted bodice, the two cups worked separately, and the looser peplum, you are looking at a project that spreads comfortably across a few sittings rather than one long stretch.
The rounds, in full

Written out, round by round

Intermediate4-6 hours4.0 mmDK

Bring to the porch

Everything this one takes, in the order you will reach for it.

Yarn

  • Approximately 800 to 900 yards of DK weight yarn (light worsted, category 3)
  • Sample shown uses a soft cotton blend in sage green
  • Look for yarn with good stitch definition and slight drape

Hook

  • 4.0mm (G/6) crochet hook for bodice and sleeves
  • 4.5mm (7) crochet hook for peplum (optional, for looser drape)

Notions

  • Yarn needle for weaving ends and seaming
  • Stitch markers (at least 8)
  • Measuring tape
  • Scissors
  • Gauge
  • 18 stitches and 20 rows = 4 inches in single crochet using 4.0mm hook

Foundation

Ch 73.

  1. Round 1Sc in 2nd ch from hook and in each ch across, turn. (72 sc)
  2. Round 2through 4: Ch 1, sc in BLO of each st across, turn. (72 sc)
  3. Round 5Decrease row Ch 1, sc2tog in BLO, sc in BLO of each st to last 2 sts, sc2tog in BLO, turn. (70 sc)
  4. Round 6through 8: Ch 1, sc in BLO of each st across, turn. (70 sc)
  5. Round 9Repeat Row 5. (68 sc) Continue in this manner, working 3 plain rows followed by 1 decrease row, until you have 56 stitches remaining. This creates the natural waist shaping.

Upper bodice shaping

  1. Round 1Ch 1, sc in BLO of first 26 sts, sc2tog, sc2tog, sc in BLO of remaining 26 sts, turn. (54 sc)
  2. Round 2through 4: Work even. (54 sc) Continue decreasing 2 stitches at center every 4th row until you have 46 stitches. This creates the sweetheart dip.

Right cup

Working on first 23 stitches only.

  1. Round 1Ch 1, sc in BLO of first 23 sts, turn, leave remaining sts unworked.
  2. Round 2Ch 1, sc2tog, sc in BLO to end, turn. (22 sc)
  3. Round 3Ch 1, sc in BLO to last 2 sts, sc2tog, turn. (21 sc) Continue decreasing at each edge every other row until 12 stitches remain. Work 2 rows even. Fasten off.

Foundation

  1. Round 1Ch 1, sc in each ch around, sl st to join. (60 sc)
  2. Round 2through 6: Ch 1, sc in each st around, sl st to join. (60 sc)
  3. Round 7Increase round Ch 1, *sc in next 9 sts, 2 sc in next st*, repeat from * around, sl st to join. (66 sc)
  4. Round 8through 14: Work even. (66 sc)
  5. Round 15Increase 6 stitches evenly spaced. (72 sc) Continue increasing 6 stitches every 7th round until you have 90 stitches. This creates the billowing effect.Rounds 35 through 45: Work even on 90 stitches for the fullest part of the sleeve.
  6. Round 46Decrease round *Sc in next 8 sts, sc2tog*, repeat around. (81 sc)
  7. Round 47*Sc in next 7 sts, sc2tog*, repeat around. (72 sc) Continue decreasing every round until you have 36 stitches remaining. This creates the gathered wrist.

Hook

4.0mm (G/6) crochet hook for bodice and sleeves 4.5mm (7) crochet hook for peplum (optional, for looser drape)

Notions

Yarn needle for weaving ends and seaming Stitch markers (at least 8)

Measuring tape Scissors

Waist section

Work 6 rows even in sc BLO without decreasing. (56 sc)

Bust cup shaping

Divide for left and right cups.

Left cup

Join yarn to opposite side and work to mirror right cup.

Cuff

Work 8 rounds even in sc.

Ruffle edging

Ch 3, dc in same st, 2 dc in each st around, sl st to join. Work one more round of 2 dc in each stitch for fuller ruffle. Fasten off.

Marlene's notes

Note 01

Keep every stitch worked in the back loop only through the foundation and bodice rows, since that loop choice is what gives the fabric its ribbed texture and its stretch across the bust.

Note 02

Mark the center point before you start the upper bodice shaping decreases, since the two sc2tog decreases there need to land symmetrically to keep the sweetheart dip even.

Porch photos

Before you sit down

  • Confirm you have 800 to 900 yards of your DK weight cotton blend on hand before you chain the foundation, since running short mid-cup is frustrating.
  • Swatch in single crochet with the 4.0mm hook and check it against 18 stitches and 20 rows over 4 inches before committing to the full 72-stitch foundation.
  • Set aside at least 8 stitch markers so you can mark the center point before the upper bodice shaping and the split between the right and left cups.
  • Read through the upper bodice shaping and cup instructions once before you start decreasing, so the sweetheart dip and cup split make sense as you work them.

How the hours go

Foundation and waist section
about 1 to 1.5 hours because the foundation runs 5 rounds over 72 stitches before the decrease pattern even begins
Upper bodice shaping and cups
about 2 hours because the sweetheart dip and the separate right and left cups both need careful, symmetrical decreasing
Peplum and edging
about 1 to 1.5 hours because the hook change to 4.5mm and the ruffle edging go faster once the fitted shaping is behind you

Looking after it

  • Hand wash the finished top in cool water with a mild detergent, since the cotton blend holds its shape best without the agitation of a machine cycle.
  • Lay it flat on a towel to dry and ease the peplum back into its curve while damp, then store it folded rather than hung so the shoulder area does not stretch out of shape.
FAQs

Asked on the glider

the ones that come up on the glider

Can I use a different fiber than the cotton blend?

Yes, any DK weight yarn with good stitch definition and a bit of drape will work, since those two qualities are what let the back-loop texture and the sweetheart shaping show clearly. Just swatch first to make sure you still hit 18 stitches and 20 rows over 4 inches with your 4.0mm hook.

Do I need the 4.5mm hook, or can I use just one hook throughout?

The 4.5mm is listed as optional and only affects the peplum, giving it a looser drape. If you would rather keep the whole top at one consistent gauge, use the 4.0mm hook for the peplum as well.

How do I keep the sweetheart dip symmetrical?

Mark the exact center point of your row before you begin the upper bodice shaping, since both sc2tog decreases happen right at that center marker. Working slowly through those first few decrease rows and checking your marker each time keeps the dip even on both sides.

What is the difference between the right cup and left cup sections?

They are worked as separate pieces on their own stitch groups, each decreasing at the outer edge every other row until 12 stitches remain, so the two cups mirror each other. Working them one at a time on isolated stitches, leaving the rest unworked, is what shapes the bust area.

How many stitch markers do I actually need?

least 8, which gives you enough to mark the center dip point, the split between the cups, and a few reference spots along the foundation rows as you decrease. Extra markers make it much easier to spot-check your stitch counts without recounting the whole row.

Is this a good project for a first garment?

It is better suited to someone who has already worked shaped pieces before, since the combination of back-loop-only stitching, symmetrical bodice decreases, and two separately shaped cups asks for some confidence with counting and reading rows ahead. If you are newer to garment shaping, a practice swatch with a few decrease rows before you start is worth the extra time.