Intermediate 4-6 hours Worsted yarn

Worked on the glider, counted out loud —

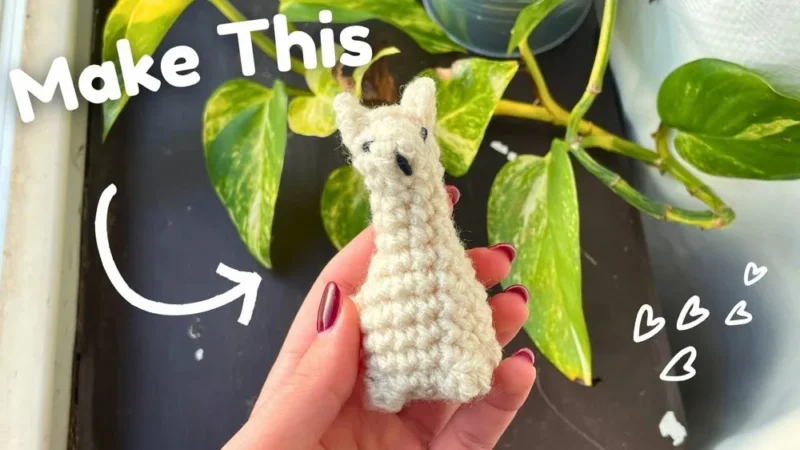
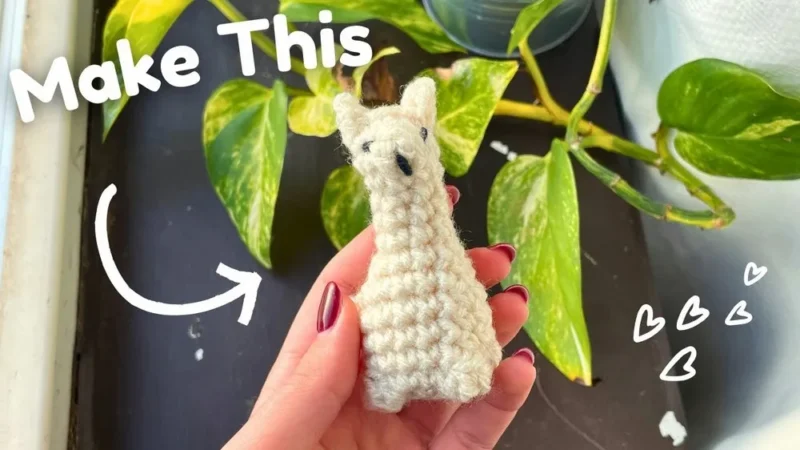
No-sew crochet alpaca amigurumi with bobble-stitch legs

A one-piece crochet alpaca for confident beginners, worked top to bottom in about 4-6 hours.

Jump to the rounds

What this one is

This one's for a quiet stretch of evening when your hands want something small and forgiving to do. It's built for anyone who likes the idea of a stuffed animal but doesn't love the sewing-up part at the end, because this alpaca grows as one continuous piece from a single magic ring. Give it to someone who wants a keychain companion, a desk friend, or just proof that a ball of yarn can turn into a face and four legs in an afternoon.

Your hands stay busy with single crochet, increases, and decreases the whole way through, with one round where bobble stitches pop out to form the legs right in the middle of the work. You'll shape the neck by tapering stitches, stuff as you go, then widen back out for the head. Plan on a focused sitting or two — this isn't a project you rush through, but it isn't a marathon either.

Try it another way

There's something genuinely clever about a toy that never asks you to pick up a needle and thread separate limbs onto a body. The whole alpaca — body, neck, head, and all four legs — comes from one continuous spiral, so the satisfaction is in watching a flat ring of six stitches become a recognizable animal shape in your lap. The bobble-stitch round is the real treat here: four bobbles worked into the same round that's already increasing and single-crocheting, so your fingers learn a nice little rhythm of sc, inc, bobble, sc, inc, bobble. Then there's the neck taper, which is the moment the whole thing suddenly looks like an alpaca instead of a lumpy sock. Stuffing as you go rather than at the end means you're not fighting a narrow opening later, which alone makes this one worth the four rounds it takes to get there.
The rounds, in full

Written out, round by round

Intermediate4-6 hoursWorsted

Bring to the porch

Everything this one takes, in the order you will reach for it.

  • Yarn of your choice
  • Crochet hook suitable for your yarn
  • Yarn needle for sewing
  • Filling material (stuffing)
  • Stitch marker (helpful for keeping track of rounds)

Body and Head

  1. Magic RingStart by making a magic ring. Place six single crochets (sc) into the ring. [6](6)
  2. Round 1Increase (inc) by placing two sc in each stitch around. [12](12)
  3. Round 2(Sc in the next stitch, inc in the following stitch) repeat around. [18](18)
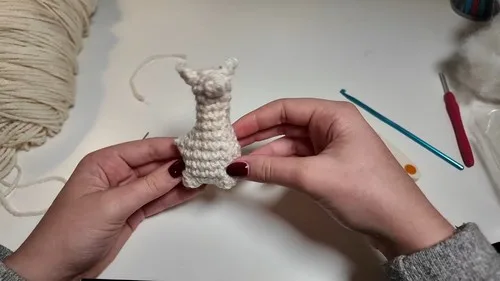
  4. Round 3Start this round by creating one sc, followed by an inc in the next stitch. After the increase, perform a bobble stitch in the next stitch to form a leg, followed by (one sc, one inc, one bobble stitch) repeated around. You should have four little legs formed by the bobble stitches.Continue crocheting around the created body in sc for a few more rows, gradually starting to form the neck of the alpaca by decreasing the number of stitches.

As the neck starts to form and taper, stuff the body of your alpaca with filling material to give it shape.

Begin to widen the head by using increase stitches.

For the eyes and nose/mouth: Sew on small pieces of black yarn or use safety eyes for the eyes. You may embroider a simple mouth and nose.

Finish crafting the head with a few more rounds of sc, making sure to stuff it firmly as you go.

Use a bobble stitch at the top of the head to simulate ears, which you may need to shape slightly by sewing.

Putting it together

Step 1

Sew any loose ends and make sure all parts are securely attached.

Step 2

If making a keychain, attach a keychain loop to the top of the alpaca's head or back.

Marlene's notes

Note 01

Choose a hook a size smaller than you'd normally pair with your yarn so your stitches stay tight enough to hold the stuffing in without gaps showing between them.

Note 02

Keep a stitch marker moving with you through every round, since this pattern is worked in a continuous spiral with no joining slip stitch to mark your place otherwise.

Note 03

Watch your tension on the bobble-stitch round in particular, since those four stitches need to stay snug enough to stand out as legs rather than flattening into the body.

Note 04

When crocheting, ensure that the stitches are tight enough so the filling will not show through but be mindful not to crochet too tightly, or it may be difficult to insert the hook.

Note 05

Adjust the size of your hook and yarn as needed to achieve the desired size for your alpaca.

Porch photos

Before you sit down

  • Check that you have enough yarn on hand for a full toy plus a bit extra, since the body, neck, and head are all worked continuously without a break to swap materials.
  • Set a stitch marker at the start of Round 1 before you begin increasing, since there's no slip stitch to mark the end of a round in this pattern.
  • Read through Round 3 once before you crochet it, since it combines single crochet, increase, and bobble stitch in the same repeat and it helps to know the sequence in advance.
  • Have your filling material within reach before you reach the neck taper, since you'll be stuffing partway through rather than waiting until the piece is finished.

How the hours go

Magic ring through Round 2
about 20-30 minutes because you're only working 6 to 18 stitches and the increases are straightforward
Round 3, the bobble-stitch legs
about 20-30 minutes because tracking sc, inc, and bobble in one repeat slows most hands down the first time through
Neck taper, stuffing, and head shaping
about 3-5 hours because this stretch has the most rounds, the most decisions about when to stuff, and the shaping that makes the piece look finished

Looking after it

  • Hand wash your finished alpaca in cool water with a gentle soap if the yarn you chose allows it, then press out excess water in a towel rather than wringing, since twisting can distort the bobble-stitch legs.
  • Let it air dry fully flat or standing upright away from direct heat, and reshape the legs and head gently with your fingers while damp so it dries holding its finished form.
FAQs

Asked on the glider

the ones that come up on the glider

Do I need to sew any pieces together at the end?

No, the body and head are worked as one continuous piece from the magic ring through the final round, so there's no seaming for the main shape. You'll still weave in loose ends and secure anything like a keychain loop by hand.

How do the legs get made without crocheting them separately?

The four legs come from bobble stitches worked right into Round 3 of the body, alternating with single crochet and increase stitches around the same round. There's no separate leg piece to attach afterward.

When exactly should I add the stuffing?

You'll start stuffing as the neck begins to taper and narrow, not at the very end. This keeps the filling evenly distributed before the opening gets too small to work with comfortably.

What yarn and hook size should I use?

The pattern leaves both open, so pick a yarn and hook combination you're comfortable with, keeping your stitches on the tighter side so the stuffing doesn't peek through. A hook a size smaller than the yarn's usual recommendation usually gives the best result.

Can I turn this into a keychain instead of a standalone toy?

Yes, once the toy is finished you simply attach a keychain loop to the top of the head or the back, as noted in the assembly steps. No changes to the crochet rounds themselves are needed.

Why does my work feel hard to hook into partway through?

If your stitches feel too tight to insert the hook comfortably, you're likely crocheting a bit denser than needed for your yarn. Loosen your tension slightly while still keeping stitches close enough that stuffing won't show.