Intermediate 4-6 hours Worsted yarn

Worked on the glider, counted out loud —

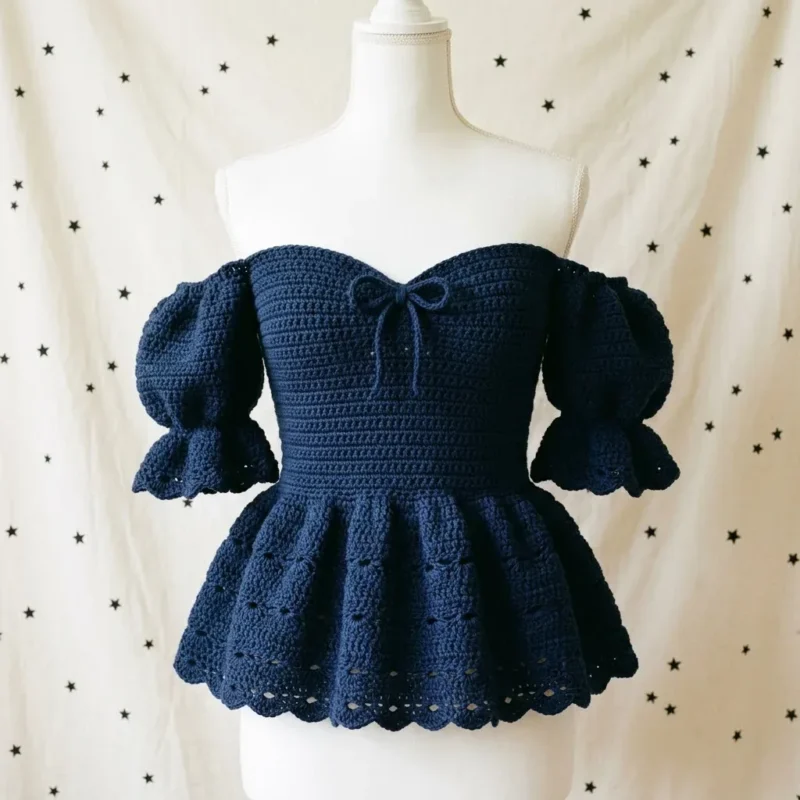
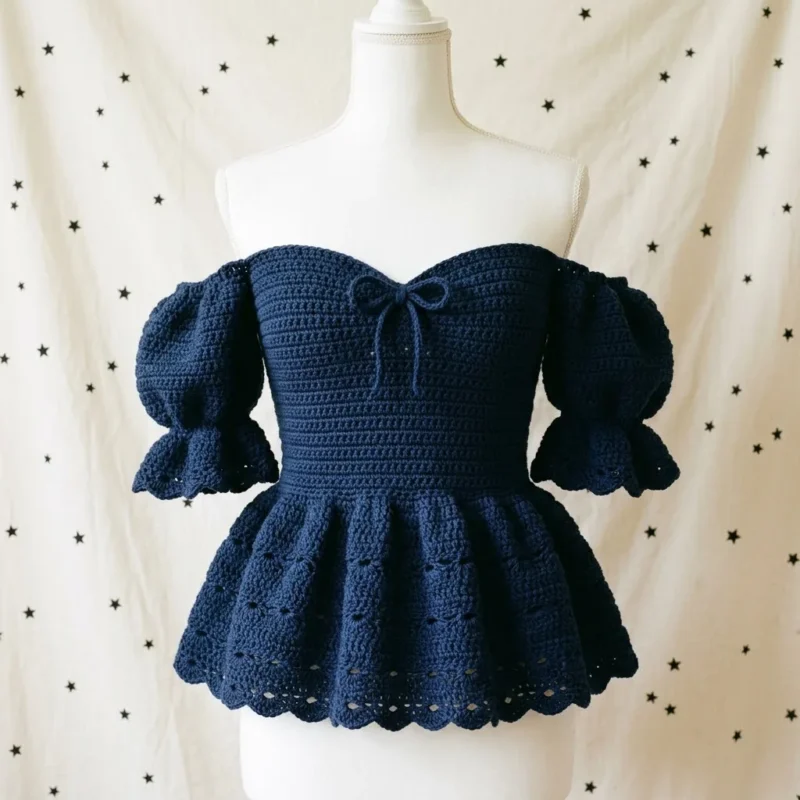
Navy Peplum Crochet Top With Two-Hook Structure

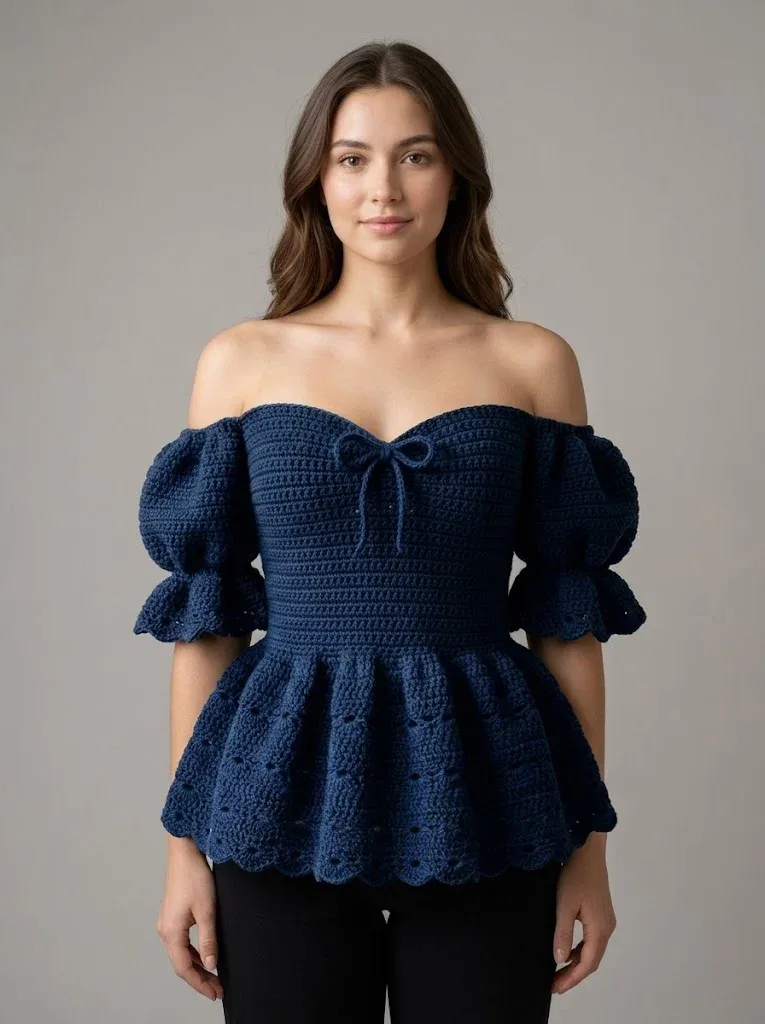
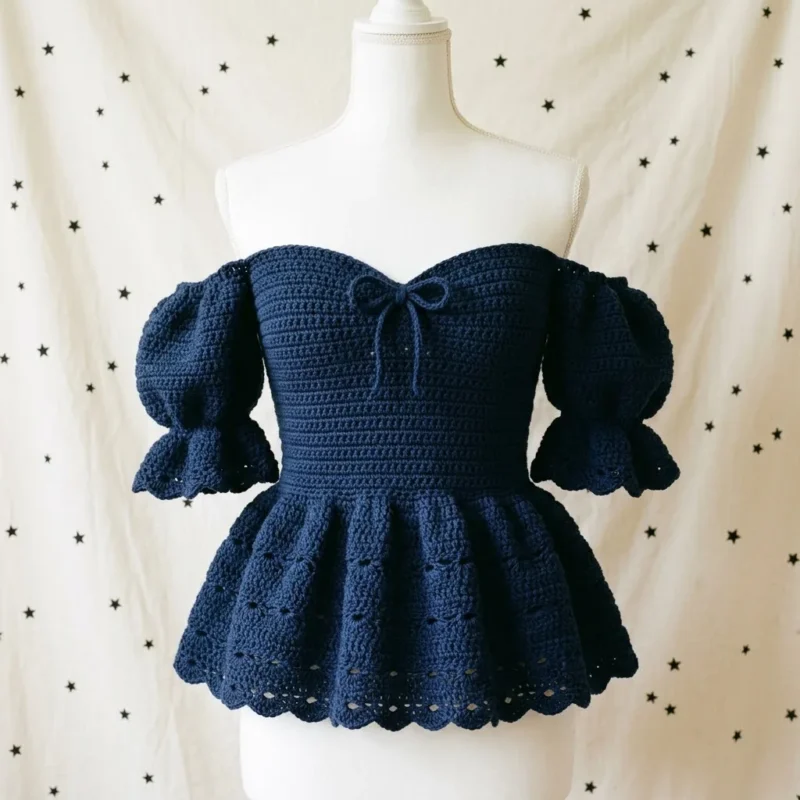
A fitted navy crochet top with a flared peplum, sized for real busts. About 4-6 hours if you already have your gauge dialed in.

Jump to the rounds

What this one is

This is the top you reach for when you want to look put together without trying too hard — dinner out, a friend's porch gathering, anywhere you'd rather feel fitted than shapeless. It's built for someone who likes structure up top and movement below, since the bodice holds close to the body while the peplum does all the swishing. Navy keeps it wearable past one season.

Your hands spend most of their time in single crochet, first building a snug bodice with two hook sizes controlling the fit, then working the increase rounds that flare the peplum out from the waist. Between seaming the bodice panels, checking gauge, and working the increase rounds, plan on an evening or two at the hook — this isn't a one-sitting project, but it isn't a marathon either.

Try it another way

The bodice has minimal stretch, so the easiest change is sizing: measure your bust and pick the stitch count from Round 1 (128, 144, 160, or 176 approximately) that gives you 1 to 2 inches of positive ease rather than sizing down for a snug fit. Since the peplum flares dramatically and fits all hip sizes once attached, you don't need to adjust that portion — your only real decision is the bodice size. If navy isn't your color, this same construction works in any solid worsted cotton with good stitch definition; a warm rust or a soft sage would carry the structured-bodice, flared-peplum shape just as well. You could also play with the elastic in the sleeves — since you're already using a yard of quarter-inch elastic, a slightly looser or tighter casing changes how blousy the sleeve sits without touching the rest of the pattern. And because the setup rounds are worked in continuous spirals with a stitch marker, this is a forgiving piece to pick up and set down across a few evenings rather than forcing one long session.

There's real satisfaction in a garment that uses its hook sizes on purpose — the 4.0mm keeps the bodice snug and structured, then dropping down to 4.5mm for the peplum lets the fabric relax and flare without you having to fuss with extra increases. Working the round 1 setup through both layers at the side seams is a small trick that makes the bodice panels feel like one seamless piece instead of two stitched-together halves. And the staggered increase rounds — seven stitches then an increase, later eight stitches then an increase — build a peplum that spreads gradually instead of ruffling awkwardly. It's the kind of piece where the construction logic is visible in the finished shape, which makes it satisfying to both make and wear.
The rounds, in full

Written out, round by round

Intermediate4-6 hours4.0 mmWorsted

Bring to the porch

Everything this one takes, in the order you will reach for it.

Yarn

  • Worsted weight cotton or cotton blend yarn in navy blue. You will need approximately 600 to 800 yards depending on your size. I recommend a yarn with good stitch definition like Drops Paris, Lion Brand 24/7 Cotton, or Paintbox Cotton DK. Cotton holds structure better than acrylic for fitted garments.

Hook

  • 4.0mm (G/6) for the bodice and sleeves. 4.5mm (7) for the peplum section. Having two hook sizes helps control gauge in different sections.

Notions

  • Tapestry needle for weaving ends
  • Stitch markers (at least 8)
  • 1 yard of quarter inch elastic for sleeves
  • Measuring tape
  • Scissors

Gauge

  • 16 stitches and 18 rows equals 4 inches in single crochet with 4.0mm hook. Check your gauge before starting. A too-loose gauge will result in a floppy bodice that lacks structure.
  • Skill Level
  • Working in rows and rounds
  • Basic increases and decreases
  • Seaming pieces together
  • Working into foundation chains

Setup

  1. Round 1Ch 1, sc evenly around the entire bottom edge of both bodice panels, working through both layers at side seams. Place marker at beginning of round. (128, 144, 160, 176 sts approximately)
  2. Round 2to 4: Ch 1, sc in each st around. Do not join. Work in continuous rounds, moving marker up.
  3. Round 5First Increase *Sc in next 7 sts, inc in next st* around. (144, 162, 180, 198 sts)
  4. Round 6to 8: Sc in each st around.
  5. Round 9Second Increase *Sc in next 8 sts, inc in next st* around. (160, 180, 200, 220 sts)
  6. Round 10to 12: Sc in each st around.

Notions

Tapestry needle for weaving ends Stitch markers (at least 8)

1 yard of quarter inch elastic for sleeves Measuring tape Scissors

Peplum Length

The bodice has minimal stretch. Measure your bust and choose a size with 1 to 2 inches of positive ease for comfort. The peplum flares dramatically and fits all hip sizes once attached to the bodice.

Lining

This pattern creates a statement piece you will reach for all season. The construction teaches transferable skills for future garment making, and the modular approach means you can adjust fit without starting over.

I hope you love making this peplum top as much as I loved designing it. Thank you for trusting me with your time and yarn. I would absolutely love to see your finished projects! Share your photos on Instagram or tag me on Facebook so I can celebrate your work.

If this crochet pattern inspired you, save it to your Pinterest boards so you can find it whenever you are ready to start. And please drop a comment below when you finish yours. Seeing your creations genuinely makes my day, and I always love hearing which color combinations you choose!

Marlene's notes

Note 01

Keep your two hook sizes straight as you go — 4.0mm for the bodice and sleeves, 4.5mm once you move into the peplum — since swapping at the wrong point will throw off the fit you're building.

Note 02

The setup rounds are worked in continuous spirals without joining, so keep your stitch marker moving up each round or you'll lose track of where the round actually starts.

Note 03

Choose a cotton or cotton blend with good stitch definition rather than a springy acrylic; the pattern relies on cotton's structure to keep the fitted bodice from sagging.

Porch photos

Before you sit down

  • Buy your yarn by yardage, not skein count — you'll need 600 to 800 yards of worsted weight cotton or cotton blend depending on your size, so round up rather than run short mid-bodice.
  • Work a gauge swatch in single crochet with your 4.0mm hook and check it against 16 stitches and 18 rows to 4 inches before you commit to a size; a loose gauge here leaves you with a floppy, unstructured bodice.
  • Set out at least 8 stitch markers before you start Round 1 — you'll place one at the beginning of the round and want the rest ready as you move through continuous rounds.
  • Read through Round 1 of the Setup carefully before you pick up your hook, since it has you working through both layers at the side seams to join the bodice panels, and it's easier to picture that now than mid-round.

How the hours go

Setup (bodice rounds)
about 2-3 hours because you're working nine-plus rounds with two separate increase sequences and need to keep stitch counts accurate as they climb
Gauge swatch and sizing check
about 20-30 minutes because getting 16 stitches and 18 rows to 4 inches right before you start saves you from ripping back a floppy bodice later
Peplum and finishing
about 1-2 hours because the hook size change and the flare shaping take a slower, more attentive pace than straight single crochet rows

Looking after it

  • Hand wash in cool water or use a gentle machine cycle in a mesh bag, since cotton holds its structure but can still felt or shrink slightly under rough agitation.
  • Lay the top flat to dry and reshape the peplum and bodice by hand while damp, then store folded rather than hung so the fitted bodice doesn't stretch out of shape on a hanger.
FAQs

Asked on the glider

the ones that come up on the glider

Why does this pattern use two different hook sizes?

The 4.0mm hook keeps the bodice and sleeves tight and structured for fit, while the 4.5mm hook loosens the fabric just enough for the peplum to flare naturally. Using one hook throughout would either make the peplum too stiff or the bodice too floppy.

How do I know if my gauge is right before I start?

Work a swatch in single crochet with your 4.0mm hook and check it measures 16 stitches and 18 rows to 4 inches. If it doesn't match, adjust your hook size up or down rather than pushing ahead, since a loose gauge leaves the bodice without enough structure.

What happens if my row 1 stitch count doesn't match the pattern numbers?

The counts given (128, 144, 160, 176) are approximate, so small variation is normal depending on your row gauge and size. What matters more is that your count stays consistent through the following rounds so the increase math in Round 5 lines up.

Can I use acrylic instead of cotton for this top?

You can, but the pattern is written with cotton's structure in mind, since it holds the fitted bodice shape better than acrylic. If you do substitute, choose a yarn with good stitch definition to keep the increase rounds visible and neat.

Do I need to join each round or work in a spiral?

The setup rounds are worked in continuous rounds without joining, so you'll rely on your stitch marker to track the beginning of each round. Just keep moving the marker up as you go.

How much elastic do I actually need for the sleeves?

The materials list calls for 1 yard of quarter-inch elastic, which is enough for both sleeves on the sizes given. Measure your own arm before cutting if you want a snugger or looser cuff than the standard fit.