01
What this one is
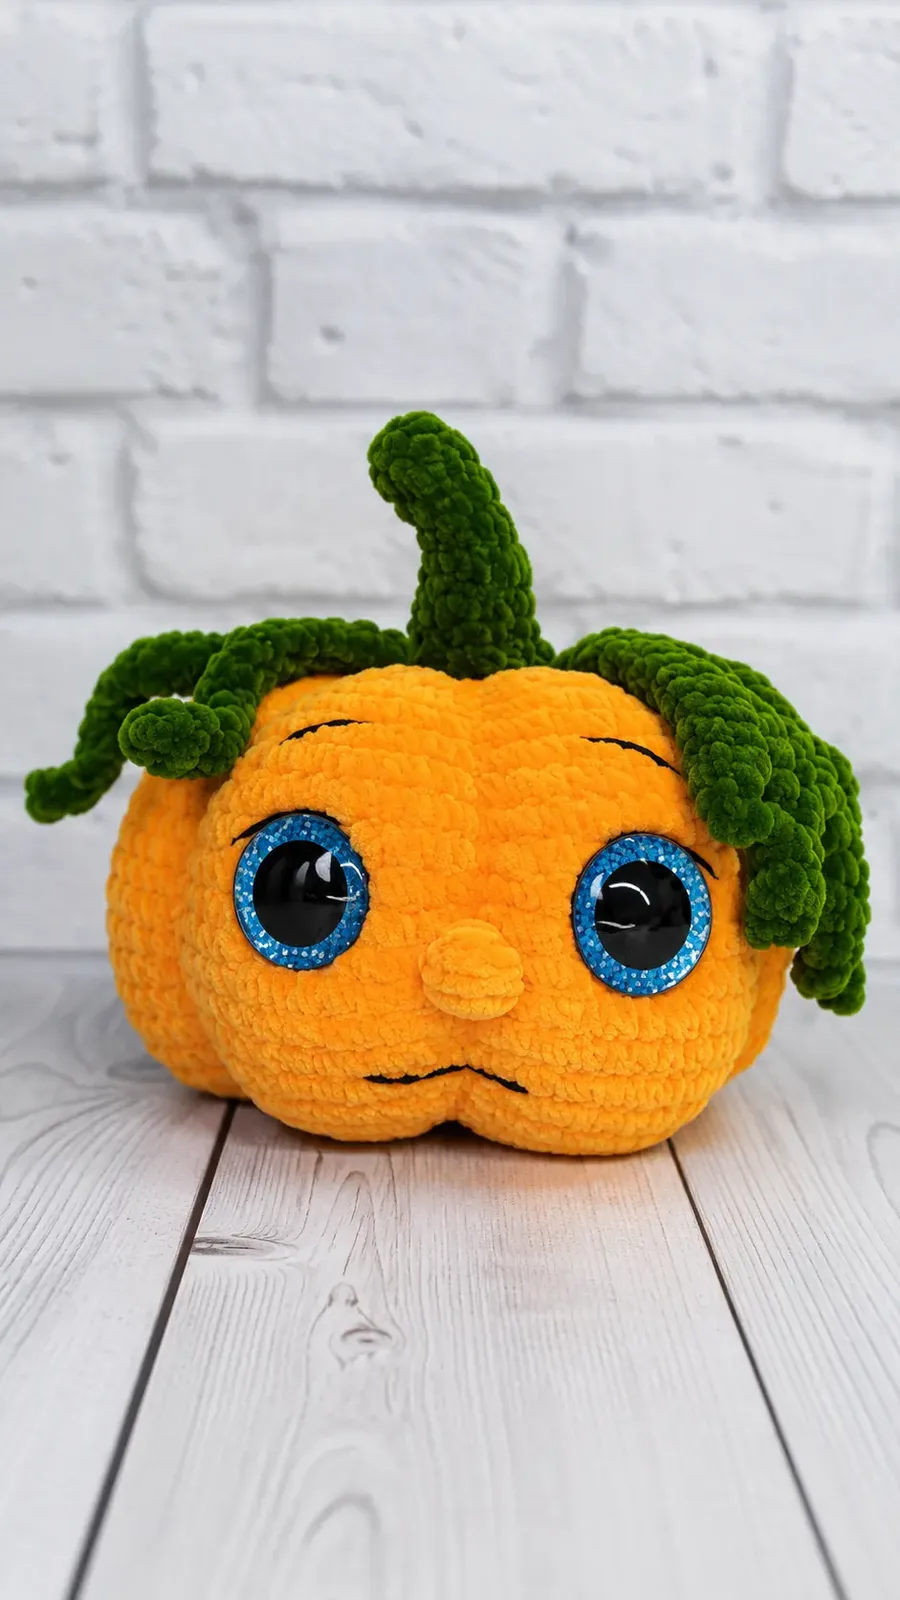
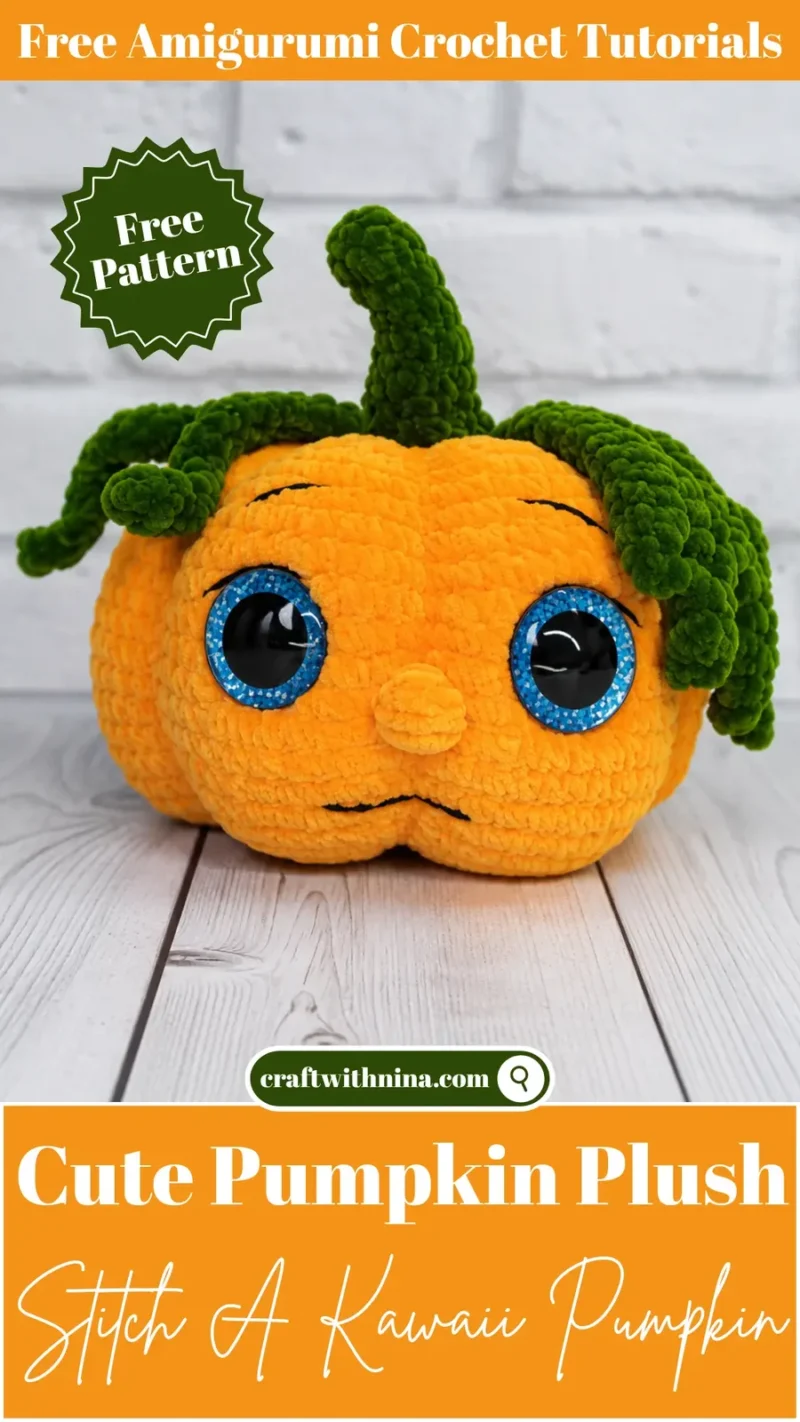
This little pumpkin pattern is made for the kind of quiet evening when you want something small and cheerful taking shape in your hands, nothing more complicated than a magic ring, some increases, and a couple of curly vines by the end of it. It suits anyone who likes amigurumi with a bit of personality — the curlicues alone give it away as a piece with charm, not just a round shape with a stem stuck on top. Keep it for your own shelf or hand it to a crochet-loving friend.
Your hands spend most of the time in the steady rhythm of single crochet and increases, shaping the pumpkin's 22 rounds from a magic ring out to its widest point and back in again. Add the six rounds of the stem, the seven of the leaf, and the two quick curlicues, and you're looking at a project you can realistically start and finish in one sitting — somewhere in the four to six hour range, depending on how much stuffing and shaping time you build in.
02
Try it another way
Once you have the basic pumpkin down, there's plenty of room to play. Swap the orange main color for a deeper rust or a pale cream and you get a completely different mood on the shelf, while the green stem and leaf can shift to a golden brown for a warmer look. Because the pumpkin only uses a little over half a skein of the main color and the leaf and curlicues barely touch a fifth of a skein of green, this is a good pattern for using up oddments left over from bigger projects. If you want a bigger pumpkin, working the same increase pattern in a heavier yarn with a larger hook scales the whole thing up without changing a single round count. You could also make just the two curlicues in a contrasting color and skip the safety eyes altogether for a simpler, faceless decoration, or test the increase sequence on a smaller trial pumpkin before committing to the full 22 rounds. A cluster of two or three pumpkins in slightly different sizes, all sharing the same curlicue trick, makes a nice little grouping for a windowsill.
There is real satisfaction in watching the pumpkin's rounds build from a magic ring of seven stitches out to a full 77-stitch circumference, then narrow back in with matching decreases. The sixteenth round is the clever bit: working every eleventh stitch into the back loop only and marking it keeps the ridges from drifting sideways, so when you tug the pumpkin into its characteristic ribbed shape later, the lines stay straight and even. Setting the 30 mm safety eyes between rounds 13 and 14, with seven or eight stitches between them, asks you to slow down and check placement before committing. And the curlicues — one 15-chain, one 21-chain, worked entirely in slip stitch — are a small, fast reward at the end that make the whole thing look finished.