Foundation
- Round 1Dc in 5th ch from hook (skipped chains count as dc + ch 1), *ch 1, skip 1 ch, dc in next ch*, repeat across. (40 dc, 39 ch-1 spaces)
- Round 2Ch 4 (counts as dc + ch 1), turn, dc in next dc, *ch 1, dc in next dc*, repeat across. (40 dc, 39 ch-1 spaces)Rows 3 through 30: Repeat Row 2. Your back panel should measure approximately 16 inches wide and 12 inches tall. Fasten off and weave in ends.
Foundation
- Round 1Dc in 5th ch from hook, *ch 1, skip 1 ch, dc in next ch*, repeat across. (20 dc, 19 ch-1 spaces)
- Round 2Ch 4, turn, dc in next dc, *ch 1, dc in next dc*, repeat across. (20 dc, 19 ch-1 spaces)Rows 3 through 30: Repeat Row 2. Your left front panel should measure approximately 8 inches wide and 12 inches tall. Fasten off.
Foundation
- Round 1Ch 4 (counts as dc + ch 1), skip 1 ch, dc in next ch, *ch 1, skip 1 ch, dc in next ch*, repeat around, ch 1, sl st to 3rd ch of beginning ch-4 to join. (24 dc, 24 ch-1 spaces)
- Round 2Ch 4, dc in next dc, *ch 1, dc in next dc*, repeat around, ch 1, sl st to 3rd ch of beginning ch-4. (24 dc, 24 ch-1 spaces)Rounds 3 through 8: Repeat Round 2. Now we’ll add gradual increases to create the bell flare.
- Round 9Increase Round Ch 4, dc in same st, ch 1, dc in next dc, *ch 1, dc in next dc*, repeat around to last dc, ch 1, 2 dc in last dc, ch 1, sl st to join. (26 dc)
- Round 10through 12: Work even in mesh pattern. (26 dc, 26 ch-1 spaces)
- Round 13Increase Round Ch 4, dc in same st, *ch 1, dc in next dc*, repeat around, working 2 dc in the last dc, ch 1, sl st to join. (28 dc)
- Round 14through 16: Work even. (28 dc, 28 ch-1 spaces)
- Round 17Increase Round Increase as before. (30 dc)
- Round 18through 20: Work even. (30 dc, 30 ch-1 spaces)
- Round 21Increase Round Increase as before. (32 dc)
- Round 22through 26: Work even. (32 dc, 32 ch-1 spaces)
- Round 27Increase Round Increase as before. (34 dc)
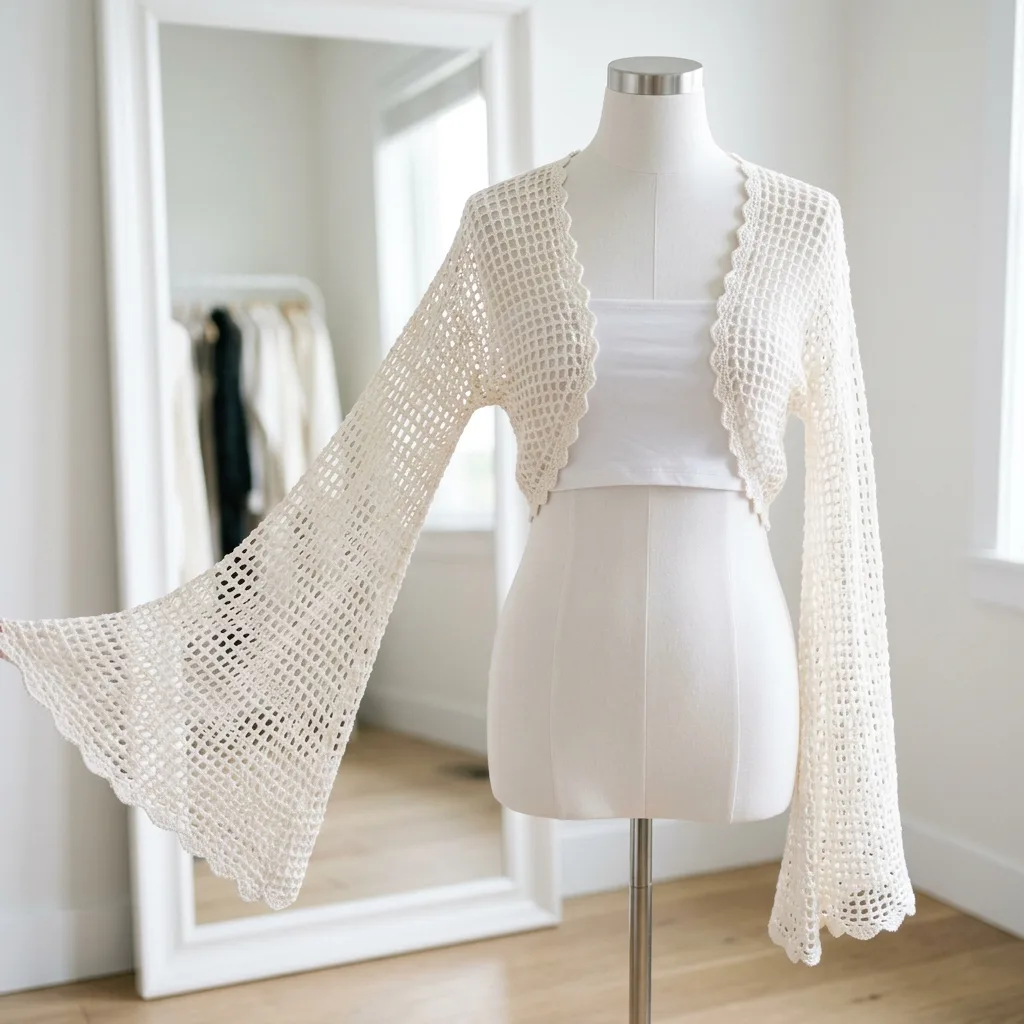
- Round 28through 30: Work even. (34 dc, 34 ch-1 spaces) Your sleeve should measure approximately 15 inches from shoulder to wrist, with noticeable flare at the cuff. Fasten off, leaving a long tail for attaching to the body.
Hook
3.25mm crochet hook (US D/3)
Go up a hook size if your tension runs tight
Notions
Tapestry needle for weaving in ends Stitch markers (4 to 6)
Measuring tape Scissors
Gauge
20 stitches and 10 rows = 4 inches in mesh pattern Gauge matters for fit, so please swatch
Stitches and Techniques Used
- Round 1Chain (ch)
- Round 2Double crochet (dc)
- Round 3Single crochet (sc)
- Round 4Slip stitch (sl st)Working in the round for sleeves Seaming
Chain (ch)
Double crochet (dc):
A taller stitch that creates height quickly. Yarn over, insert hook into stitch, yarn over and pull up a loop (3 loops on hook), yarn over and pull through 2 loops (2 loops remain), yarn over and pull through last 2 loops. One double crochet complete.
Single crochet (sc):
A short, tight stitch. Insert hook into stitch, yarn over and pull up a loop (2 loops on hook), yarn over and pull through both loops.
Slip stitch (sl st):
Used for joining and moving across stitches without adding height. Insert hook, yarn over, pull through both the stitch and the loop on your hook in one motion.
Chain space (ch-sp):
The gap or hole created by chains in the previous row. You’ll work into these spaces, not into the chains themselves.
Shoulder Seams
1. Place the back panel in the center.
2. Position the left front panel along the left edge, aligning the top corners.
3. Using a tapestry needle and yarn, whipstitch or mattress stitch the top 3 inches of each front panel to the corresponding 3 inches of the back panel. This creates your shoulder seams.
4. Leave the center 10 inches of the back open for the neck.
5. Repeat for the right front panel.
Side Seams
1. Align the side edges of front and back panels.
2. Starting from the bottom, seam 5 inches up each side.
3. Leave 7 inches open for the armholes.
4. The shoulders are already connected, so this completes the body.
Try the body on at this point. The front panels should hang open, and you should have clear armhole openings on each side.