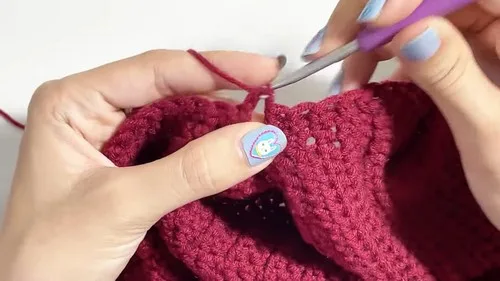
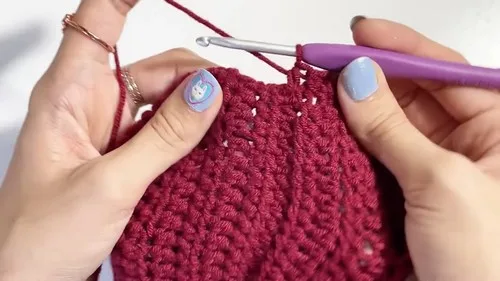
Intermediate 4-6 hours 4-ply / Light yarn

Worked on the glider, counted out loud —

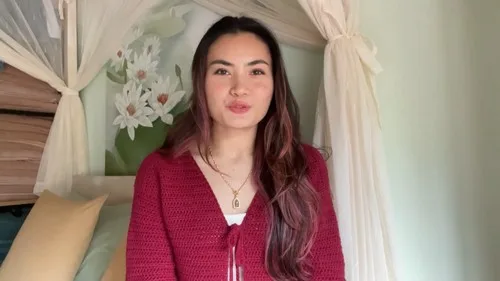
Easy front tie cardigan you can crochet in panels

A front-tie cardigan crocheted in five panels (two fronts, a back, and two sleeves) using half-double crochet. Good for confident

Jump to the rounds

What this one is

I made this one with a friend in mind who keeps a cardigan on the back of every chair she owns, the kind of piece you reach for without thinking. This tie cardigan is for her and for you if you want something that looks pulled-together but costs you nothing in fuss. The front tie does the styling for you, so you can throw it over a plain top and call it done.

Your hands spend most of their time in half-double crochet here, which keeps the fabric dense enough to hold its shape but soft enough to drape. You build it in panels, two fronts, one back, two sleeves, so you're never wrestling with a huge piece on your lap. Plan on a handful of sittings rather than one marathon; the shaping at the neckline and the flared sleeve option are the only parts that ask for real attention.

Try it another way

The front panel width is based on your own measurements, so this cardigan scales to whoever's wearing it without changing a single technique. If you want a lighter, breezier version, swap the 4-ply milk cotton for a similar-weight cotton blend and keep the 4 mm hook; the drape will shift but the structure holds. For color play, work the two front panels and back panel in one shade and let the sleeves go a contrasting color, since the sleeves are self-contained rounds that won't disrupt your panel matching. If you like a dramatic cuff, lean into the optional flared sleeve round and keep alternating increase and normal rows longer than the pattern suggests for extra swing. Want a cropped version, stop the front and back panels a few rounds short of where you'd normally reach the shoulder shaping, just be sure both front panels and the back still match in length before you seam. The 70-chain tie length from the tutorial is a good default, but if you want a bigger bow, add chains in small batches and tie it on yourself before you commit, since the tie length is one of the easiest things to adjust without touching the body of the cardigan at all.

There's real satisfaction in watching four flat panels turn into a shaped garment through nothing fancier than half-double crochet and a decrease here and there. The V-neckline shaping, where you alternate decrease and normal rows, is the kind of small puzzle that keeps your brain pleasantly occupied without being stressful. Working the sleeves in the round from the armhole means no sleeve seam to fuss over later, and the optional flared round lets you decide how swingy you want the cuff. Then there's the finishing: flipping the piece right-side out before you add the border is a satisfying reveal, and chaining those long ties feels like the reward lap after the shaping work is done.
The rounds, in full

Written out, round by round

Intermediate4-6 hours4 mm4-ply / Light

Bring to the porch

Everything this one takes, in the order you will reach for it.

  • Yarn of your choice (tutorial uses 4-ply milk cotton)
  • 4 mm crochet hook
  • Darning needle
  • Stitch markers
  • Tape measure

Front Panels

Make 2
  1. Round 1Starting the Panel Make a slip knot and chain to your calculated front panel width plus 2 turning chains.
  2. Round 2First Row Half-double crochet in the third chain from the hook and across the row.
  3. Round 3Subsequent Rows Chain 2 and turn; half-double crochet in each stitch; continue until the decrease point for the tie.
  4. Round 4V-Neckline, Decrease row Half-double crochet as usual, performing a half-double crochet decrease when 2 stitches remain.
  5. Round 5V-Neckline Alternate decrease and normal rows on the neckline side until reaching the shoulder.
  6. Round 6Shoulder Portion Add extra rows for the shoulder.Repeat the entire panel to create the second front panel.

Back Panel

Back panel width equals half of your bust measurement.

  1. Round 1Chain the width, add 2 turning chains, half-double crochet across.
  2. Round 2Continue until the back matches front panels' length (excluding shoulder rows).
  3. Round 3Shoulder Sections Count stitches from front panel shoulders.
  4. Round 4Mark same number on back panel sides and crochet rows to match shoulder measurement.

Sleeves

Make 2
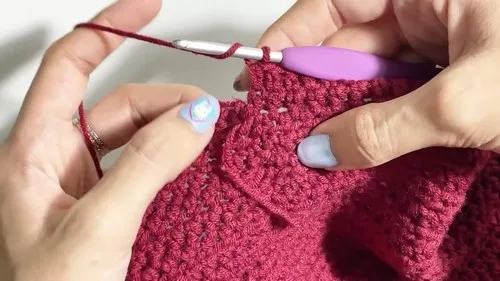
  1. Round 1Work in the round starting at the armhole.
  2. Round 2Chain 2 and half-double crochet around; join with slip stitch.
  3. Round 3Chain 2, turn, half-double crochet in each stitch for new rounds.
  4. Round 4Continue until sleeve reaches elbow.
  5. Round 5Optional Flared Sleeve Alternate increase rows (2 half-double crochets in last stitch) with normal rows until desired length.
  6. Round 6Chain 1 and cut yarn.Repeat all sleeve rounds to make the second sleeve.

Putting it together

Step 1

Slip-stitch shoulder seams together.

Step 2

Try on and mark armholes with stitch markers.

Step 3

Seam sides using single crochet from bottom edge to armhole.

Step 4

Turn work right-side out.

Step 5

With right-side out, join yarn at side seam.

Step 6

Half-double crochet along bottom and front edges.

Step 7

At decrease points, chain for tie length (tutorial uses 70 chains), turn, and slip-stitch back to border.

Step 8

Make second tie on opposite side.

Step 9

Finish border by slip-stitching to first stitch.

Step 10

Weave in all loose ends.

Marlene's notes

Note 01

Keep your 4 mm hook consistent across all panels; a looser or tighter hook partway through will throw off how the front panels match the back at the shoulder.

Note 02

Use your stitch markers early and often, especially when counting shoulder stitches on the back panel to match the front, since a mismatch there shows at the seam.

Note 03

Tension matters more than usual here because the front panel width and the tie length both depend on your gauge; swatch before you chain your foundation.

Porch photos

Before you sit down

  • Check your yarn amount against your size; this is worked in 4-ply milk cotton, so swatch with your actual yarn to see how it drapes before committing to the chain length.
  • Have your stitch markers ready; you'll use them to mark armholes after a try-on, and again to match shoulder stitch counts between front and back panels.
  • Make a small swatch in half-double crochet with your 4 mm hook so your front panel width calculation is based on real tension, not a guess.
  • Read through the V-Neckline decrease rows (Round 4 and 5 of the Front Panels) before you start, so you know where the decrease point falls relative to your chain.

How the hours go

Front panels (two, six rounds each)
about 1.5-2 hours because you're shaping the V-neckline twice and need to match both panels
Back panel (four rounds)
about 45 minutes because it's straightforward half-double crochet with shoulder stitches to count and match
Sleeves and assembly, including the ties
about 2-2.5 hours because the sleeves are worked in the round and the 70-chain ties plus border take patience

Looking after it

  • Hand wash the finished cardigan in cool water since it's made from cotton, and lay it flat on a towel to dry rather than hanging it, so the panels don't stretch out of shape.
  • Reshape the piece gently while damp, smoothing the front panels and ties flat, then store it folded rather than on a hanger to keep the shoulders from drooping over time.
FAQs

Asked on the glider

the ones that come up on the glider

Can I use a different yarn weight than the 4-ply milk cotton?

Yes, the pattern notes yarn of your choice, with the tutorial using 4-ply milk cotton as the example. Just swatch with your chosen yarn and 4 mm hook first, since your front panel width calculation depends on your actual tension.

How do I know how many chains to start the front panels with?

You calculate your front panel width based on your own measurements, then add the 2 turning chains as noted in Round 1. A swatch beforehand will tell you how many stitches per inch you're getting, which makes that math reliable.

Do I need to make the flared sleeve, or can I leave it plain?

The flared sleeve round is marked as optional, so you can simply continue with the plain half-double crochet rounds until your sleeve reaches the length you want. It's a styling choice, not a structural one.

Why do I need stitch markers for the back panel?

You count the stitches from the front panel shoulders first, then mark that same number on the back panel sides in Round 4. The markers keep your count accurate so the shoulder seams line up when you slip-stitch them together.

How long should the front ties be?

The tutorial uses 70 chains per tie, worked at the decrease points and slip-stitched back to the border. You can lengthen or shorten that chain to suit how you like to tie it, since it's one of the last steps and easy to test on yourself.

What's the order of assembly once all the pieces are done?

You slip-stitch the shoulder seams first, try the piece on to mark armholes, then seam the sides with single crochet before turning the work right-side out. After that you join yarn at the side seam to work the half-double crochet border along the bottom and front edges, adding the ties at the decrease points as you go.