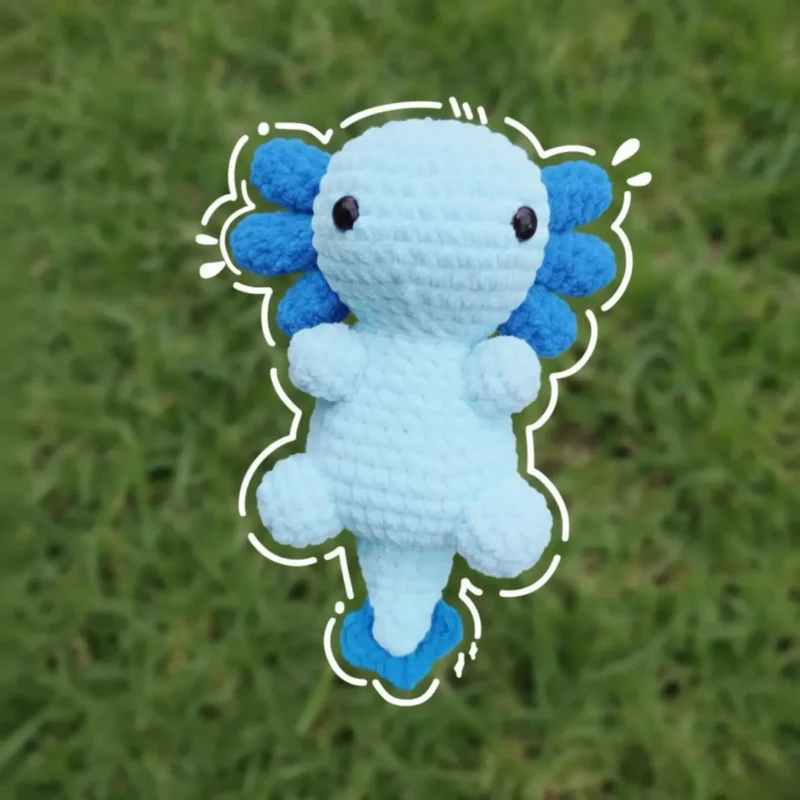
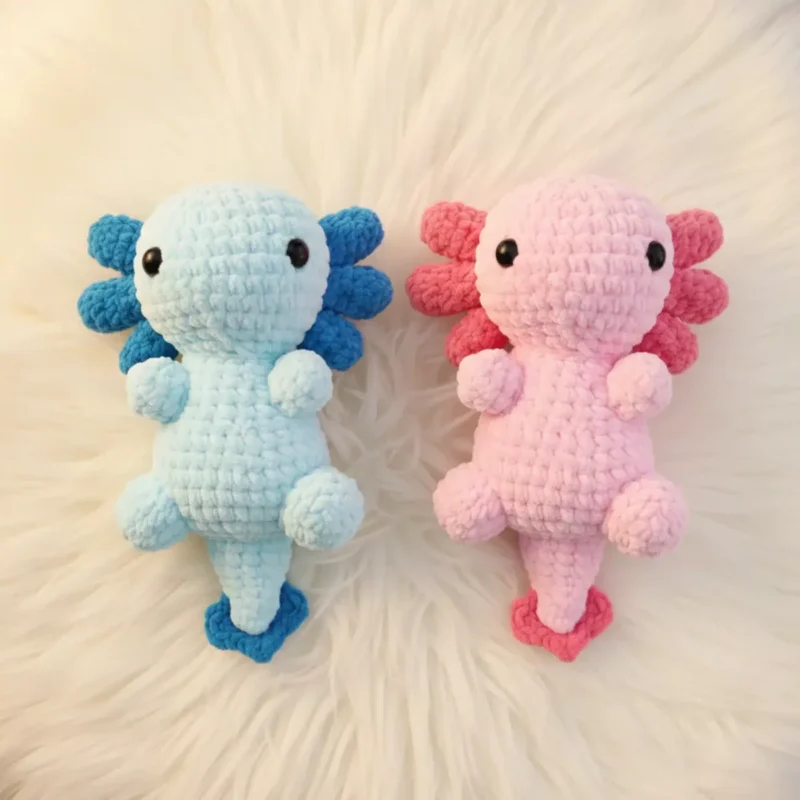
Intermediate 4-6 hours Worsted yarn

Worked on the glider, counted out loud —

A Friendly Amigurumi Axolotl You Can Crochet in a Weekend

A beginner-friendly amigurumi axolotl pattern using simple increases and single crochet. About 4-6 hours start to finish.

Jump to the rounds

What this one is

This one's for a quiet evening when you want something small and odd and wonderful to show for your time. Axolotls have that gentle, smiling face that makes them easy to love, and this little amigurumi version keeps that charm without asking you to learn anything tricky. If you've made a round or two of single crochet before, you're ready for this.

Your hands will spend most of their time working magic rings, single crochet, and simple increase rounds to shape the head, body, arms, legs, and that long, friendly tail. Nothing here is fussy once you settle into the rhythm of it. Set aside somewhere around 4 to 6 hours total, whether you knock it out in one sitting or spread it across a few quieter pockets of your week.

Try it another way

Once you've made this axolotl the way it's written, there's plenty of room to play. Try swapping your second color on the grills for something bold against a pale body, so those six head grills and the matching tail grills really pop instead of blending in. You could also work the whole thing in a single color if you'd rather skip the contrast altogether and let the shape do the talking. For a slightly plumper, bigger axolotl, go up a hook size or choose a heavier yarn than the worsted weight suggested here, which will push those same stitch counts (the 6, 12, and 18-stitch head rounds, the 8-stitch arms, the 4 and 10-stitch tail rounds) into a larger finished piece without changing a single round. Going smaller works the other direction, with a finer yarn and a smaller hook. If you're making a few as gifts, consider giving each one a different grill color while keeping the body consistent, so they read as a little family rather than duplicates. However you adjust it, the magic ring starts and increase shaping stay exactly as satisfying.
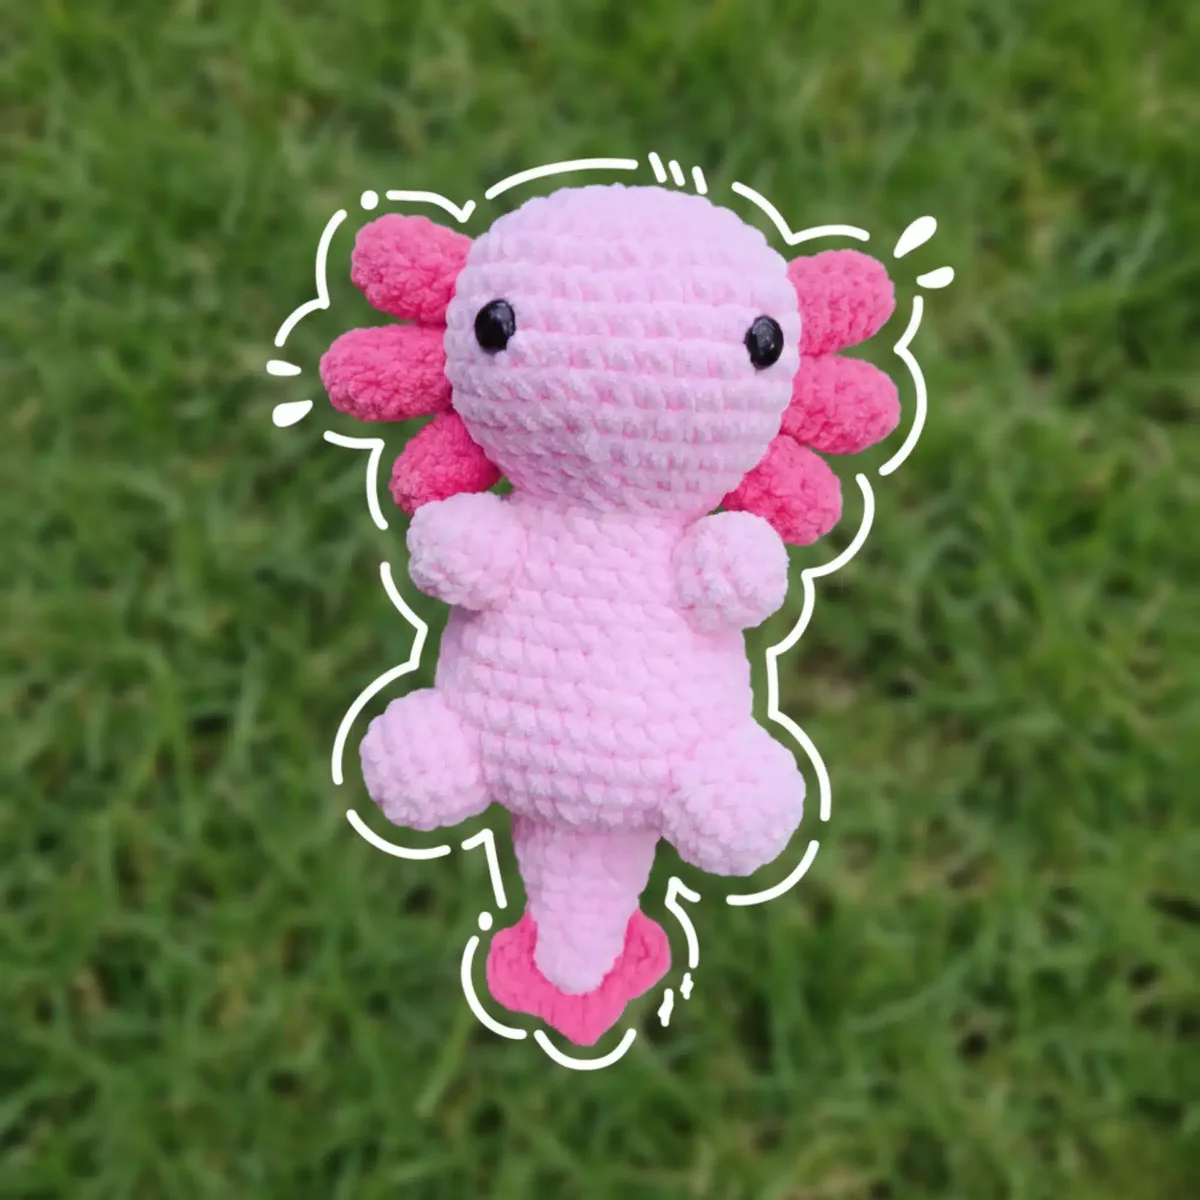
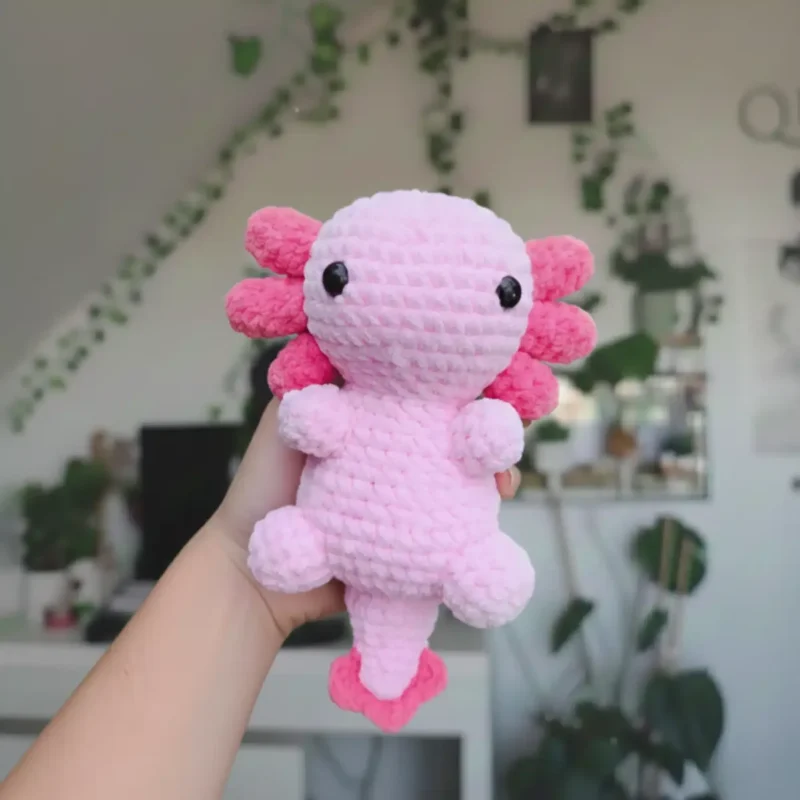
The rounds, in full

Written out, round by round

Intermediate4-6 hours4 mmWorsted

Bring to the porch

Everything this one takes, in the order you will reach for it.

  • Yarn in two colors (Himalaya Dolphin Baby or Premier Parfait Chunky work beautifully)
  • 4mm crochet hook
  • Filling material (polyester fiberfill)
  • Safety eyes (12mm)
  • Tapestry needle
  • Scissors
  • Stitch marker

The Head (Using Your First Color)

Start with a magic ring and work the following rounds:

  1. Round 1MR 6sc (6 stitches)(6)
  2. Round 2inc x6 (12 stitches)(12)
  3. Round 3(1 sc, inc) x6 (18 stitches)(18)
  4. Round 4(2 sc, inc) x6 (24 stitches)(24)
  5. Round 5(3 sc, inc) x6 (30 stitches)(30)
  6. Round 6(4 sc, inc) x6 (36 stitches)(36)
  7. Round 7(5 sc, inc) x6 (42 stitches)(42)
  8. Rounds 8–12sc around (42 stitches) – work 5 rows even
  9. Round 13(5 sc, dec) x6 (36 stitches)(36)
  10. Round 14(4 sc, dec) x6 (30 stitches)(30)
  11. Round 15(3 sc, dec) x6 (24 stitches)(24)
  12. Round 16(2 sc, dec) x6 (18 stitches) Fasten off and weave in the end. Before closing completely, position your safety eyes between rows 10 and 11, spacing them 7 stitches apart.

The Body (Using Your First Color)

  1. Round 1MR 6 sc (6 stitches)(6)
  2. Round 2inc x6 (12 stitches)(12)
  3. Round 3(1 sc, inc) x6 (18 stitches)(18)
  4. Round 4(2 sc, inc) x6 (24 stitches)(24)
  5. Round 5(3 sc, inc) x6 (30 stitches)(30)
  6. Rounds 6–10sc around (30 stitches) – work 5 rows even
  7. Round 11(3 sc, dec) x6 (24 stitches)(24)
  8. Round 12sc around (24 stitches)(24)
  9. Round 13(2 sc, dec) x6 (18 stitches) Fasten off, leaving a long tail for sewing. Attach the head to the body securely.

Arms (Make 2 with Your First Color)

  1. Round 1MR 8sc (8 stitches)(8)
  2. Rounds 2–3sc around (8 stitches) – work 2 rows even Fasten off with a long tail and sew the arms to the body.

Legs (Make 2 with Your First Color)

  1. Round 1MR 6sc (6 stitches)(6)
  2. Round 2inc x6 (12 stitches)(12)
  3. Round 3sc around (12 stitches) Fasten off with a long tail and attach the legs to the body.

The Tail (Using Your First Color)

  1. Round 1MR 4 sc (4 stitches)(4)
  2. Round 2inc x4 (8 stitches)(8)
  3. Round 3sc around (8 stitches)(8)
  4. Round 4(3 sc, inc) x2 (10 stitches)(10)
  5. Rounds 5–6sc around (10 stitches) – work 2 rows even
  6. Round 7(4 sc, inc) x2 (12 stitches)(12)
  7. Rounds 8–10sc around (12 stitches) – work 3 rows even Fasten off with a long tail and sew the tail to the back of the body.

Tail Grills (Using Your Second Color)

  1. Round 1Chain 8
  2. Round 2Starting from the second chain from hook: (3 hdc in 1 stitch, sl st) x3, then 3 hdc in the last stitchFasten off with a long tail and attach these decorative grills to the tail.

Head Grills (Make 6 with Your Second Color)

  1. Round 1MR 6sc (6 stitches)(6)
  2. Round 2(2 sc, inc) x2 (8 stitches)(8)
  3. Rounds 3–4sc around (8 stitches) – work 2 rows even Fasten off with long tails and sew three grills on each side of the head to create those distinctive axolotl frills.

Putting it together

Step 1

Take your time when sewing all the pieces together. Use your tapestry needle and the long tails you’ve left on each piece to secure everything firmly. Stuff the body and head with fiberfill before closing them completely to give your axolotl a nice, plump shape.

Marlene's notes

Note 01

A 4mm hook paired with worsted-weight yarn like Himalaya Dolphin Baby or Premier Parfait Chunky gives you a snug stitch that holds its shape once stuffed.

Note 02

Every piece is worked in continuous rounds, so move your stitch marker up at the end of each round rather than joining and chaining, or you'll lose track of where you started.

Note 03

Stuff the head and body firmly before closing the last rounds, since a loosely filled axolotl loses that nice plump shape the pattern is going for.

Porch photos

Before you sit down

  • Check that you have both your main color and your second color on hand, since the grills on the head and tail depend on that contrast.
  • Make sure your stitch marker is within reach before you start the first round, since every piece here is worked in continuous rounds without a turn.
  • Work a small swatch with your 4mm hook and chosen yarn to see how tight or loose your single crochet sits, since amigurumi likes a fairly firm fabric.
  • Read through the Head's first few rounds before you pick up your hook, since the increase pattern there sets the rhythm you'll repeat on the body and tail.

How the hours go

Head and body
about 1.5 to 2 hours because the head alone runs 12 rounds of careful increasing before you even start the body
Arms and legs
about 45 minutes to an hour because you're making two of each, though the arms are just a quick 2 rounds even
Tail, grills, and assembly
about 1.5 to 2 hours because the 7-round tail, the six head grills, and the tail grills all need sewing on before you stuff and close everything

Looking after it

  • Hand wash your finished axolotl in cool water with a gentle soap, then press out the excess water in a towel rather than wringing, since worsted-weight yarns like these can felt or distort if agitated too roughly.
  • Lay it flat to dry away from direct heat, gently reshaping the head, legs, and tail as it dries, and store it somewhere dry and out of direct sun so the colors stay true.
FAQs

Asked on the glider

the ones that come up on the glider

Can I use a different yarn weight than worsted?

Yes, though your finished axolotl will come out smaller or larger depending on what you choose. Just keep your hook size roughly matched to the yarn so your single crochet stays firm enough to hold the stuffing.

Do the head grills and tail grills need to match?

They're both worked in your second color, so they'll naturally match unless you want to mix things up. There's nothing stopping you from giving the tail a different shade if you'd like a bit of extra contrast.

Why do I need a stitch marker for this pattern?

Every piece here is worked in continuous rounds rather than joined rounds, so there's no natural stopping point to tell you where a round ends. Moving the marker up after each round is the only way to keep your increases landing in the right place.

How firmly should I stuff the body and head?

Stuff them firmly enough that the piece holds its rounded shape without feeling hard, since amigurumi loses its plump look if the fiberfill is too sparse. Add a little at a time and press gently to check before closing up the last round.

Is this pattern really suitable for beginners?

If you can work a magic ring, single crochet, and basic increases, you have everything you need for this one. The shaping stays simple throughout, even though there are several small pieces to put together at the end.

How many head grills do I actually need to make?

You'll need six head grills total, each worked over 3 rounds, plus the separate tail grills worked over 2 rounds. Keep them to one side with their long tails left on until you're ready for assembly.