Beginner 4-6 Hours Worsted/DK yarn

Worked on the glider, counted out loud —

Easy Free Crochet Poncho Pattern for Stylish Layers

Make this easy free crochet poncho pattern with V-stitch drape, sc bands, and optional fringe—beginner-friendly, size-flexible, and stylish for any season.

Jump to the rounds

Before you sit down

Begin with a foundation chain worked in the round to set up the poncho's neckline.

Work the initial rounds to establish the poncho pattern and shape the shoulder area.

Settle into the main repeat, alternating V-stitch rounds with single crochet band rounds.

Pause after each major increase section to try the poncho on and check the neck and body fit.

Continue the 4-row main repeat as many times as needed to reach your desired length.

Weave in all loose ends with a yarn needle for a clean, professional interior.

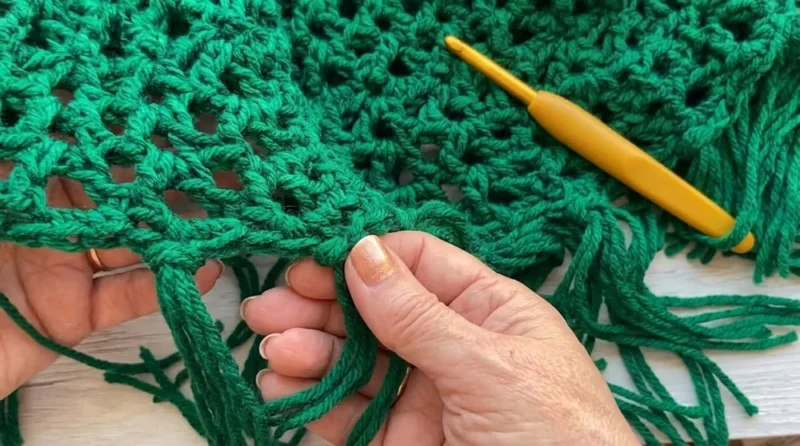
Optionally add fringe along the hem, cutting strands to your preferred length and density.

What this one is

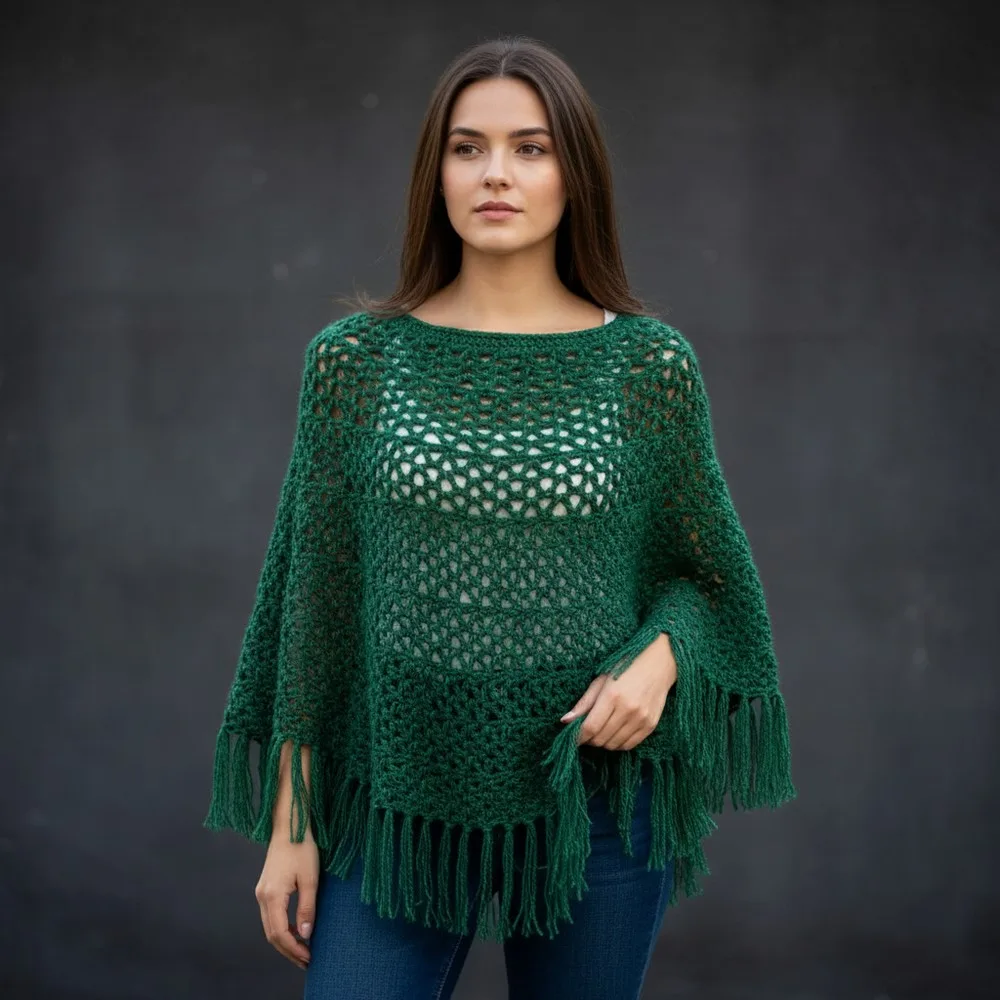
This poncho is everything a cozy layering piece should be: airy, textured, and endlessly adaptable. Worked in the round from the neck down, it combines drapey V-stitch sections with sturdy single crochet bands for a piece that looks far more complex than it actually is. It's an ideal project for crocheters who want a wearable that feels special without a fitted sweater's fuss, and it's especially perfect for beginners who are ready to move past scarves into their first garment.

The main techniques here are simple: chains, single crochet, and V-stitches worked in repeating rounds, with increases to shape the shoulder line as you go. Because the pattern relies on a repeat you'll memorize quickly, most crocheters find their rhythm within the first few rounds. Expect roughly 4-6 hours total, depending on how often you pause to try it on and check your fit against the increase sections.

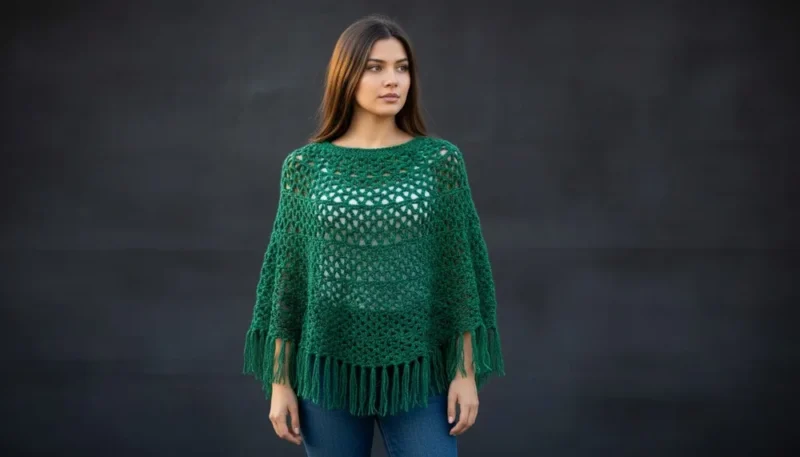
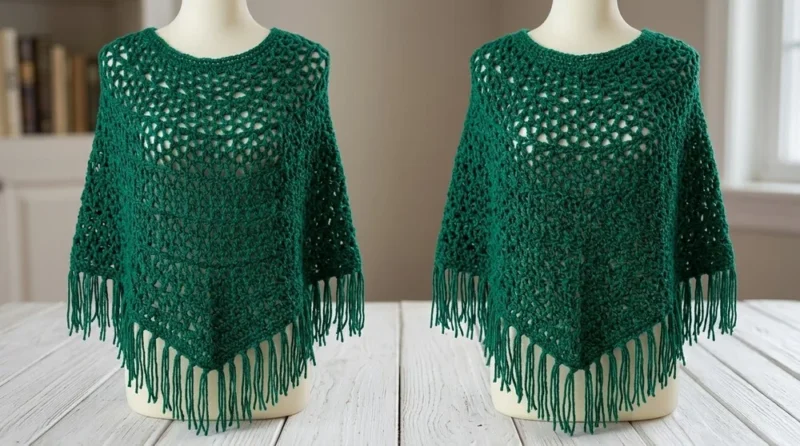
The finished poncho drapes beautifully over the shoulders with an open, airy V-stitch body and a neat single crochet neckline you can size to taste with a smaller hook. Add fringe along the hem for movement and drama, or skip it for a cleaner silhouette. Whether you keep it lightweight in DK yarn or cozy in worsted, it's a thoughtful handmade gift or a treat-yourself layer for cool evenings.
Common mistakes

  • Skipping the try-on checkpoints after major increase sectionsActually stop and put the poncho on (or hold it against your shoulders) after each increase round—this is the only way to catch a too-tight neck or off-track body length before you've crocheted several more rounds past the problem.
  • Losing track of the beginning of the roundSince this poncho is worked continuously in rounds, it's easy to lose your place—use a stitch marker at the start of every round and move it up each time so your increases and stitch counts stay accurate.
  • Working V-stitches inconsistentlyA V-stitch is typically (dc, ch-1, dc) into the same stitch—make sure you're placing both double crochets into the same space each time, not spreading them across two stitches, or your airy texture will look uneven.
  • Cutting fringe strands unevenly or too shortMeasure and cut all your fringe strands to the same length before attaching—12 inches is the suggested starting point, doubled and folded, which gives enough length to trim evenly for a clean, intentional hem after attaching.
  • Not weaving in ends as you gomultiple pattern sections and possible color or yarn changes, leaving all your ends until the finish line gets overwhelming—weave in ends with your yarn needle after finishing each major section instead.

The rounds, in full

Written out, round by round

Beginner4-6 Hours6.0 mmWorsted/DK

Materials

Everything this one takes, in the order you will reach for it.

Yarn

  • Medium Weight (Category 4) Yarn

Or

  • DK (Category 3) Yarn

Crochet Hooks

  • J (6.0 mm) hook (for neckline & finishing)
  • K (6.5 mm) hook (for body)

Other Notions

  • Yarn needle (for weaving ends)
  • Scissors
  • Tape measure (optional)
  • Stitch marker (optional, for beginning of round)

For Fringe (Optional)

  • Extra yarn
  • Measure & cut strands to preferred length (12″ suggested)

keep this to hand

Abbreviations

US crochet terms, as used in this pattern.

  1. chchain
  2. ststitch
  3. stsstitches
  4. sl stslip stitch
  5. scsingle crochet
  6. dcdouble crochet

chain

  1. Round 1-2Single Crochet Neckband
  2. Round 1Ch 1, sc in each ch around . (84 sc) Join with sl st to first sc.
  3. Round 2Ch 1, sc in each st around (84 sc). Join with sl st to first sc. (Optional: Add more rows for a taller neck, or begin with a smaller hook for a snug fit.)2. Setup for Body Switch to K (6.5 mm) hook .
  4. Round 3First V-Stitch Increase Round Ch 1. (V-stitch in first st—dc, ch 2, dc in same st), skip next 2 sts ; repeat around .Join with sl st into top of first dc or into ch-space.

You should have 28 V-stitches (one every 3 sts).

3. Establishing Poncho Pattern

  1. Round 4-5V-Stitch Rounds Each V-stitch round: Ch 1. In each V-stitch ch-2 space , place a V-stitch ( dc, ch 2, dc ).At end, join with sl st into first V-stitch.Repeat for two rows.(You will always have 28 V-stitches in each round at this stage.)
  2. Round 6Increase Single Crochet Row Ch 1. 4 sc in each V-stitch ch-2 space around (total: 112 sc).Join with sl st into first sc.Row 7: Increased V-Stitch Foundation Ch 1. (V-stitch in first st, skip next 2 sts) ; repeat around.Leave the last 3 sts unworked. Join with sl st into first V-stitch. (37 V-stitches.)Rows 8–9: V-Stitch Rounds Ch 1. V-stitch in each V-stitch ch-2 space around. (37 V-stitches each round.)Join with sl st as before.Repeat this 4-row sequence two more times with the following adjustments: Row of sc: 4 sc in each V-stitch ch-2 space (148 sc).V-stitch row: 49 V-stitches (skip 2 between each).Two more V-stitch rounds (49 per round).Row of sc: 4 sc in each V-stitch ch-2 space (196 sc).V-stitch row: 65 V-stitches (skip 2 between each).Two more V-stitch rounds (65 per round).After Row 17, continue the same pattern, but with NO increases:

5. Body Section (No More Increases)

Main Repeat

  1. Round 1Row A: 3 sc in each V-stitch ch-2 space around (total: 195 sc).Row B: Ch 1, (V-stitch in first st, skip 2) around, leave last 2 sts, join as before. (65 V-stitches)Rows C–D: V-stitch in each V-stitch ch-2 space around, join (65 V-stitches).Repeat Rows A, B, C, D until desired length (sample goes to ~Row 29, 19” long).(195)

6. Last Row (Poncho Edge)

  1. Round 2Work one more row of 3 sc in each V-stitch (195 sc).(195)
  2. Round 3Join with sl st to first sc. Fasten off.7. Neck Edging With J (6.0 mm) hook, join yarn at neckline.
  3. Round 4Sc evenly around neck opening (adjust to keep round flat and neat; decrease occasionally for more snug fit).
  4. Round 5Join with sl st, fasten off and weave ends.

8. Optional Fringe Cut strands of yarn, approx. 12” each. Hold 3 strands together per fringe.

Important notes

Note 01

💡 Keep your J (6.0mm) hook handy separately from your K (6.5mm) hook—swapping between the two is essential for getting a structured neckline against a drapier V-stitch body.

Note 02

💡 Place a stitch marker at the beginning of every round and move it up as you go; since this poncho is worked in continuous rounds, it's easy to lose track without one.

Note 03

💡 Try the poncho on after each major increase section (as the source notes suggest) rather than waiting until the end—this is your best insurance against an oversized or too-tight neckline.

Note 04

💡 If you want a tighter neck finish, drop to the smaller hook and decrease a couple of single crochets around the neck edge rather than trying to force a stretch fit.

Note 05

💡 When adding fringe, cut all strands to your chosen length at once using a tape measure or a cardboard template so every piece attaches evenly around the hem.

Note 06

💡 To extend the poncho's length, add extra 4-row main pattern repeats before your final single crochet band—this keeps the proportions balanced instead of just extending the bottom edge.

More photos

FAQs

Asked on the glider

the ones that come up on the glider

What yarn weight works best for this poncho?

The pattern is written for medium worsted weight (Category 4) or DK (Category 3) yarn, so you have flexibility depending on whether you want a cozier or lighter drape. Just stay consistent within one poncho unless you're intentionally going for a textured, mixed-weight look.

Can I make this poncho longer or shorter?

Yes—add extra 4-row main pattern repeats before the final single crochet band to lengthen it, or stop a repeat or two earlier for a cropped version. Just try it on after each increase section to track your progress accurately.

Is fringe necessary, or can I skip it?

Fringe is entirely optional and purely a style choice—the poncho looks clean and finished without it. If you do add it, cut strands to about 12 inches for a classic length, longer for more drama or denser for a heavier look.

Is this pattern really beginner-friendly?

Yes, the whole poncho relies on a repeating combination of chains, single crochet, and V-stitches, which makes it very approachable once you get the rhythm down. The main skill to focus on is keeping your stitch counts consistent through the increase rounds.