Intermediate 4-6 hours Worsted yarn

Worked on the glider, counted out loud —

Daisy trim bucket hat crochet pattern

A worked-up bucket hat with daisy trim and ties, suited to confident beginners. About 4-6 hours from ring to finished brim.

Jump to the rounds

What this one is

This is the hat for the evening you decide the plain ones just will not do anymore. You know the hat I mean, the kind that sits on a shelf and gets worn because it is warm, not because you reach for it. This one has daisies sewn on and ties that hang down, and it is made for whoever in your life likes a little whimsy with their warmth.

Your hands start at a magic ring and work outward in steady half double crochet, increasing round by round until the crown opens up into a proper hat shape. Then it is rows of plain stitching for the brim base before the shaping finishes it off. Between the crown increases, the brim rows, and the white edging and daisies at the end, you are looking at an evening's worth of work, maybe two if you take the daisies slow.
Try it another way

There is something satisfying about watching a flat magic ring circle turn into a dome just by increasing on a schedule, from Round 2's increase-every-stitch down to a spaced increase every eight stitches further along. You get to watch the hat find its shape instead of guessing at it. Then the mood shifts entirely for the finishing: the white chain-and-double-crochet edging gives the brim a clean, defined line, and the yellow daisies with their white petals turn a plain hdc hat into something with real personality. Sewing on the daisies and knotting the brown ties at the end feels like the reward lap after the steady crown work, a chance to slow down and make decisions about placement rather than just following a stitch count.

The rounds, in full

Written out, round by round

Intermediate4-6 hoursWorsted

Bring to the porch

Everything this one takes, in the order you will reach for it.

  • Yarn (main hat color, your choice)
  • Crochet Hook
  • Stitch Markers
  • White yarn (for the edging)
  • Yellow yarn (for the daisies)
  • Brown yarn (for the ties)

Main Pattern

Continue increasing the number of half double crochets for each row until you reach the desired size for the crown of the hat.

Once the desired size is reached, work normal rows of half double crochets for 10 rows to create the brim base before starting Round 25.

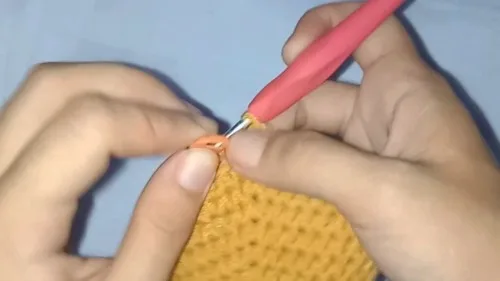
  1. Round 1Create a magic ring and make 9 half double crochets into the circle. Place a stitch marker in every first stitch of the round. (9)
  2. Round 2Make an increase in every stitch by working 2 half double crochets in each stitch around.
  3. Round 3Make 1 half double crochet, then an increase. Repeat this pattern until the end of the row.
  4. Round 4Make 2 half double crochets, then an increase. Alternate this pattern to the end of the row.
  5. Round 25Make 8 half double crochets, then an increase. Continue this pattern for the remaining stitches until the end of the row.

Putting it together

Step 1

Creating White Edges: Use white yarn to create the edges by making 2 chains, followed by 2 double crochets in the same stitch. Repeat this pattern until the end of the row.

Step 2

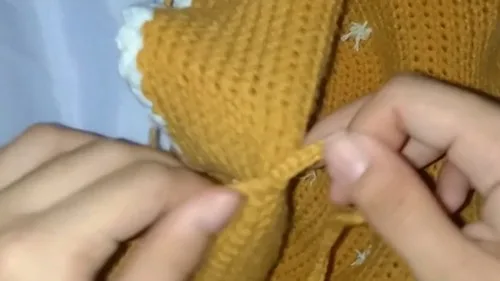
Making Daisies: Use yellow yarn to create daisies by forming a circle. Sew this circle onto the hat and add white petals to complete the daisy design.

Step 3

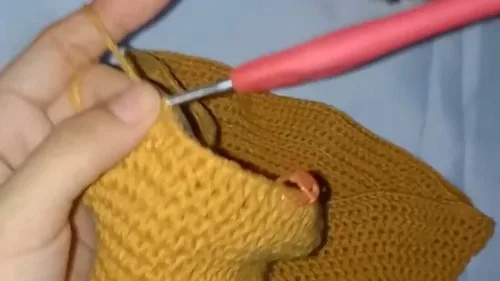
Making Ties: Make two ties by inserting a hook at the desired locations on the hat and creating chains with brown yarn. Repeat the same pattern for the second tie.

Step 4

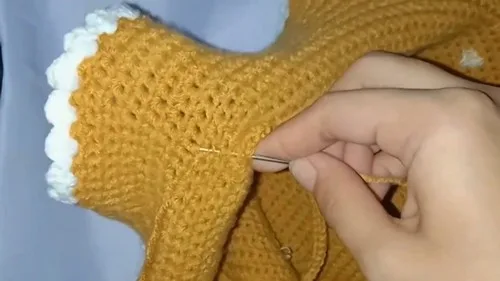
Finishing: Weave in all the tails and secure them to complete the hat.

Marlene's notes

Note 01

Keep a stitch marker moving with you at the start of every round rather than placing new ones, since the pattern asks you to mark the first stitch of each round as you go.

Note 02

The increase spacing changes from round to round, so check which round you are on before you start it rather than relying on memory from the last one.

Porch photos

Before you sit down

  • Check you have enough yarn on hand for the main hat plus white, yellow, and brown for the edging, daisies, and ties.
  • Have your stitch markers ready before Round 1, since you will place one in the first stitch of every round from the start.
  • Work a small test swatch in hdc to check your tension before committing to the magic ring, since a loose or tight gauge changes how the crown sits.

How the hours go

Crown shaping
about 1.5-2 hours because the increase rounds grow longer each time, from Round 2's increase in every stitch down to the wider spacing by Round 25
Brim base rows
about 1.5-2 hours because the 10 plain hdc rows are straightforward but add up in stitch count
Edging, daisies, and ties
about 1-2 hours because the daisy shapes and petals are fiddly small-scale work even though each piece is quick on its own

Looking after it

  • Hand wash the finished hat in cool water with a gentle detergent to keep the yarn fibers and the sewn-on daisies looking fresh.
  • Lay it flat to dry and reshape the crown and brim by hand while damp, then store it unfolded or loosely stuffed so the brim keeps its shape.
FAQs

Asked on the glider

the ones that come up on the glider

Do I need to use a stitch marker on every single round?

Yes, the pattern has you place a marker in the first stitch of every round starting from Round 1. Moving it up each round keeps you from losing track of where a round begins, which matters once the increase spacing gets wider.

Can I make the daisies a different color?

Yes, the yellow center and white petals are just the colors used here, and you can swap in any yarn colors you like for the daisy circles and petals. The construction stays the same regardless of color.

What if I only want one tie instead of two?

That is fine, since the ties are a separate assembly step worked by inserting a hook at your chosen spot and chaining with brown yarn. You can make just one, both, or skip them entirely without affecting the rest of the hat.

Why does Round 25 use eight stitches before each increase when earlier rounds use fewer?

The pattern increases the stitch count between increases as the crown grows, moving from one hdc per increase in early rounds up to eight by Round 25. This is how the dome shape stays smooth and flat rather than puckering.

Is the white edging worked directly onto the hat or separately?

It is worked directly onto the hat edge using white yarn, chaining two and then working two double crochets into the same stitch, repeated around. It is one of the four assembly steps and comes after the main hat body is complete.