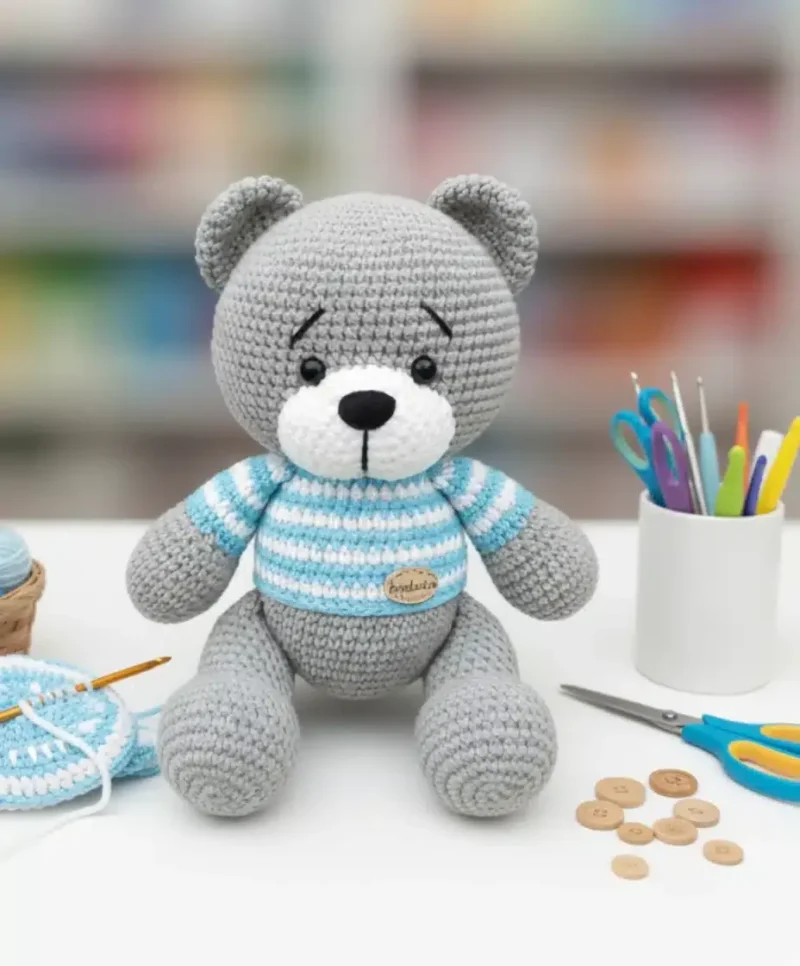
Intermediate 3-5 hours Worsted (Medium) yarn

Worked on the glider, counted out loud —

Crochet a teddy bear amigurumi step by step

A beginner-friendly amigurumi teddy bear worked in rounds - head, body, limbs, ears and all. Plan for about 3-5 hours.

Jump to the rounds

What this one is

This teddy bear is the kind of project you pull out for a quiet evening when you want something to hold in your lap and watch grow round by round. It's built for the crocheter who loves amigurumi but hasn't tackled a full teddy bear before - someone ready to work a head, a body, two arms, two legs, and a pair of ears from a single ball of yarn, and see them all come together into one small bear with a face of its own.

Your hands will spend most of the time working single crochet in a spiral, watching stitch counts climb through the increase rounds and settle again through the decreases that shape the ears. Between the head's eight rounds, the body, the limbs, and the small ear and muzzle pieces, you're looking at several sittings rather than one - plan for about three to five hours total, spread out however suits you, plus time for stuffing and sewing everything together at the end. The upper body/sweater portion can be customized entirely to your own imagination.

Try it another way

Once you've made this bear once, it's easy to make it your own. Swap the color partway through the head rounds - work rounds 1 through 4 in one shade and rounds 5 through 8 in another for a two-tone face, or save a contrast color just for the 24-stitch ears so they stand out against the body. You can also change colors on the body after round 12 if you'd like a two-tone torso. Try pastels for a gentle look or bright colors for a playful appearance, and consider adding a vest, scarf, or seasonal accessory once the body is complete. If you want a smaller bear, dropping down to a lighter yarn weight and a smaller hook will shrink the whole thing while keeping every round count the same, just working up tighter and smaller. Leaving out the safety eyes and embroidering the face instead with a simple straight-stitch nose and eyes makes this a safer option for a very young child. You could also lengthen the legs by adding a few extra rounds before the decreases begin, for a bear with a more sitting-up posture, or work the arms slightly shorter for a chubbier, more huggable silhouette. Varying the placement of the eyes and mouth is an easy way to give each bear its own personality. Try a mohair-style or brushed yarn just for the muzzle and ears for a soft, textured contrast against a smooth worsted body. However you adjust it, the same head, body, limb and ear construction carries through.

There's a real satisfaction in starting from nothing but a magic ring and watching six stitches become twenty-four by round four, the head rounding out in your palm as you go. The limbs ask for patience - thirty single crochet stitches worked in a spiral for eleven rounds on the arms, forty-two on the legs - but that steady rhythm is where amigurumi becomes almost meditative. Shaping the ears through careful decreasing after starting with twenty-four stitches teaches you how a few strategic stitches change a flat circle into something with real dimension. And stuffing that small cone-shaped muzzle before sewing it to the face is the moment this stops being a collection of parts and starts looking back at you.
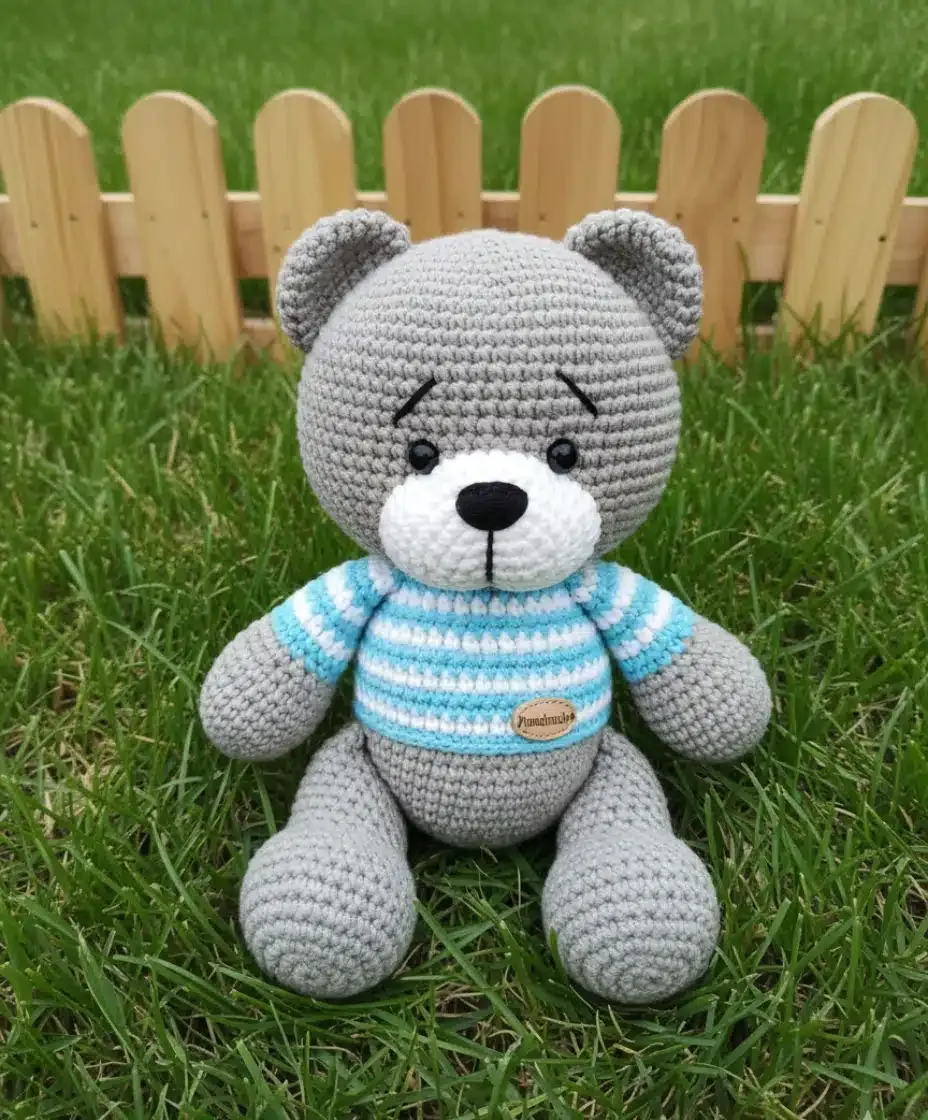
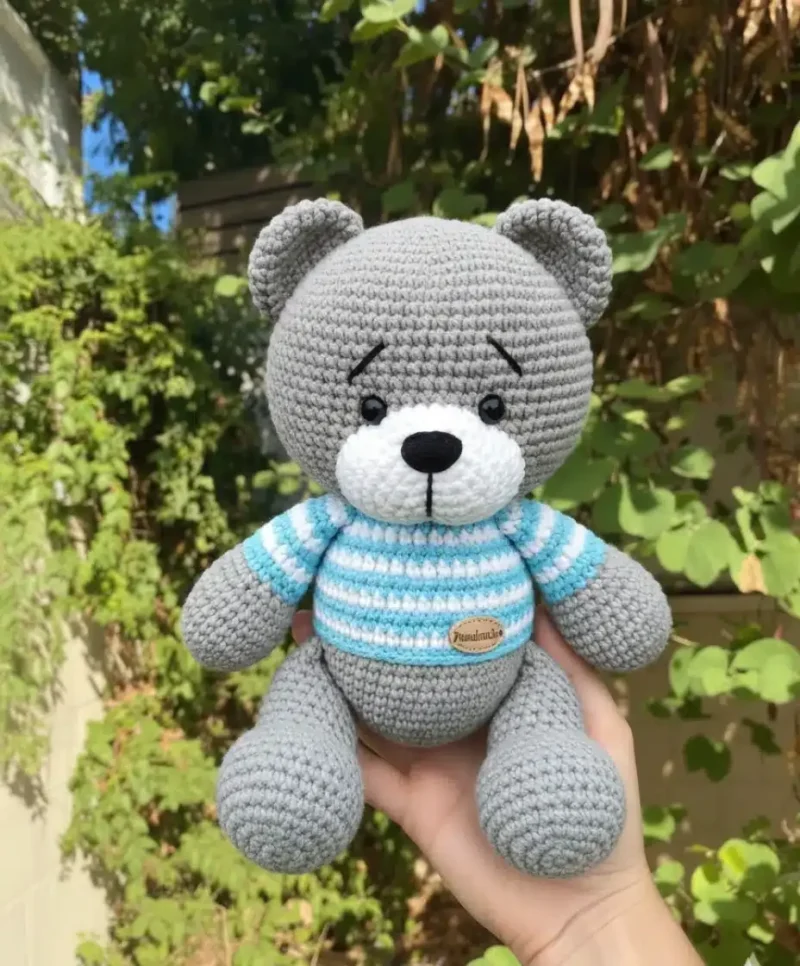
The rounds, in full

Written out, round by round

Intermediate3-5 hoursWorsted (Medium)

Bring to the porch

Everything this one takes, in the order you will reach for it.

Yarn

  • Medium weight yarn in your chosen colors

Hook

  • Size appropriate for your yarn weight

Stuffing

  • Soft fiber filling
  • Safety eyes (optional)
  • Yarn needle for sewing
  • Scissors

Head Construction

The teddy bear starts with the head, worked in continuous rounds:

  1. Round 16 single crochet in magic ring
  2. Round 2Increase in each stitch (12 stitches)(12)
  3. Round 3Single crochet, increase – repeat 6 times (18 stitches)(18)
  4. Round 42 single crochet, increase – repeat 6 times (24 stitches)(24)
  5. Round 53 single crochet, increase – repeat 6 times (30 stitches)(30)
  6. Round 64 single crochet, increase – repeat 6 times (36 stitches)(36)
  7. Round 75 single crochet, increase – repeat 6 times (42 stitches)(42)
  8. Round 86 single crochet, increase – repeat 6 times (48 stitches)Continue this pattern, working in rounds and gradually increasing the stitch count. The head should form a nice rounded shape as you progress.(48)

Body Assembly

After completing the head section, move on to constructing the body. The body follows a similar increasing pattern initially, then maintains a consistent circumference before decreasing toward the bottom.

Work the body in continuous rounds, changing colors after the 12th round if desired. The pattern includes specific stitch counts for each round to ensure proper shaping.

Arms and Legs

The limbs are worked separately and then sewn to the body: Arms: Start with 30 single crochet stitches in a spiral for 11 rounds

Legs: Begin with 42 single crochet stitches in a spiral, working complex shaping for realistic proportions

Each limb requires careful attention to shaping and stuffing. Fill them with soft fiber before attaching to ensure they maintain their form.

Ears and Facial Features

The ears are small but crucial for the teddy bear's character: Work 24 single crochet stitches in a spiral Create the distinctive bear ear shape through careful decreasing

Attach securely to the head

For the muzzle, create a small cone shape and stuff lightly before sewing to the face. The ears and muzzle give the bear its distinctive teddy bear appearance.

Putting it together

Step 1

Once all pieces are complete:

Step 2

Stuff all components with soft fiber filling

Step 3

Sew the head to the body securely

Step 4

Attach arms and legs at appropriate positions

Step 5

Add facial features like eyes and nose

Step 6

Sew on ears for the final touch

Marlene's notes

Note 01

Use a hook a size or two smaller than the yarn label suggests, since a tight fabric keeps the fiber filling from showing between stitches.

Note 02

Place a stitch marker at the start of each round on the head, body and limbs - working in a continuous spiral without one makes it easy to lose your place.

Note 03

Stuff firmly but evenly as you go rather than waiting until each piece is closed, especially on the legs, so the 42-stitch base holds its shape - fill each section firmly but not overly tight to maintain the bear's cuddly feel.

Note 04

Keep your tension even throughout for a professional appearance, and if making this for small children, ensure all parts are securely attached and consider embroidered features instead of safety eyes.

Porch photos

Before you sit down

  • Check you have enough medium weight yarn in each color you plan to use, since the head, body, limbs, ears and muzzle all draw from the same ball.
  • Choose a hook sized for your yarn weight and work a small test round to check your gauge is tight enough to keep the stuffing from peeking through.
  • Read through the Head Construction rounds before you begin, so you know where the stitch count should land at round 4 and round 8, and decide in advance whether you'll change colors after round 12 of the body.
  • Set aside your safety eyes, yarn needle and fiber filling now, so they're within reach once you start assembling.

How the hours go

Head Construction
about 45-60 minutes, because eight rounds of steady increasing take some concentration to keep the count accurate
Body Assembly
about 30-45 minutes, because the body increases, holds a steady circumference, and then decreases toward the bottom before you move on to the limbs
Arms and Legs
about 90-120 minutes, because you're working four separate spiral pieces - two 30-stitch arms and two 42-stitch legs with more complex shaping
Ears, Facial Features and Assembly
about 60-90 minutes, because the small 24-stitch ears and muzzle cone are fiddly, and sewing everything to the body takes a careful hand

Looking after it

  • Hand wash your finished bear in cool water with a gentle soap, since a stuffed toy holds water longer than a flat piece and needs a gentle touch to keep its shape.
  • Reshape the head, ears and limbs while damp and let the bear air dry fully before handling, then store it somewhere dry so the fiber filling stays fluffy and doesn't flatten.
FAQs

Asked on the glider

the ones that come up on the glider

Do I need safety eyes, or can I use something else?

Safety eyes are listed as optional, so you can embroider the eyes with yarn instead if you're making this for a very young child or simply prefer a stitched look. Either way, add them after the head is complete and before you sew it to the body.

How much yarn do I actually need?

The pattern doesn't set an exact yardage, so it depends on your yarn weight and the bear's final size. It's worth working up the head first and weighing what's left before you decide how to split your yarn across the remaining pieces.

What size hook should I use?

Choose a hook sized for whatever medium weight yarn you've picked, then check your fabric is dense enough that the fiber filling doesn't peek through the stitches. If you can see filling between stitches, drop down a hook size.

Why are the legs worked with more stitches than the arms?

The legs start with 42 single crochet stitches against the arms' 30, which gives them the extra width needed for realistic proportions and a stable base for the bear to sit or stand on. That larger stitch count also means a bit more shaping through the decrease rounds.

Can I make just the head and skip the rest?

You could stop after the Head Construction rounds if you want a simpler ornament or keychain-style project, though the pattern as written is designed as a full bear with a body, arms, legs, ears and a muzzle. If you do stop early, stuff and close the head as you would before final assembly.

My stitch count is off partway through the head - what do I do?

Count your stitches at the end of each round before moving on, especially through rounds 1 to 4 where the increases happen fastest. If you're off, it's easiest to unravel back to the last round where your count was correct rather than trying to fix it later.

Do I have to follow a specific pattern for the body/sweater?

No - the upper body section is left to your own preference in this pattern, so you can shape and finish it however you like, or add a vest, scarf, or seasonal accessory once the basic body shape is complete.