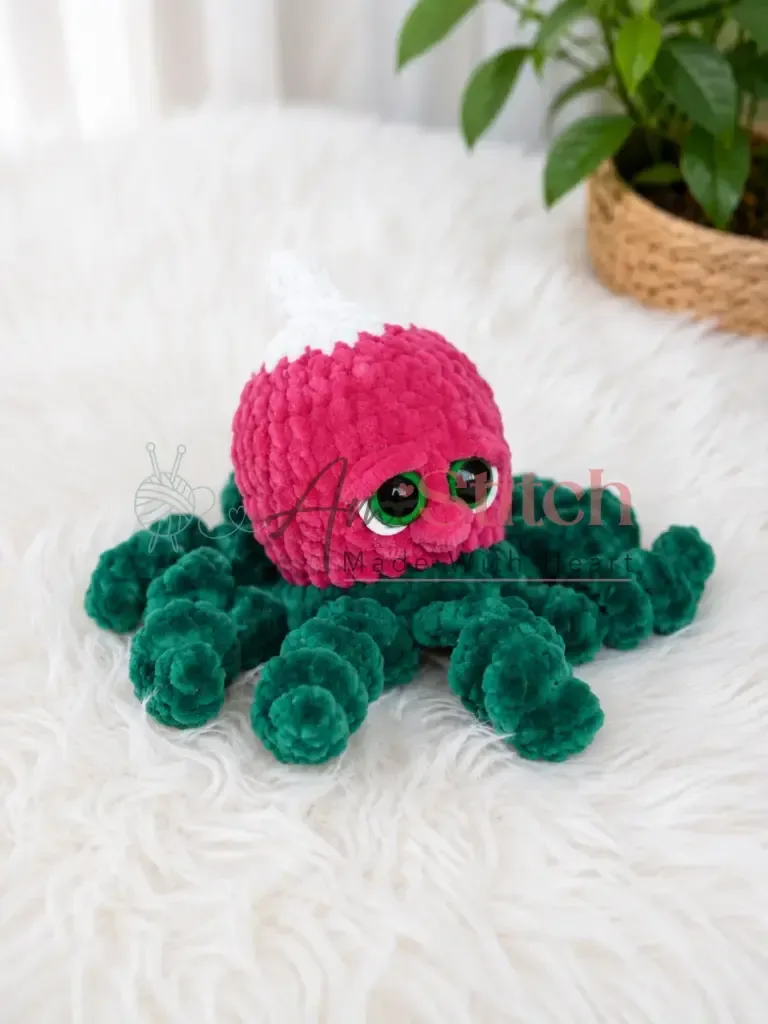
Intermediate 4-6 hours Bulky yarn

Worked on the glider, counted out loud —

Crochet radish octopus plushie: a cozy amigurumi pattern

A quick amigurumi project for confident beginners — one continuous spiral, done in a few relaxed hours.

Jump to the rounds

What this one is

This one's for whoever needs a small, slightly absurd creature on their shelf — a radish that's also an octopus, because why not. You know the kind of gift that makes someone laugh before they even know what it is. Make it for a kid who likes odd things, or for yourself, because you deserve a tiny weird friend too.

Try it another way

There's something quietly satisfying about a piece built in one unbroken spiral — no joining, no turning chain, just round after round climbing from six stitches up through the increases until the shaping settles into place. The Round 5 front-loop-only row is the clever bit: you work the front loops now and leave the back loops waiting, marked and patient, for you to return to later. That small trick is what lets the tentacle base and head-body read as two distinct shapes without ever picking up a needle to sew them together. Add in the safety eyes set into Round 3 of the head-body, and the hand-embroidered eyelids and nose at the end, and you've got a face with real personality for very little fuss.
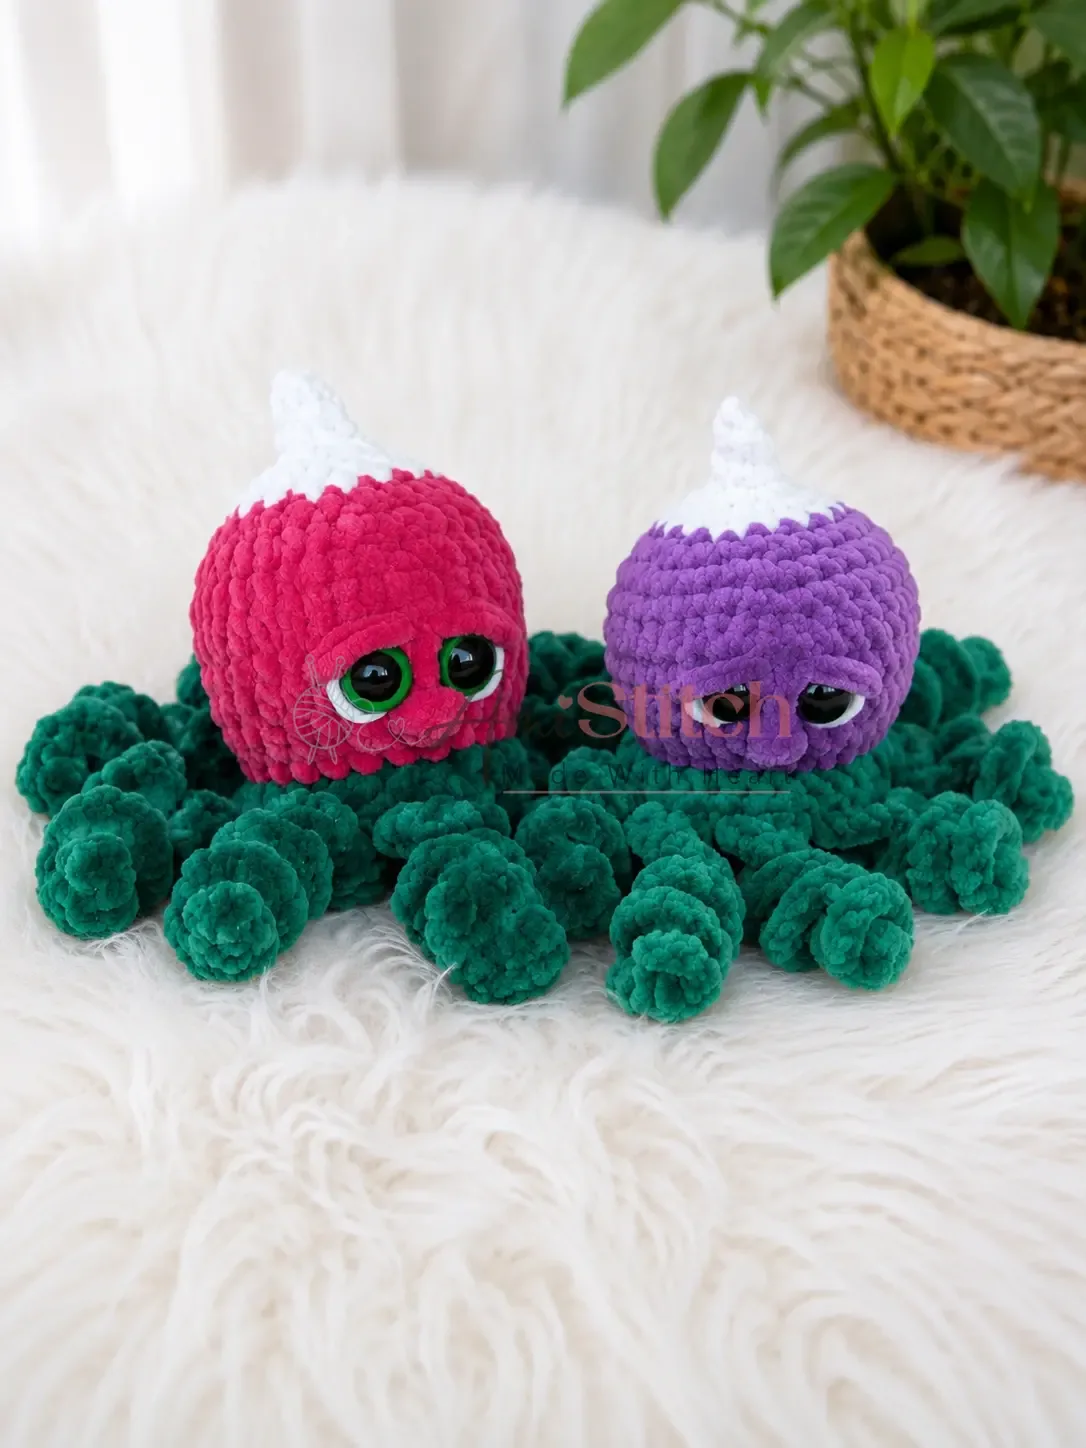
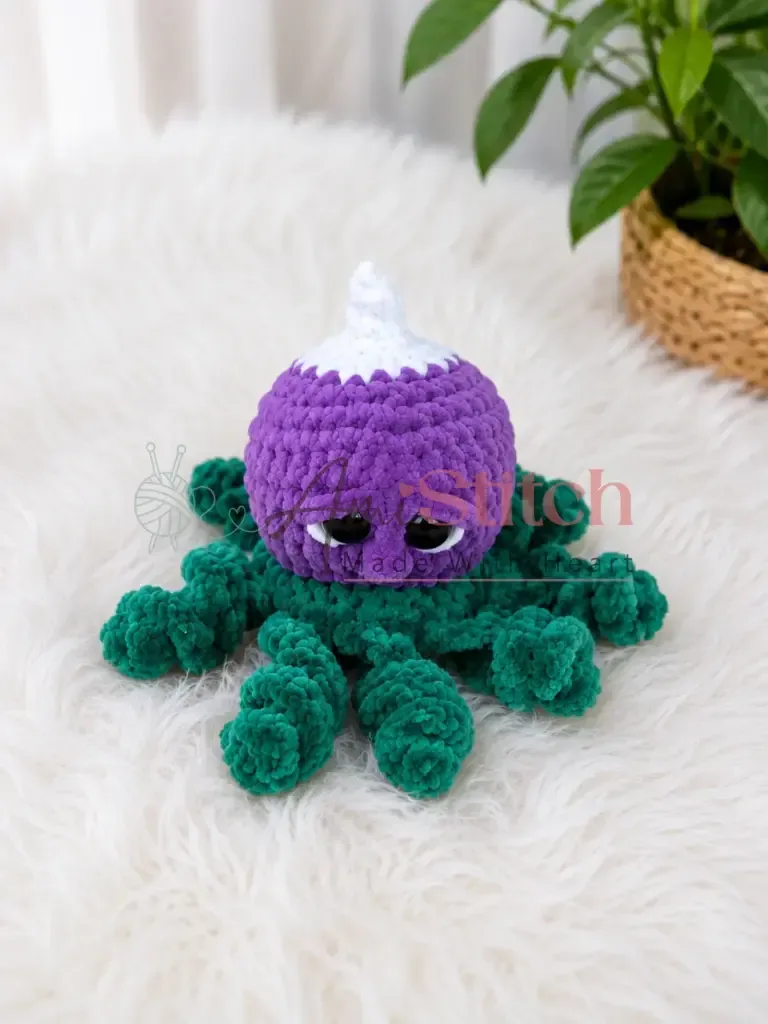
The rounds, in full

Written out, round by round

Intermediate4-6 hours14 mmBulky

Bring to the porch

Everything this one takes, in the order you will reach for it.

Yarn

  • Small amounts in three colors — radish/body color (raspberry, red, lilac, or yellow), green, and white. Suitable yarn weights include bulky plush (e.g., a Dolphin Baby-weight yarn, approx. 40–50 g total), a lighter plush or DK-weight alternative (approx. 30–40 g), or a sport/DK cotton-blend (approx. 30 g or less)

Tools

  • Size appropriate for your chosen yarn (check the yarn label — a tighter fabric is better for amigurumi so stuffing doesn’t show through)

Notions

  • Size depends on yarn weight — 14 mm for bulky plush, 12 mm for medium plush, 4 mm for sport/DK weight (1 pair)
  • Felt or foam sheet (foamiran): White, for cutting eye whites (optional but recommended)
  • Stuffing / fiberfill: A small amount — well under 40 g total
  • Stitch markers: At least 2 (one for tracking rounds, one for marking the back loop in Round 5 of the tentacle base)
  • Yarn needle / tapestry needle: For weaving in ends and embroidering facial features
  • Scissors

Tentacle Base & Head-Body

Begin with green yarn.

The tentacle base and head-body are worked in a continuous spiral — do not join rounds or make a turning chain unless instructed.

Fasten off and weave in the green end after the Tentacle Base.

Join your radish-color yarn (raspberry, red, lilac, or yellow) to the back loops of Round 5 that you marked earlier. Work in a continuous spiral.

Switch to white yarn before Rnd 9.

Add stuffing now — fill the head firmly but not so tightly that it distorts the shape. A light, even fill is best (add after Rnd 10, before Rnd 11).

Fasten off, leaving a short tail. Thread through remaining stitches and pull tight to close.

  1. Round 16 sc in MR. (6)
  2. Round 2inc in each st around. (12)
  3. Round 3(sc, inc) repeat 6 times around. (18)
  4. Round 4(2 sc, inc) repeat 6 times around. (24)
  5. Round 5Working in FLO only, sc in each of the 24 sts. (24) Place a stitch marker in the unworked back loops of this round — you will return to them for the Head-Body. If using plush yarn, mark the back loops now before they become hard to find.
  6. Round 6Tentacles This round creates all 8 tentacles. 3 sc, then ch 21; starting in the 2nd ch from hook, work 20 inc back along the chain (working in the opposite direction along the chain). Repeat this sequence — 3 sc, ch 21, 20 inc along the chain — 8 times total to complete the round. (The stitch count along the base ring remains 24 sc; each tentacle adds a separate loop of 20 inc along its chain.)
  7. Round 1Head-Body sc in each of the 24 back loops of Round 5 around. (24)
  8. Round 2Head-Body 3 sc, inc, 3 hdc, inc in hdc repeat 3 times, 3 sc, inc repeat 2 times. (30)
  9. Round 3Head-Body 5 sc, 15 hdc, 10 sc. (30) After completing this round, prepare and insert your safety eyes. Count 11 stitches from the start of this round and insert the left eye. Count 3 more stitches and insert the right eye. Slip the felt or foamiran eye-white circles behind the washers before snapping them in place, if using.
  10. Round 4Head-Body sc in each st around. (30)
  11. Round 5Head-Body (4 sc, inc) repeat 6 times around. (36)
  12. Round 6Head-Body sc in each st around. (36)
  13. Round 7Head-Body (4 sc, dec) repeat 6 times around. (30)
  14. Round 8Head-Body (3 sc, dec) repeat 6 times around. (24)
  15. Round 9Head-Body (2 sc, dec) repeat 6 times around. (18)
  16. Round 10Head-Body (sc, dec) repeat 6 times around. (12)
  17. Round 11Head-Body dec 6 times around. (6)
  18. Round 12Head-Body sc in each st around. (6)
  19. Round 13Head-Body dec 3 times. (3)

Putting it together

Step 1

The tentacles and head-body are already joined — there is no separate sewing required for the main structure.

Step 2

Embroider the eyelids: Using your yarn needle and a contrasting or dark yarn (or embroidery floss), stitch 2–3 short horizontal stitches just above each safety eye to suggest a sleepy or expressive eyelid.

Step 3

Embroider the nose: A small distance below and between the eyes, stitch 2–3 short stitches in the same manner to create a simple button nose.

Step 4

Weave in all remaining yarn ends securely.

Marlene's notes

Note 01

This whole piece is worked in a continuous spiral, so resist the urge to join each round with a slip stitch or add a turning chain unless the pattern tells you to.

Note 02

Keep that second stitch marker handy specifically for Round 5 of the tentacle base — those back loops are easy to lose track of once a few more rounds are stacked on top, especially in a plush yarn.

Note 03

Use well under 40 g of stuffing total and pack it firmly rather than loosely, since a tight, dense fabric is what keeps the fiberfill from peeking through the stitches.

Note 04

This pattern is written in US crochet terminology.

Note 05

The tentacle base and head-body are worked in a continuous spiral — do not join rounds or make a turning chain unless instructed.

Note 06

Gauge is not critical for this project; what matters is a firm, tight fabric so stuffing stays hidden. If your stitches feel loose, go down half a hook size.

Note 07

Stitch counts are given at the end of each round in parentheses: (##).

Note 08

Safety eyes are inserted into Round 3 of the Head-Body section before continuing — read ahead to that note before you start the head.

Note 09

The white eye-white backing (felt or foamiran) is optional but gives the face more expression. Cut two small circles or ovals and slip them behind the safety eye washers before securing.

Note 10

The tentacles are formed in Round 6 of the tentacle base using chain loops — they are not stuffed and do not require separate assembly.

Note 11

Tentacle tension: The 20 increases worked back along the 21-chain loop create a naturally curling tentacle. If yours are coming out too straight, try working them a little more loosely; if they're curling too tightly, ease up on the chain length slightly. The goal is a gentle, organic curl.

Note 12

Invisible decreases make all the difference: for the neatest finish on the body, always insert your hook through the front loops only of the next two stitches when decreasing. This hides the decrease point inside the fabric and keeps the surface smooth — especially visible when using solid-color yarns.

Note 13

Stuffing density: fill the head firmly enough that it holds its round shape but soft enough that your fingers can still gently depress the surface. Overstuffed amigurumi look stiff and show stitch gaps; understuffed ones go flat. A golf-ball level of firmness is a good target.

Porch photos

Before you sit down

  • Weigh out your yarn before casting on — you'll want small amounts in three colors (body, green, and white), and the whole plushie uses well under 100 g combined depending on weight chosen.
  • Have at least two stitch markers on hand: one to track your rounds and one specifically for Round 5, where you'll mark the unworked back loops of the tentacle base for later.
  • Read through to the note about Round 3 of the head-body now, so you know safety eyes go in partway through rather than at the very end.
  • Check your yarn label for hook size and go down half a size if your test stitches feel loose — you want a tight fabric here so the stuffing stays hidden.

How the hours go

Tentacle base (Rounds 1-6)
about 25-35 minutes, because the increases come quickly, you need to pause and place the back-loop marker in Round 5, and Round 6 forms all eight tentacles from chain loops
Head-body (Rounds 1-13)
about 1.5-2 hours, because this is the bulk of the thirteen remaining rounds plus seating the safety eyes partway through
Embroidered face and finishing
about 30-45 minutes, because the eyelids and nose are small hand-stitched details, plus time to weave in every remaining yarn end

Looking after it

  • Hand wash gently in cool water if the plush yarn gets grubby, then press out excess moisture in a towel rather than wringing, since plush fibers can lose their loft if twisted.
  • Lay the finished toy flat to air dry away from direct heat, and reshape the tentacle base and head-body gently with your fingers while still damp so the rounds settle back into their spiral shape.
FAQs

Asked on the glider

the ones that come up on the glider

Do I need to join each round as I go?

No — this whole piece, tentacle base through head-body, is worked in one continuous spiral. Joining or adding a turning chain will throw off your stitch placement, so just keep spiraling unless a step specifically tells you otherwise.

Why does Round 5 use front loops only?

Working Round 5 in FLO lets you finish the tentacle base cleanly while leaving the back loops of that round free and marked. You come back to those saved back loops later to continue building the head-body, which is what creates the visual break between the two sections without any sewing.

What size safety eyes should I buy?

That depends entirely on the yarn weight you pick: 14 mm for bulky plush, 12 mm for a lighter or medium plush, and 4 mm if you're working in sport or DK weight. Check your yarn choice against this before you order eyes, since they're inserted partway through the head-body rounds, not at the end.

Is the white felt for the eyes necessary?

It's optional but recommended — a small white felt or foamiran circle behind each safety eye gives a cleaner eye-white look. If you skip it, the eyes will still work fine, you'll just lose that extra bit of contrast.

How much should I stuff it?

Aim for well under 40 g of fiberfill total, packed firmly rather than loosely. A tight, dense fabric from your hook choice matters as much as the stuffing amount for keeping everything looking smooth rather than lumpy.

Can I skip the embroidered eyelids and nose?

Yes, those are a finishing touch added after the main structure is complete. The safety eyes alone will give the face plenty of presence, so feel free to leave the embroidery out if you're short on time or prefer a simpler look.

Can I use regular acrylic yarn instead of plush?

Absolutely — the pattern works with any yarn weight as long as you adjust your hook size and safety eye size accordingly. A sport or DK-weight acrylic will give you a smaller, firmer octopus with more visible stitch definition. Just make sure your tension is tight enough that the stuffing does not peek through the stitches.

How do I control how much the tentacles curl?

The curl is created by working 20 increases back along a 21-chain loop, which naturally causes the strip to spiral. If your tentacles are too straight, work the increases more loosely. If they curl too tightly into a tight coil, try chaining 22 or 23 instead of 21. A little experimentation with your specific yarn and tension goes a long way.