01
What this one is
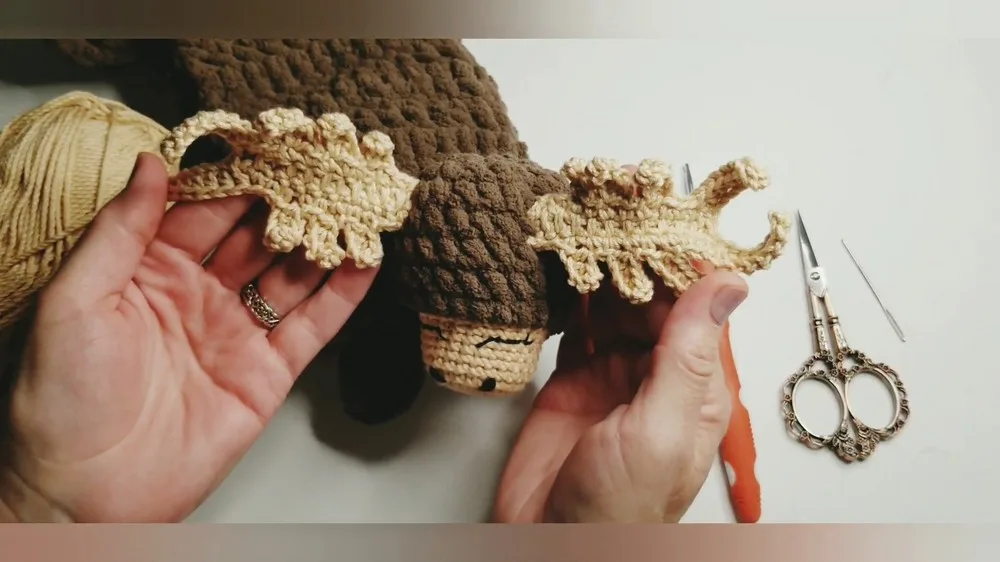
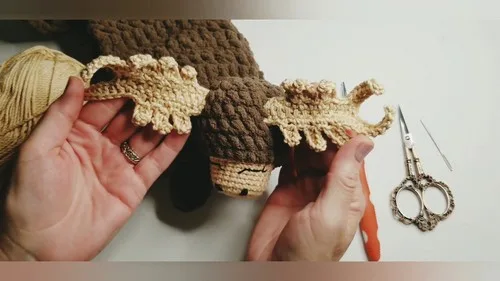
You know the kind of project you reach for when you want to make something with real shape to it, not just another round-and-round sphere. These antlers are for that mood: a small, branching piece that stands in for the whole character of a moose before the rest of the lovey even comes together. Make them for a baby gift, for a nursery shelf, or just because you've been wanting to try shaping points instead of counting endless single crochets.
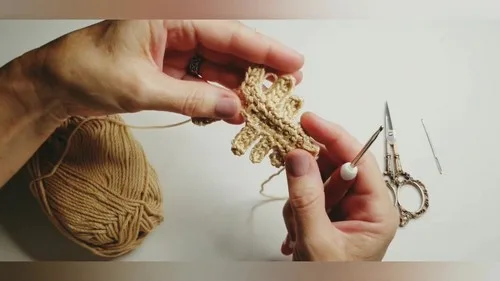
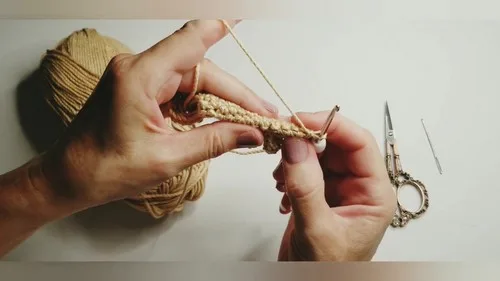
Your hands spend most of this project doing two different things: building a flat strip, then turning that strip into branches with chains and half double crochets, one point at a time. It's a good project for an evening when you want to sit with something and actually watch it take shape in your lap. Between the two antlers, plan on a few hours of focused stitching, with the point-shaping rows asking for a little more attention than the rest.
02
Try it another way
Once you've made one antler, the second comes together faster, so this is a good spot to experiment on your next pair. Try working both antlers in the same cotton you'll use for the moose head so the whole lovey reads as one piece, or pick a contrasting shade for the antlers so they stand out against the head once you attach them. If you want a smaller or larger finished antler, you can adjust your hook size slightly up or down from the 3.25 mm called for here, which will change the scale of the 10 sc base strip without changing the stitch count. Since the points are built from chains of increasing length, you could also shorten or lengthen every point by the same amount to make a more compact rack or a dramatically branching one, as long as you keep the progression consistent across all four points per side. If you're making this as a standalone decoration rather than part of the full lovey, skip the long tail at the start and instead add a small hanging loop when you finish Row 8, so you can display the antlers on their own before the rest of the project is done.
What makes this one satisfying is the shift from plain rows to real shaping. You spend three rows building a simple 10-stitch strip, and then suddenly you're slip stitching into place, chaining out a point, working half double crochet back down it, and anchoring it to the stem with a single crochet. Doing that four times per antler, each point a little longer than the last, teaches your hands a rhythm you can feel building. Mirroring the points on the second side so the antler reads as symmetrical is its own small puzzle worth solving. And because you leave a long tail at the start, the finishing feels built in rather than tacked on at the end.