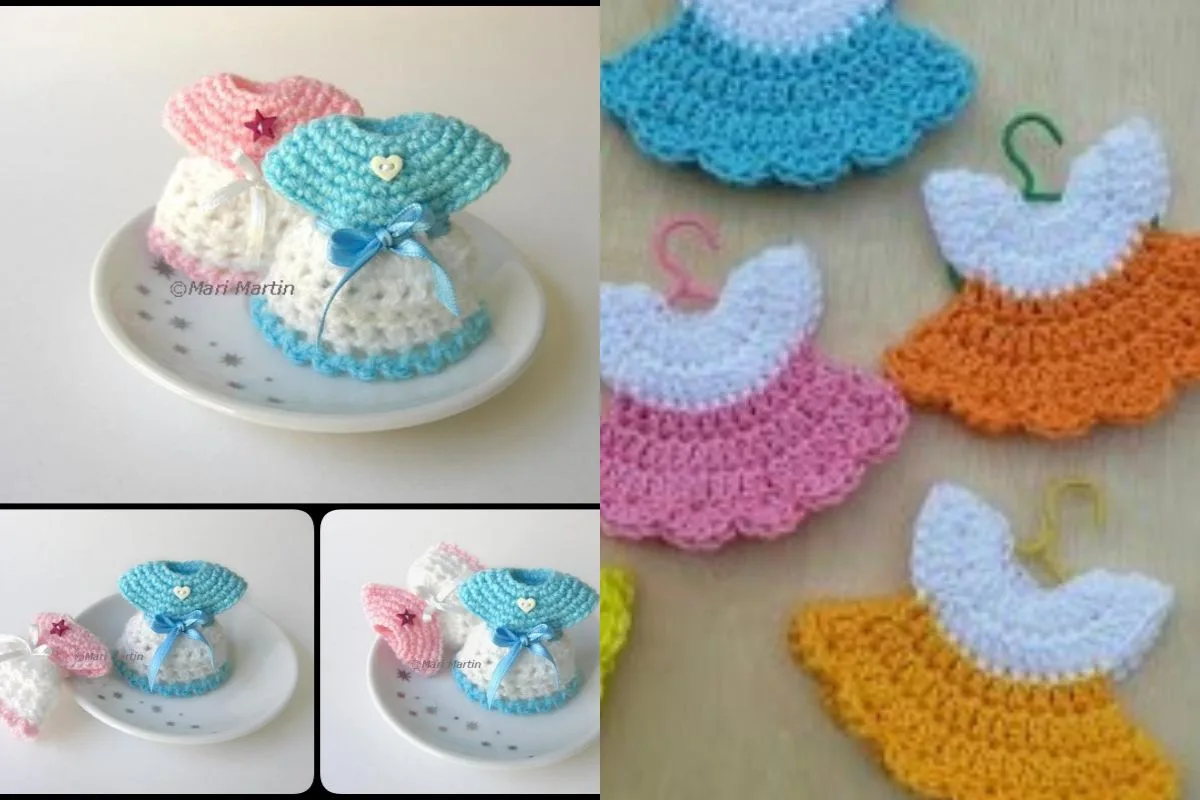
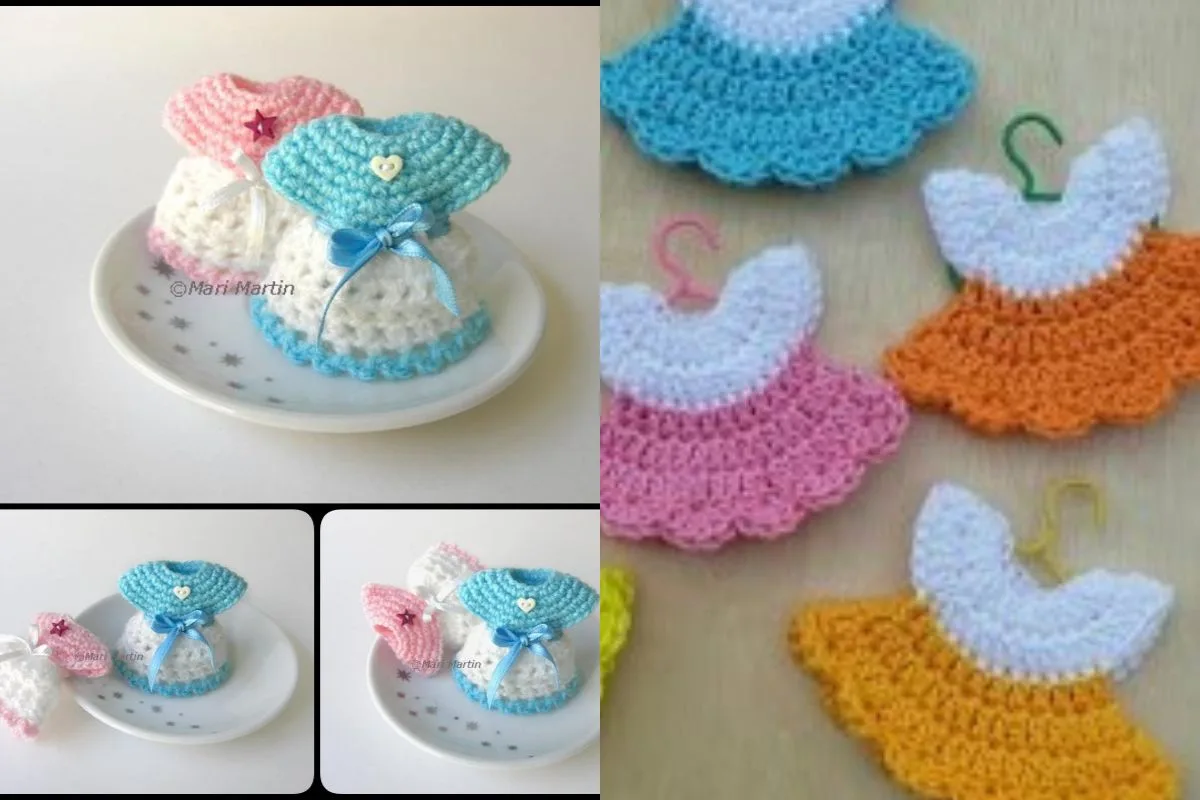
Intermediate 4-6 Hours Worsted yarn

Worked on the glider, counted out loud —

Crochet Mini Baby Shower Favors: Booties, Teddy Bears & Heart Keychains

Crochet mini baby shower favors with three sweet patterns—tiny booties, teddy bears, and heart keychains—perfect for guest gifts and cute table decor.

Jump to the rounds

Before you sit down

Start each favor with a magic ring to form a neat, closed center before building outward in rounds.

Work the crochet booties across three rounds, shaping the sole first and then building up the sides.

Add stuffing to the booties in small amounts as you close up the rounds to keep their shape firm.

Crochet the mini teddy bear's rounded body and head in one efficient round, then stuff lightly before closing.

Shape the heart keychain over two rounds, working from the center point outward to form the symmetrical curves.

Fasten off each piece with a long yarn tail for weaving in ends or attaching hardware.

Weave in all loose ends securely so the small stitches don't unravel with handling.

Finish by attaching a personalized gift tag or keyring hardware to complete each favor for gifting.

What this one is

This trio of mini crochet favors brings together everything a baby shower host could want: tiny booties, a plump little teddy bear, and a charming heart keychain, all worked up in miniature scale. What makes this set special is its versatility—these aren't just decorations, they're gifts guests take home and treasure. It's the perfect project for anyone hosting or attending a baby shower who wants to add a handmade, heartfelt touch that store-bought favors simply can't match.

Each piece uses classic amigurumi construction worked in continuous rounds, with the booties built up over three rounds, the teddy bear shaped in a single efficient round, and the heart keychain finished in just two rounds. This makes the set approachable for confident beginners while still satisfying for intermediate crocheters who enjoy quick, gratifying makes. Expect to spend roughly 4-6 hours total to complete a full set of three favors, making it an easy weekend project.

The finished favors are delightfully small—easily fitting in the palm of your hand—with a soft, huggable texture that begs to be squeezed. They photograph beautifully on a dessert table, tuck perfectly into a gift bag with a personalized tag, or clip onto a keyring for guests to carry home. Whether displayed as centerpieces or handed out as thank-you gifts, these mini favors carry outsized charm and warmth for such a small stitch count.

Variations

The easiest way to customize this set is through color. For a gender-neutral shower, work the booties and teddy bear in soft sage, buttery yellow, or warm oatmeal worsted weight yarn like Vanna's Choice or Soft. For a classic look, stick with pastel pink or baby blue depending on the theme, and use a contrasting color for the heart keychain so it pops against a diaper bag or keyring. Consider making the teddy bear in a variegated yarn like Caron Cakes for a subtly ombré effect that adds visual interest without extra rounds. If you want a jungle or woodland themed shower, swap the teddy bear's yarn for a soft brown or tan and add tiny felt ears instead of crocheted ones for a different texture. For size adjustments, you can size the booties up slightly by adding one extra round of single crochet before starting the cuff, which adds roughly a half-inch of length—just remember this will use a bit more yarn per pair. The heart keychain can also be doubled in size by working the same two rounds in a bulkier yarn with a larger hook, creating a chunkier statement piece perfect for a diaper bag charm rather than a favor. If you're making these favors for a twin shower, consider crocheting the booties in two coordinating colorways to help guests tell the twins' favors apart. Finally, for an extra festive touch, attach tiny fabric bows or seed bead accents to the finished booties, or thread a jump ring through the heart keychain to attach a small charm with the baby's initial.

I adore how this set lets me create three completely different textures and shapes in one sitting—the structured little booties, the round and cuddly teddy bear, and the sweet symmetrical heart keychain. There's something so satisfying about working a magic ring and watching a tiny bootie sole take form round by round, or shaping the teddy bear's rounded head in just one efficient round without fuss. Each piece is small enough to finish in under two hours, so you get that quick dopamine hit of completing a project without the long haul of a full-size amigurumi. I especially love that the heart keychain doubles as a functional accessory, not just a decoration—guests can actually use it. These favors feel personal in a way that printed napkins never could, and tucking a handwritten gift tag onto each one makes every guest feel individually thought of. It's the kind of project where the ratio of effort to charm is wonderfully lopsided in your favor—small time investment, huge 'aww' payoff when someone opens their favor bag.
Common mistakes

  • Losing track of the magic ring's starting stitch when beginning the teddy bear's single efficient round.Place a stitch marker in the very first stitch of the magic ring before working further stitches, so you always know where the round begins and ends.
  • Working the bootie's three rounds too loosely, causing the sole to gap and lose its shape.Use a hook one size smaller than you'd normally choose for the yarn weight to keep stitches tight and prevent stuffing from peeking through.
  • Overstuffing the mini teddy bear until the single round of stitches stretches and distorts the shape.Add stuffing in small pinches, checking the shape against a reference photo as you go, and stop once the bear feels firm but not tight.
  • Forgetting to leave a long enough yarn tail when finishing the heart keychain's second round for attaching the keyring hardware.Leave at least a 6-inch tail at the fasten-off point so you have plenty of length to thread through a keyring or clasp without needing to add new yarn.
  • Not counting stitches carefully across the bootie's three rounds, leading to a lopsided or uneven cuff.Count your stitches at the end of every round before moving to the next, and use a removable stitch marker to mark the last stitch of each round.
  • Rushing the fasten-off and weaving in ends, leaving loose tails that can unravel on such small pieces.Weave each tail through several stitches in two different directions and trim close to the fabric, since small amigurumi pieces show loose ends more obviously.

The rounds, in full

Written out, round by round

Intermediate4-6 HoursWorsted

Materials

Everything this one takes, in the order you will reach for it.

  • Worsted weight yarn
  • Crochet hook (size to suit your yarn)

keep this to hand

Abbreviations

US crochet terms, as used in this pattern.

  1. chchain
  2. ststitch
  3. stsstitches
  4. scsingle crochet
  5. dcdouble crochet

1. Crochet Baby Booties

Step 1: Start the Sole Foundation Chain : Chain 6 stitches.

  1. Round 1In the second chain from the hook, work 1 single crochet (sc), then work 1 sc in each chain across. (5 sc)Example: Ch 6, sc in 2nd ch from hook, sc across. (5 sc )

Step 2: Build the Bootie

  1. Round 2Ch 1, turn. Work 2 sc in the first stitch, then 1 sc in each of the next 3 stitches, and 2 sc in the last stitch. (8 sc)

Example:

  1. Round 2Ch 1, 2 sc in first st , sc in next 3 sts , 2 sc in last st . (8 sc )Step 4: Fasten Off and Weave In Ends Use a yarn needle to weave in any loose ends.

Step 3: Form the Bootie Shape

Continue working in rounds until the desired height is reached. You can add a small cuff by working additional rows of single crochet.

2. Crochet Mini Teddy Bears

Step 1: Create the Body Foundation : Start with a magic ring.

Round 1 : Work 6 single crochets into the ring.

Example :

  1. Round 16 sc in magic ring . Step 2: Shape the Teddy Bear Continue increasing the rounds until you achieve the desired body size. Use a contrasting yarn for the ears, nose, and bow.

Step 3: Add Details

Use a yarn needle to sew button eyes and a small nose. You can add a tiny bow around the neck for a charming touch.

3. Crochet Heart Keychains

Step 1: Make the Heart Shape Foundation : Start with a magic ring.

  1. Round 1Chain 3, then work 2 double crochets into the ring, followed by 1 chain stitch. Repeat twice more.

Example :

  1. Round 1Ch 3 , 2 dc in ring , ch 1 ; repeat 2 more times. Step 2: Form the HeartWork back to the starting point, slip stitch to join, and create a small loop for attaching a keyring.Step 3: Weave in Ends Cut the yarn and secure it. Weave in any loose ends.

Important notes

Note 01

💡 Use a hook one size smaller than the yarn label recommends for all three favors—this keeps stitches dense enough to hold stuffing without gaps.

Note 02

💡 Keep a small bag of polyester fiberfill nearby and stuff the teddy bear and booties in small amounts, checking firmness as you go rather than stuffing all at once.

Note 03

💡 Place a stitch marker at the start of every round across all three patterns—it's easy to lose your place in such small, fast-moving rounds.

Note 04

💡 When making multiple favors for a full shower, prep several magic rings in advance so you can move quickly from one favor to the next.

Note 05

💡 Leave generous yarn tails (at least 6 inches) when fastening off the heart keychain so you have enough length to attach a keyring or clasp securely.

Note 06

💡 If making favors in bulk for many guests, batch each pattern piece by round rather than finishing one favor completely before starting the next—it speeds up the process significantly.

More photos

FAQs

Asked on the glider

the ones that come up on the glider

How many favors does this pattern make in total?

The pattern gives you one each of the crochet booties, mini teddy bear, and heart keychain, so you'll want to repeat the set as many times as you have guests. Many hosts make a dozen or more sets in coordinating colors for a full baby shower.

What yarn weight works best for these mini favors?

A worsted weight yarn paired with a hook one size smaller than usual gives the best結果—tight, dense stitches that hold their shape and hide stuffing well. Cotton or acrylic worsted yarns both work nicely for this scale.

Can I make the heart keychain without the hardware attachment?

Yes, simply skip attaching the keyring clasp and instead thread a ribbon or cord through the top stitch to hang the heart as an ornament or favor topper. It works beautifully as a gift tag accent too.

Do I need special stuffing for the teddy bear?

Standard polyester fiberfill works perfectly for the mini teddy bear; just add it in small pinches so the single round of stitches doesn't stretch or distort. Avoid cotton stuffing, as it can clump and create lumps in such a small piece.

How do I attach a gift tag to the finished favors?

Thread a small loop of ribbon or baker's twine through one of the top stitches on the bootie, bear, or heart, then tie on a personalized paper tag with the baby's name and shower date. This keeps the tag secure without adding stitches to the pattern.