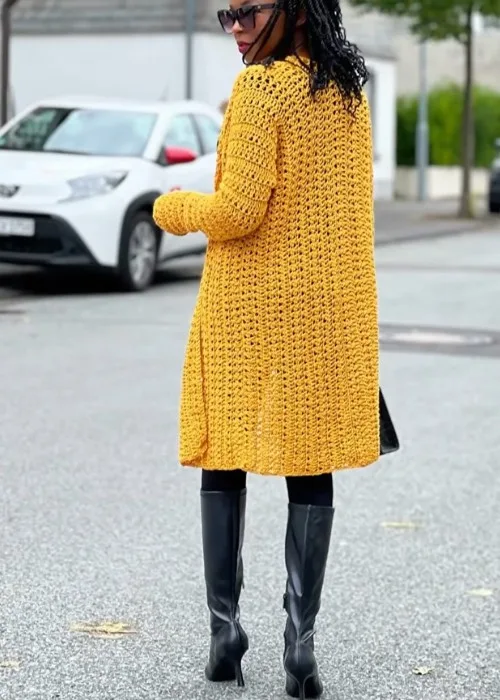
Intermediate 6-9 Hours Worsted yarn

Worked on the glider, counted out loud —

Crochet Lightweight Long Cardigan: A Wardrobe-Filling Pattern

Crochet a lightweight long cardigan with this cozy honey-toned pattern using worsted yarn and a 4.0mm hook—perfect for building your handmade wardrobe.

Jump to the rounds

Before you sit down

Start by measuring your wrist and adding 2 inches to determine your foundation chain length.

Crochet the foundation chain, a multiple of two stitches matching your wrist measurement plus 2 inches, to establish the base for shaping the cardigan's sleeve area.

Work the Sleeve section over its rows, building the cuff and upper sleeve shape.

Complete the Second Panel to form the body portion that pairs with the sleeve piece.

Lay all your finished pieces flat to check that edges and orientation line up correctly.

Place the two panels right sides together, mark the middle stitch on each, and join them from the bottom to the middle using the mattress stitch.

Join the sides of the cardigan from the bottom to the underarm and along the sleeve using the mattress stitch, then work a single crochet border around the bottom and front.

Weave in any loose ends and give the cardigan a light steam to help it drape.

What this one is

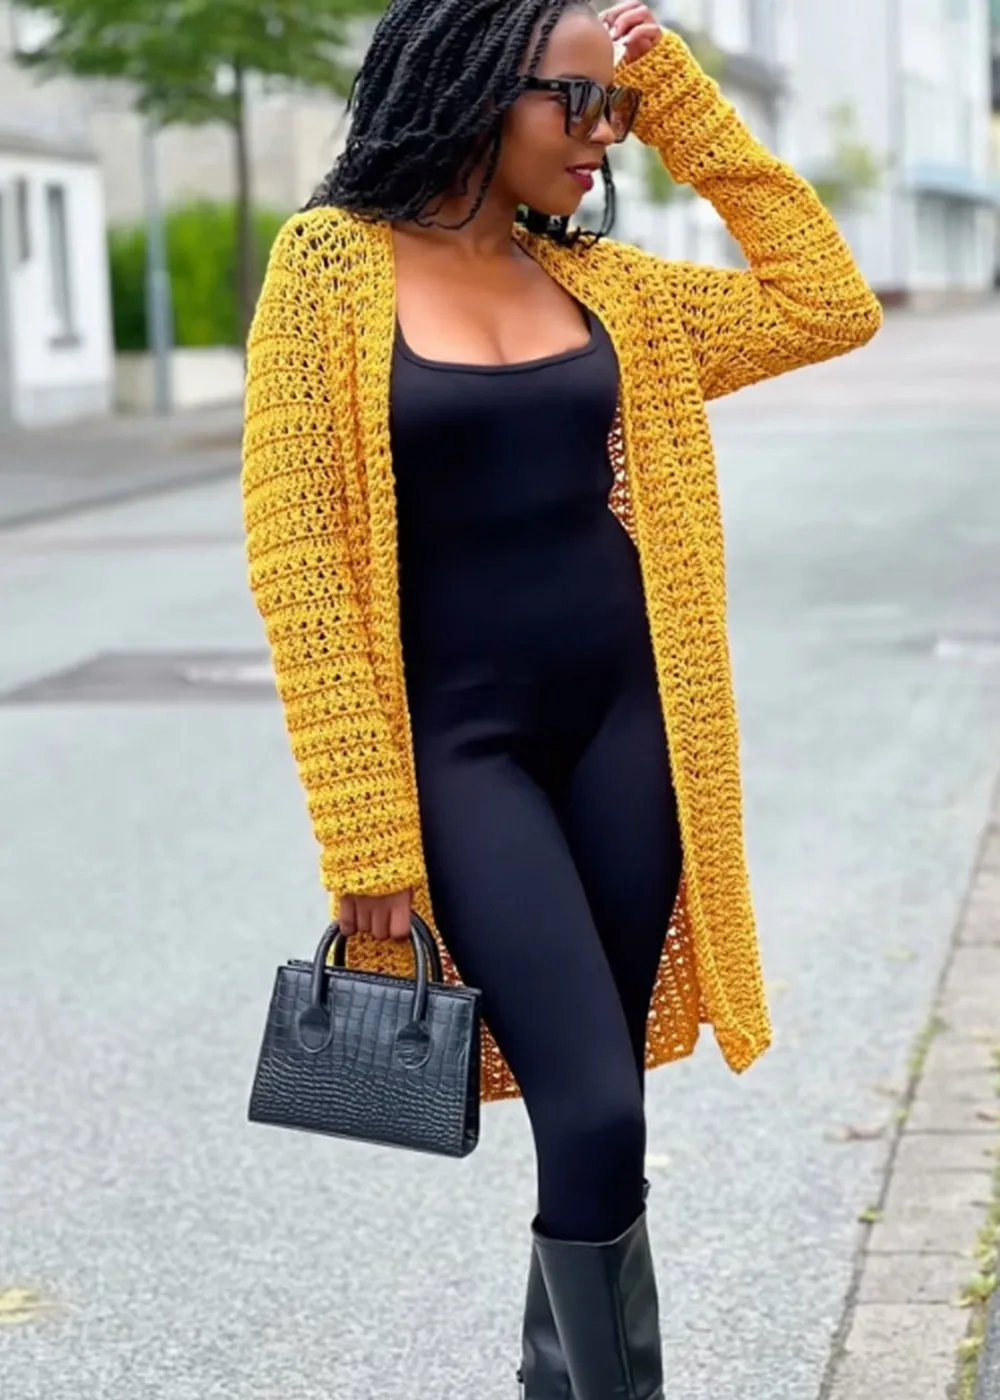
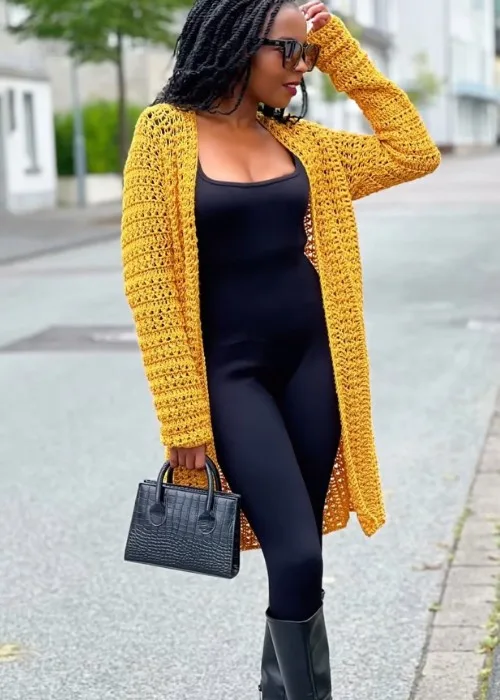
This lightweight long cardigan is the kind of piece that quietly takes over your closet — the one you grab on cool mornings, over sundresses, or for a chilly office. Made with a soft honey-colored yarn, it drapes beautifully without feeling bulky, giving you that effortless, thrown-on-but-put-together look. It's perfect for crocheters who want to build a genuinely wearable wardrobe piece rather than another accent scarf, and for anyone who loves layering pieces that feel handmade and special.

You'll work through a sleeve panel, a foundation chain section, and a second panel, then bring it all together by joining the panels with mattress stitch and finishing the edges. Expect straightforward stitchwork with a bit of shaping know-how for the sleeves, making this a great next-level project if you've already crocheted a few garments. Because the panels are worked separately before seaming, you can crochet on the go and assemble whenever you're ready — plan on a couple of relaxed evenings or one focused weekend.

The finished cardigan is long, breezy, and lightweight — ideal for transitional weather when you want coverage without heat. In a warm honey shade, it pairs with nearly everything in your closet, from jeans to dresses. Whether you keep it for yourself or gift it to a fellow layering-lover, it's the kind of handmade piece that reads as thoughtful, wearable, and genuinely useful — not just decorative.

Variations

This cardigan is wonderfully easy to make your own. For a color twist, try a soft sage green or dusty rose instead of honey — both look gorgeous with the drapey, lightweight feel of this design. If you want a bolder statement, work the sleeve panel in a contrasting color like rust or cream so it pops against the main body when you fold back the cuffs. Yarn-wise, if you can't find Durable Comy, look for a similar lightweight worsted like Comfy Cotton Blend or We Crochet Comfy Fingering held double — anything with good drape and a similar yardage (around 266m per 100g) will keep the fit consistent. For sizing, remember the wrist-measurement trick from the notes: simply adjust your foundation chain length by measuring your wrist and adding two inches, then scale that ratio proportionally for the rest of the panels if you're making it for someone with a larger or smaller frame. Want a cropped version? Stop the panel rounds earlier before assembly to shorten the overall length — just keep the sleeve rounds as written so the proportions stay balanced. Seasonally, this pattern transitions beautifully: work it in a crisp white or pale blue for spring layering, or a deeper caramel or chocolate brown for an autumn version that still keeps its lightweight feel. You could also add simple stitch markers in a contrasting scrap yarn to mark panel edges, making assembly foolproof if you're working on multiple pieces at different times. However you customize it, this pattern's simple panel-and-seam structure makes experimentation low-risk and high-reward.

I designed this cardigan because I wanted a go-to layer that didn't feel heavy or fussy — just easy, wearable crochet you'll actually put on every week. Working the sleeve panel first felt so satisfying, since it comes together in just a few rows and gives you an immediate sense of progress. I love how the foundation chain section lets you customize fit right from the start — measuring your wrist and adding that extra two inches means the cardigan actually fits your body, not just a generic size chart. Piecing together the second panel and watching the cardigan take its long, flowing shape is such a rewarding moment; it stops looking like separate pieces and starts looking like a garment you'll live in. The mattress-stitch assembly keeps things simple, too, so you're not wrestling with complicated seaming after all that panel work. It's the kind of project that feels productive at every stage, and by the end you've made something you'll wear on repeat, not just admire on a shelf.
Common mistakes

  • Skipping the wrist measurement stepAlways measure around your actual wrist and add the recommended 2 inches before starting your foundation chain — this single step is what makes the sleeve fit correctly rather than too tight or too loose.
  • Losing track of round countsPlace a stitch marker at the start of row 1 and move it up each row; with such a short section it's easy to lose your place, so marking keeps your stitch count accurate.
  • Mismatching tension between the SleeveCrochet a small swatch before starting the Second Panel to confirm your gauge matches the Sleeve panel, since inconsistent tension between panels will cause uneven seaming later.
  • Rushing the assembly stepsLay the Sleeve, Foundation Chain section, and Second Panel out flat before seaming to confirm orientation and edges line up — this prevents having to unpick stitches after assembly.
  • Using a hook size otherStick with the 4.0 mm hook for this lightweight yarn; going up a size can make the cardigan too loose and floppy, while going down loses the soft drape that makes it wearable.
  • Forgetting to account for yarn amountConfirm your substitute yarn has a similar yardage to the 266m/100g Durable Comy skeins, or you may run short before finishing all panels and assembly.

The rounds, in full

Written out, round by round

Intermediate6-9 Hours4.0 mmWorsted

Materials

Everything this one takes, in the order you will reach for it.

  • Durable Comy Yarn, 100g each skein, 266m, color honey (5 skeins for extra small)
  • 4.0 mm hook
  • Tape measure
  • Scissors
  • Stitch markers

keep this to hand

Abbreviations

US crochet terms, as used in this pattern.

  1. chchain
  2. scsingle crochet
  3. dcdouble crochet
  4. X stitchThe X stitch is worked by skipping the first stitch, then working a double crochet in the second stitch, then going back to the skipped stitch and working a double crochet. Repeat this process in the next two stitches.

Sleeve

  1. Row 1CH 2 (does not count as a stitch), DC in the third CH from the hook, DC in each CH across. Turn.
  2. Row 2CH 2, DC in the first DC, X stitch in the next two stitches, repeat X stitch across. Turn.
  3. Row 3CH 2, DC in the first DC, X stitch in the next two stitches, repeat X stitch across. Turn.
  4. Row 4CH 2, DC in the first DC, increase in the next stitch (DC in the same stitch twice), DC in each stitch across. Turn.Repeat rows 2-4 until your sleeve reaches your desired length. For an extra small, this is 9 inches.

Foundation Chain

Wrist Measurements Measure around your wrist and add 2 inches for allowance. This will be the length of your foundation chain. For example, if your wrist is 5 inches, your foundation chain will be 7 inches.

  1. Foundation ChainChain a multiple of two stitches that is equivalent to your wrist measurement plus 2 inches. For example, if your wrist measurement is 7 inches, chain 18 stitches.

Second Panel

Chain the same number of stitches as you chained for the first panel.

Attach the chain to the opposite side of the sleeve from the first panel.

Work the same number of X stitches on this side as you worked on the first side.

Cut off the excess chain.

Work rows 2-4 of the X stitch pattern until you reach the desired length for your sleeve.

Assembly

Step 1

Place the two panels together with the right sides facing.

Step 2

Mark the middle stitch on each panel.

Step 3

Join the panels together from the bottom to the middle using the mattress stitch.

Step 4

Join the sides of the cardigan from the bottom to the underarm and along the sleeve using the mattress stitch.

Step 5

Work a row of single crochets around the bottom and front of the cardigan.

Step 6

Sew in any loose ends.

Important notes

Note 01

💡 Use a 4.0 mm hook consistently throughout all panels to keep the fabric's lightweight, drapey feel intact.

Note 02

💡 Before starting your foundation chain, measure your wrist and add 2 inches — for a 5-inch wrist, that's a 7-inch chain.

Note 03

💡 Place a stitch marker at the beginning of each row in the Sleeve section since it's only a few rows and easy to lose track of.

Note 04

💡 Keep your 5 skeins of honey-colored yarn nearby and check dye lots match if you buy extras, to avoid subtle color shifts across panels.

Note 05

💡 Dry-fit the Sleeve, Foundation Chain, and Second Panel pieces before beginning assembly to confirm correct orientation.

Note 06

💡 Work in good lighting when seaming the panels together with the mattress stitch so you can clearly see stitch placement for even, professional-looking seams.

More photos

FAQs

Asked on the glider

the ones that come up on the glider

How much yarn do I need for this cardigan?

The pattern calls for 5 skeins of Durable Comy yarn (100g, 266m each) in honey for an extra small size. If you're making a larger size, plan on purchasing extra skeins from the same dye lot to avoid color variation.

What hook size should I use?

This pattern uses a 4.0 mm hook throughout. Sticking with this size keeps the fabric lightweight and drapey rather than stiff or overly loose.

How do I make sure the sleeves fit properly?

Measure around your wrist and add 2 inches for ease — this measurement becomes your foundation chain length. For example, a 5-inch wrist means a 7-inch foundation chain.

Is this pattern good for beginners?

This pattern is best suited for intermediate crocheters who are comfortable with basic shaping and simple assembly. If you've made a garment or two before, you'll find the panels and mattress-stitch assembly very manageable.

How long does this cardigan take to make?

Most crocheters finish this cardigan in about 6-9 hours, spread across a weekend or a few evenings. The Sleeve panel is quick at just a few rows, while the Second Panel and assembly take a bit more time.