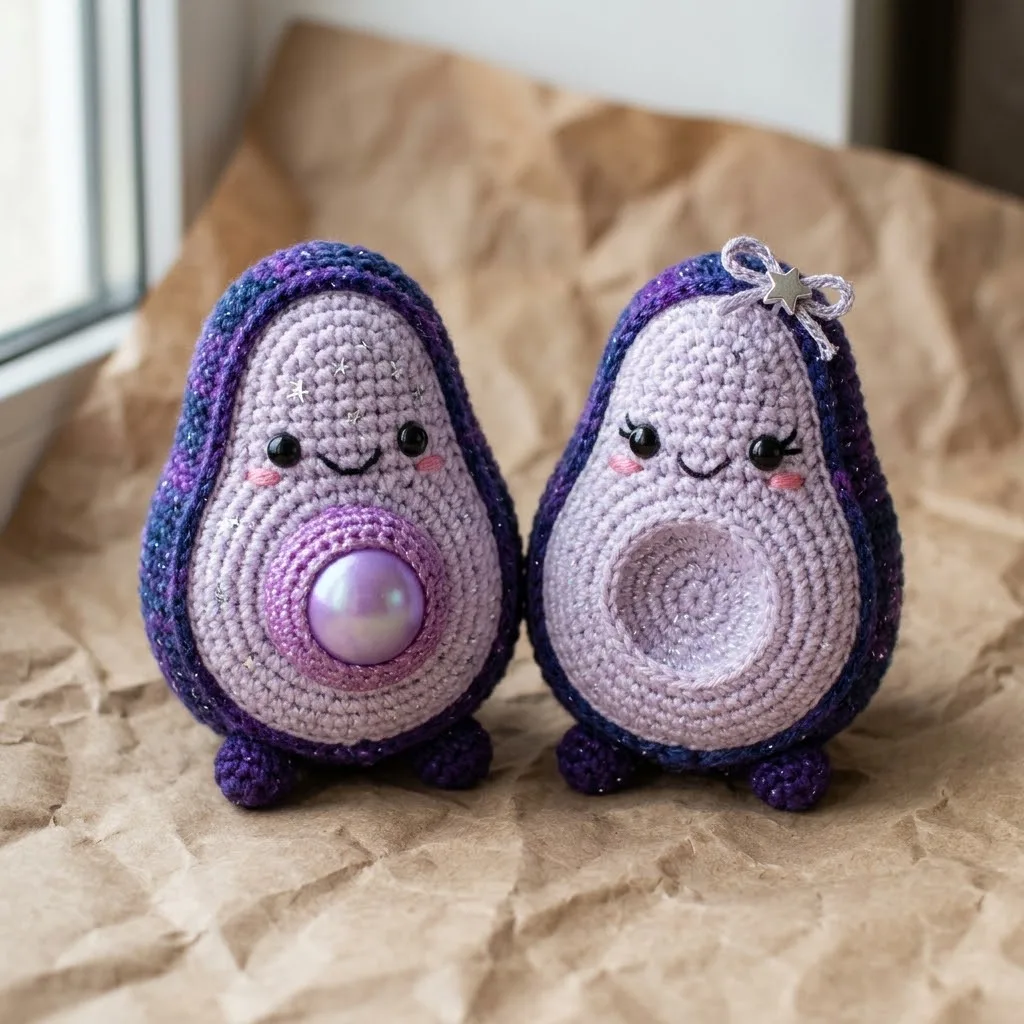
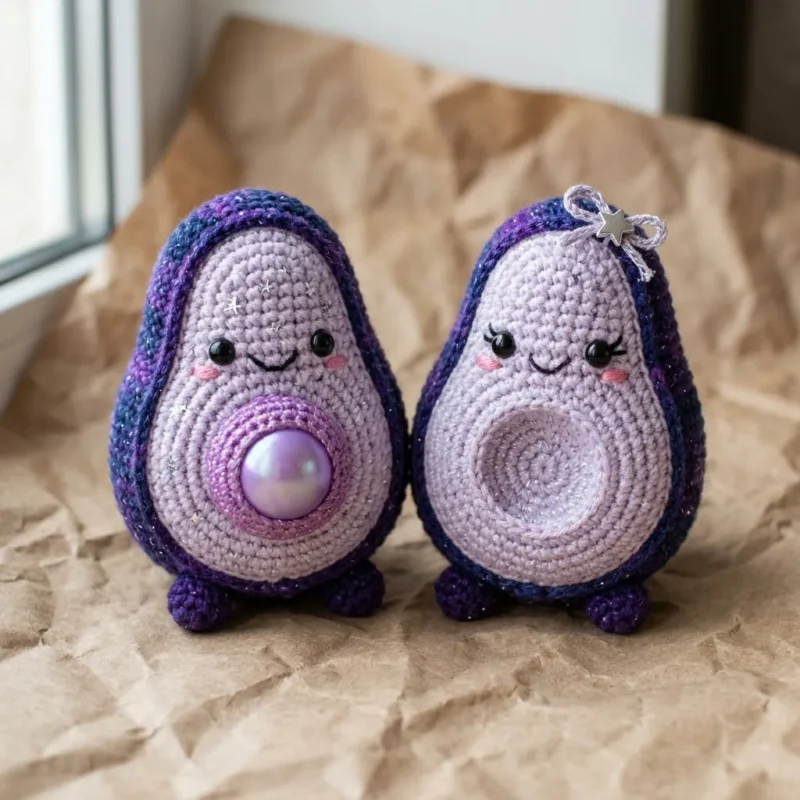
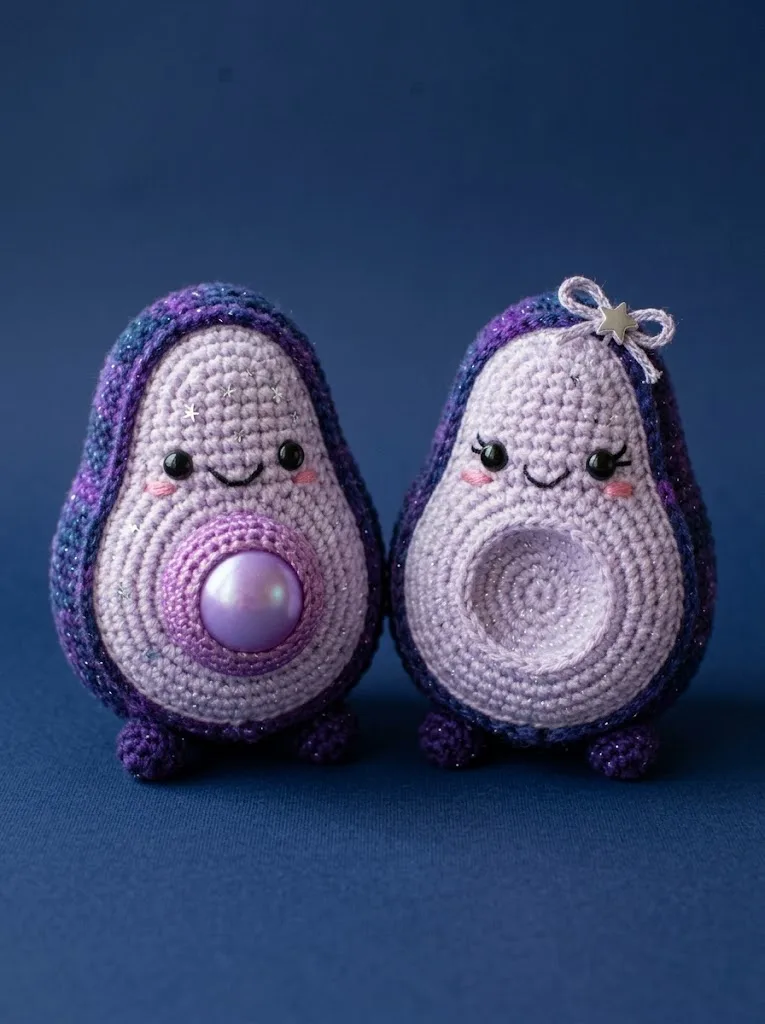
You know that quiet stretch after dinner when your hands want something to do but your brain has clocked out for the day. This one's for you. It's for anyone who has ever looked at a plain amigurumi avocado and thought it needed a little more sparkle, a little more night sky. If you've got a soft spot for tiny sleepy faces and yarn with a bit of shimmer running through it, this pattern is going to feel like it was made for your stash.
02
Try it another way
The easiest swap is the pit itself: use the pit ring with the light purple sparkle spiral cavity for a classic look, or drop in the small 15mm pearl bead version for something a bit more polished under glass. If you want a bigger or smaller avocado, adjust your hook size slightly rather than the round count, since these are designed to sit around 4 to 5 inches tall as written. Play with color placement too: the pattern calls for galaxy variegated yarn on the skin and feet with pale lavender flesh, but you could flip that contrast and put the sparkle yarn on the flesh instead for a different cosmic effect. For gifting, the optional bow and star charm dress things up nicely, tied in pale purple or silver yarn and stitched to the top of the head. You can also vary how many stars you embroider, anywhere from 3 to 5 per avocado, to make each one in a pair feel slightly different. If you're making several as a set, consider using different galaxy variegated colorways, purple-blue, blue-teal, so your finished avocados form their own little constellation on the shelf.
There's real satisfaction in working the flesh piece from a magic ring through its increase rounds and watching that classic avocado curve appear without you having to think too hard about the shaping. The outer skin is a nice change of pace, worked flat as two mirrored halves so you get to practice reading a mirrored pattern before whip stitching the seam. But the part that makes this one memorable is the embroidery: placing 8mm safety eyes with real spacing, then scattering three to five tiny cross-stitch stars across the forehead in metallic silver floss. That's the moment a plain purple ball turns into something genuinely cosmic.
The rounds, in full
Progress tracker
0 of 0 rounds
Tap a round as you finish it. This device remembers where you stopped.
Written out, round by round
Intermediate4-6 hours3.0 mmWorsted
Bring to the porch
Everything this one takes, in the order you will reach for it.
Yarn
01Galaxy/space variegated yarn in purple and blue tones (worsted weight with sparkle or metallic thread) for the skin and feet
02Light lavender or pale purple yarn (worsted weight) for the flesh
03Medium purple or mauve yarn (worsted weight) for the pit ring
04Light purple with sparkle (worsted weight) for the pit cavity spiral
Tools
053.0mm crochet hook (or size needed for tight amigurumi fabric)
06Polyester fiberfill stuffing
078mm black safety eyes (2 per avocado)
08Pink embroidery floss for cheeks
09Black embroidery floss for eyelashes and mouth
10Metallic silver or white embroidery floss for star details
11Yarn needle
12Stitch marker
13Small pearl bead (approximately 15mm) for the pit version
14Small star charm and yarn bow (optional embellishments)
15Scissors
Part 1: Avocado Outer Skin (Galaxy Yarn)
You’ll work this piece flat as two mirrored halves, then seam them together. Think of it as the avocado peel that frames the lighter flesh.
Starting piece:
Step by step: This frames where the pit sits. Make it slightly puffy.
Step by step: For the spiral cavity version (Light Purple Sparkle Yarn):.
Step by step: Make 2 per avocado, so 4 total for a pair.
Round 1Ch 2, work 4 sc in second ch from hook, ch 1, turn. (4 sts)
Round 2Inc in first st, sc 2, inc in last st, ch 1, turn. (6 sts)through 5: Sc in each st around. (12 sts each round) Sl st, fasten off leaving a tail. Stuff lightly.
Round 3Inc, sc 4, inc, ch 1, turn. (8 sts)*Sc 2, inc* repeat 6 times. (24 sts) Sl st, fasten off. Leave the spiral pattern visible from the front. The magic ring center creates a natural spiral effect.
Step by step: For the pearl pit version:.
Follow the same instructions for the pit ring, but before fastening off, insert and secure a 15mm pearl bead in the center. You can glue it or sew it in place. The pearl should sit snugly within the ring, creating that gorgeous dimensional pit.
Round 4Inc, sc 6, inc, ch 1, turn. (10 sts)
Round 5Inc, sc 8, inc, ch 1, turn. (12 sts)Step by step: BLO sc in each st around. (30 sts).through 9: Sc in each st around. (30 sts each round) Sl st to next st, fasten off leaving a long tail for sewing.
Round 6through 10: Sc across all stitches, ch 1, turn. (12 sts each row)(12)
This is where your avocado comes to life. Take your time here.
Step 2
Step 1: Position the pit ring (or pit cavity) on the front center of your flesh body, slightly below center. Pin in place. Whip stitch around the edge using matching yarn.
Step 3
Step 2: If using the pearl version, ensure the pearl is secured before attaching the ring to the body.
Step 4
Step 3: Take your two outer skin pieces. Position them around the flesh body like a frame, with the curved edges meeting at the back. The skin should border the lavender flesh, creating that classic avocado look. Pin everything in place.
Step 5
Step 4: Using galaxy yarn, whip stitch or mattress stitch the skin pieces to each other along the back seam. Then stitch the inner edges to the flesh body.
Step 6
Step 5: Attach the feet to the bottom front of the avocado. Position them so the avocado can stand upright. Sew securely.
Marlene's notes
💡Note 01
Use a hook size that gives you dense, tight stitches, since gaps in amigurumi fabric let the white fiberfill show through.
💡Note 02
Move your stitch marker up every round on the flesh piece so you always know where your round begins, especially once the increase pattern gets less repetitive later on.
💡Note 03
Insert the 8mm safety eyes before you close up any opening completely, and secure each one with its washer on the inside so they can't be adjusted or pulled loose later.
Porch photos
Before you sit down
Weigh out your yarn before you begin: you'll want roughly 50 grams of the galaxy variegated main color and about 30 grams each of the lavender and purple shades, so there's no mid-project scramble.
Keep a stitch marker within reach from the very first round of the flesh piece, since it's worked entirely in continuous rounds and easy to lose your place without one.
Work a quick test swatch with your 3.0mm hook first to check your tension is tight enough that stuffing won't peek through the fabric.
Read through Rounds 1 to 4 of the flesh piece before you start so the increase pattern (plain stitch, then increase, spacing out by one more stitch each round) feels familiar once you're working it for real.
How the hours go
Outer skin (both mirrored halves)
about 45 to 60 minutes because you're working two flat pieces per avocado and then seaming the curved edges
Flesh body
about 1 to 1.5 hours because of the 13 continuous rounds with several increase and decrease sections to track
Assembly and face embroidery
about 1 to 1.5 hours because whip stitching the pieces together neatly and placing the eyes, cheeks, and 3 to 5 tiny stars takes a careful, unhurried hand
Looking after it
Hand wash your finished avocado in cool water with a gentle detergent, since the metallic thread running through the galaxy yarn can lose its shine with hot water or aggressive machine washing.
Reshape the piece gently while damp and let it air dry flat, then store it out of direct sunlight so the variegated purple and blue tones don't fade over time.
Do I need to make the outer skin as two separate halves?
Yes, the outer skin is worked flat as two mirrored pieces, four total for a pair of avocados, then seamed together around the flesh body. This gives you that classic split-peel avocado look once assembled.
Can I use the pearl bead instead of the crocheted pit cavity?
Yes, the pattern includes both options. Just make sure the roughly 15mm pearl is secured firmly before you whip stitch the pit ring onto the front of the flesh body.
How far apart should the safety eyes be placed?
Space the 8mm safety eyes about 8 to 10 stitches apart, positioned above the pit area. Insert them between rounds and secure with washers before closing up the piece.
Is this pattern really beginner friendly?
If you've made a basic amigurumi ball before, you're ready for it, since the shaping only uses increases and decreases in continuous rounds. The trickiest parts are the seaming and the embroidery, not the stitch pattern itself.
How many stars should I embroider on each avocado?
Aim for 3 to 5 tiny star shapes scattered across the forehead area using metallic silver or white floss. Simple cross stitches with a vertical line through the center work well and keep it quick.
Is the bow and star charm necessary?
No, those are optional embellishments. If you want to add them, tie a small bow in pale purple or silver yarn, attach a tiny star charm to the center, and sew it to the top of the head.
🧵
Sunday evening, from the glider —
The porch letter
A pattern and a note from the glider, most weeks.
🧵
Every round ticked off.
That was the last round. Would you like the letter when the next one goes up?