Intermediate 4-6 hours Super Bulky yarn

Worked on the glider, counted out loud —

Soft chenille amigurumi sea creatures to crochet

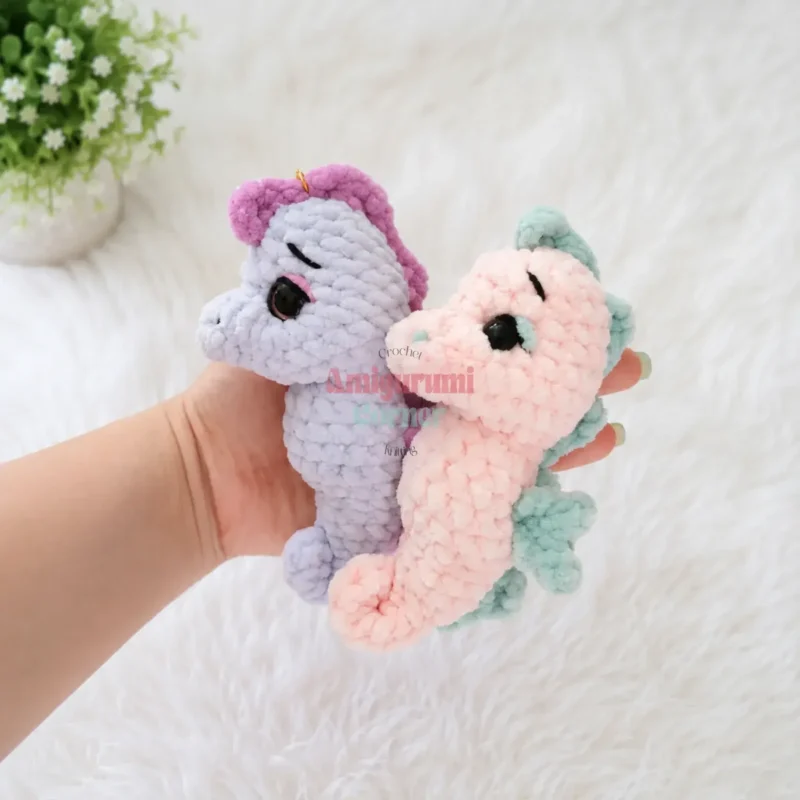
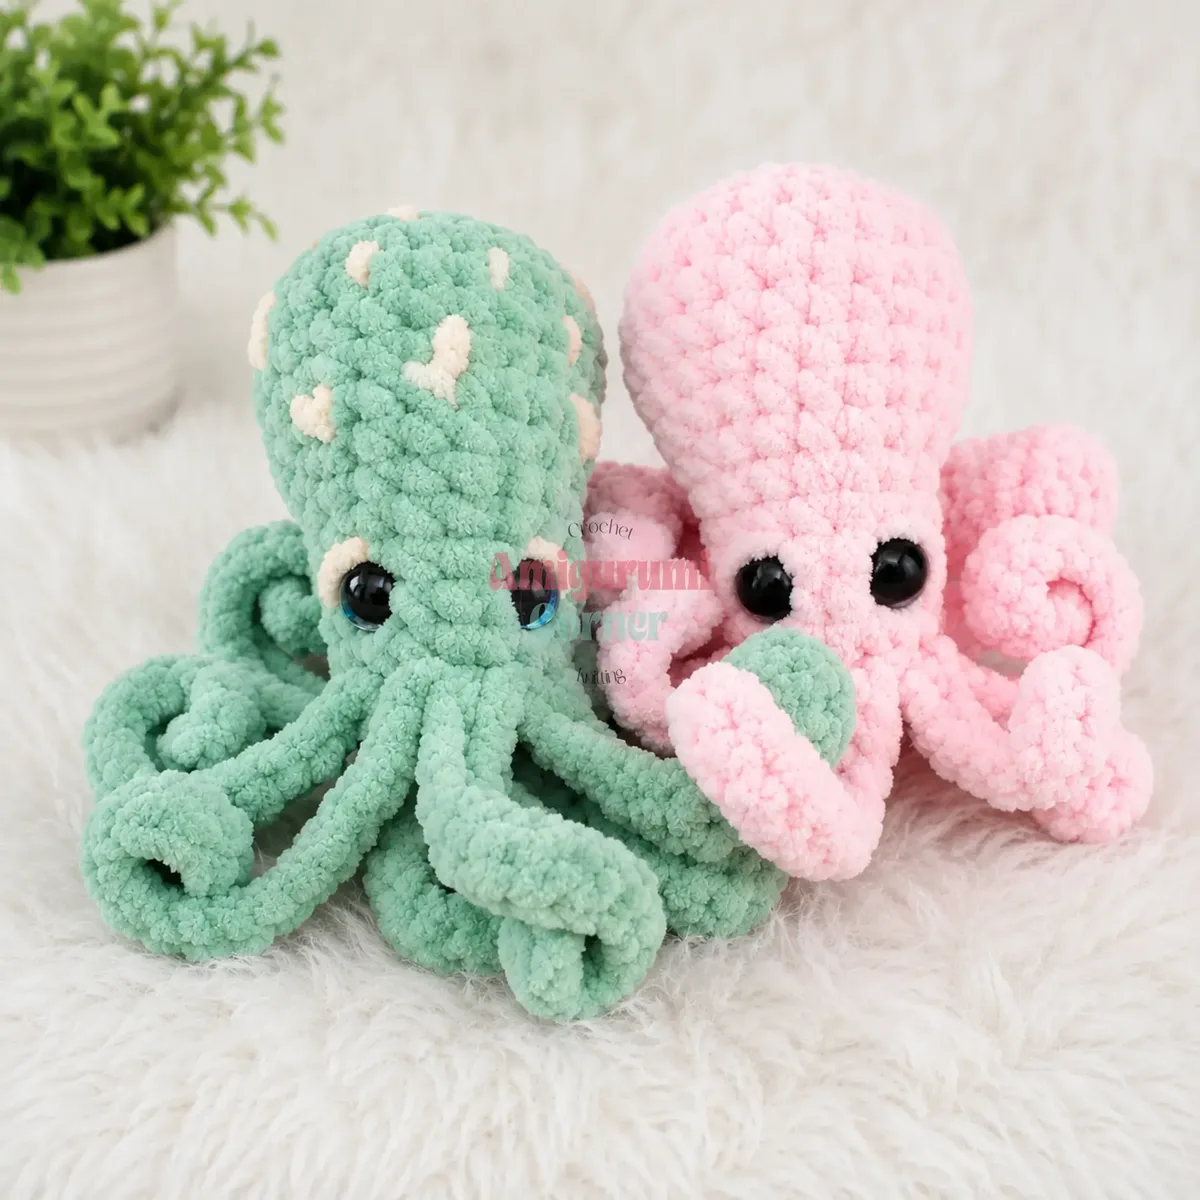
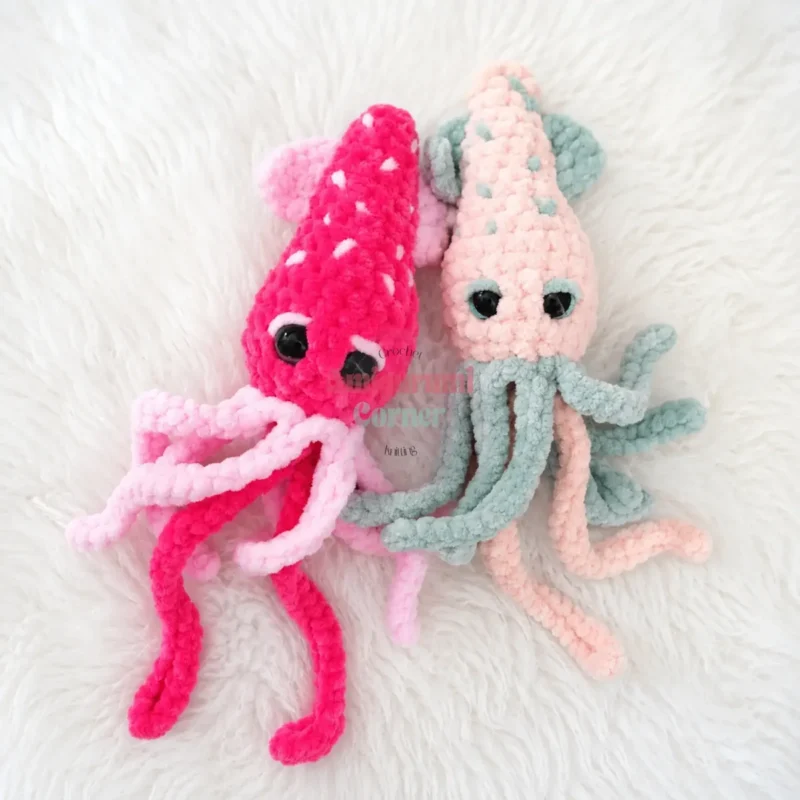
Octopus, squid, and seahorse in bulky chenille - a weekend project for an intermediate crocheter with a hook already in hand.

Jump to the rounds

What this one is

This one's for a quiet evening when you want something soft to show for your hours. Maybe it's for a little one who loves the tide pools, or for you, because a shelf of stitched sea life is its own kind of company. The chenille makes everything look plush before you've even stuffed it, which is a nice bit of encouragement early on.

Your hands stay busy with a steady spiral the whole way through - magic ring, increases, plain rounds, more increases, and the occasional bit of shaping that asks you to slow down and read twice. Each piece works up in a single sitting or two once you're moving, though the seahorse, with its crest and fins, will ask for a bit more patience than the other two. Each creature finishes at a small, tidy scale: the octopus sits around 4 inches tall, the squid at nearly 5 inches, and the seahorse at a graceful 5½ inches.

Try it another way

Once you've got the shapes down, the color placement is where you can really play. Swap which color is main and which is contrast on each toy, or use a third color just for the squid's fins so the pair pops against the body. If you want a smaller set, drop down to a worsted weight yarn and a smaller hook - the same round-by-round shaping will just produce a mini version, though your stitch counts will shift from what's given here. Sizing up works the other way: a heavier novelty yarn on the same hook gives you a chunkier, huggable toy perfect for a nursery shelf. You could also make the octopus in one solid color and save the contrast yarn purely for embroidered eyelids, letting the safety eyes and a few simple stitches do the character work. For the seahorse, try working the dorsal crest in the contrast color so it reads as a proper fin rather than blending into the body - it's a small change with the count of 10 stitches (from Rnd 10-11 of the body) as your reference for how the crest should sit against it.

There's real satisfaction in a continuous spiral that never breaks stride - no joining, no seams, just the marker climbing with you round after round. The octopus grows from six stitches to a full dome through nothing but even increases, and watching that shape appear is oddly hypnotic. The seahorse is the showpiece: that Rnd 9 moment where you work extra stitches into a single stitch to shape the head, catching the yarn tail as you go, is a clever bit of engineering hidden in a few short instructions. Locking the safety eyes before you close the last round on the octopus, then cinching the seahorse's snout at the end, gives each animal its personality in one small, satisfying motion.
The rounds, in full

Written out, round by round

Intermediate4-6 hours4 mmSuper Bulky

Bring to the porch

Everything this one takes, in the order you will reach for it.

Yarn

  • Bulky chenille (Super Bulky / Size 6 weight, such as Himalaya Dolphin Baby or any equivalent); main color plus one contrast color. Half a skein of each is more than enough per toy.

Hook

  • US Size G/6 (4 mm)

Safety eyes

  • 10–12 mm diameter, 2 per toy (safety-backed recommended)
  • Polyfill stuffing / fiberfill
  • Stitch marker
  • Tapestry needle
  • Scissors
  • Matching yarn for cinching and tacking

Octopus — Body & Head

Worked top-down in a continuous spiral.

  1. Round 1MR, 6 sc. (6)
  2. Round 2inc in each st around. (12)
  3. Round 3(sc, inc) × 6. (18)
  4. Round 4(2 sc, inc) × 6. (24)
  5. Round 524 sc. (24)
  6. Round 624 sc. (24)
  7. Round 7(4 sc, dec) × 4. (20)
  8. Round 820 sc. (20)
  9. Round 9BLO: 4 sc; both loops: 16 sc. (20)
  10. Round 10(3 sc, dec) × 4. (16)
  11. Round 114 sc worked together with remaining front loops of Rnd 9; 12 sc. (16)
  12. Rounds 12–1516 sc each round. After Rnd 13: count 8 sc from marker, insert first safety eye; count 4 more sc, insert second safety eye. Eyes sit between Rnds 13 and 14. (16)
  13. Round 16FLO — entire round. Optional: join contrast yarn here for colored tentacles; do not cut main yarn. Work: sl st, *ch 18, from 2nd ch work 16 hdc down chain, 2 sl st along body; rep from * 7 more times. (8 tentacles total.) If contrast yarn used: fasten off, leaving a long tail for embroidering eyelids.
  14. Round 17Continue on remaining back loops of Rnd 16. Work dec across until opening is closed. If contrast yarn was used in Rnd 16: join main yarn to back loops and work the same way. Optional: embroider spots before fully closing.

Squid — Body

Worked bottom-up (tip of mantle first) in a continuous spiral.

  1. Round 1MR, 6 sc. (6)
  2. Round 2(sc, inc) × 3. (9)
  3. Round 39 sc. (9)
  4. Round 49 sc. (9)
  5. Round 5(2 sc, inc) × 3. (12)
  6. Rounds 6–812 sc each round. (12)
  7. Round 9(3 sc, inc) × 3. (15)
  8. Round 1015 sc. (15)
  9. Round 11(4 sc, inc) × 3. (18)
  10. Round 12(5 sc, inc) × 3. (21)
  11. Rounds 13–1621 sc each round. After Rnd 15: count 4 sc from marker, insert first safety eye; count 4 more sc, insert second safety eye. Eyes sit between Rnds 15 and 16. (21)
  12. Round 18(sc, dec) × 7. (14)
  13. Round 1914 sc. Optional contrast tentacles: work this round in new color; do not cut main yarn. At end of round, fasten off contrast yarn, leaving a long tail for embroidering spots and eyelids. (14)
  14. Round 20FLO — entire round: sl st, *ch 17, from 2nd ch work 16 sl st down chain, 2 sl st along body; rep from * 6 more times. (7 tentacles total.)
  15. Round 21Continue on remaining back loops of Rnd 20. Work 6–7 dec. Then, working through both sides of remaining opening: sc, ch 25, from 2nd ch work 3 hdc, sl st to end of chain, sc. Ch 25 again, work second long tentacle the same way, sc through both loops. Fasten off. If contrast yarn was used in Rnd 20: join main yarn to back loops and follow the same instructions.

Seahorse — Body

Worked tail-to-head in a continuous spiral.

  1. Round 1MR, 6 sc. (6)
  2. Rounds 2–86 sc each round. (6)
  3. Round 9inc, 3 sc in same st, inc, sc, sc (capturing yarn tail end as you work), sc. (10)
  4. Rounds 10–1110 sc each round. (10)
  5. Round 12(2 sc, inc) × 2, 4 sc. (12)
  6. Round 139 sc, inc, 3 sc in same st, inc. (16)
  7. Round 1416 sc. (16)
  8. Round 152 sc, 5 sl st, 9 sc. (16)
  9. Round 163 sc, 5 sl st, 8 sc. (16)
  10. Round 173 sc, 5 sl st, 8 sc. (16)
  11. Round 183 sc, sl st, dec over 3 sl sts, sl st, 4 sc, dec, 2 sc. (13)
  12. Round 192 sc, 3 dec, 5 sc. (10)
  13. Round 20inc × 8, 3 sc in same st, inc. (21)
  14. Round 2117 sc, 6 dc in same st, 3 sc. (26)
  15. Round 2226 sc. (26)
  16. Round 2317 sc, dec over 6 hdc, 3 sc. (21)
  17. Round 2415 sc, 2 dec over 3 sc. (17)
  18. Round 2517 sc. (17)
  19. Round 267 sc, dec, 8 sc. (16)
  20. Round 2716 sc. (16)
  21. Round 28dec × 8, pull to close opening.Apply cinching and tacking stitches to define the snout and neck before embroidering face details.

Squid — Fins (make 2)

Fin 1: Join yarn at stitch marker near Rnd 8. Ch 3, then working up the body: dc, hdc, sc, sl st. Turn, ch 1, skip sl st, sc back to cast-on ch, ch 1, work 2 more sc to joining point, sl st. Fasten off.

Fin 2: Work second fin in parallel, approximately 6 sc from first fin, following the same instructions.

Seahorse — Dorsal Crest

Crest: Join contrast yarn at the top of the head. *(ch 3, dc, hdc, sc, 2 sl st); repeat from * down the entire length of the body to the tail curl, as many times as needed to reach the end.

Seahorse — Pectoral Fins

Fins: Join yarn at the body near Rnd 16. Ch 6, from 2nd ch work 2 sl st, dc into joining point. Ch 3, from 2nd ch work sl st, hdc into stitch adjacent to joining point. Ch 2, sl st into next stitch. Fasten off; weave in ends.

Putting it together

Step 1

Octopus: No separate pieces require attachment. Confirm safety eyes are locked securely before fully closing Rnd 17. Use the contrast yarn tail to embroider eyelids if desired, then weave in all ends.

Step 2

Squid: Attach both fins to the sides of the body at the Rnd 8 marker position, spacing them approximately 6 sc apart. Weave in all ends after each fin is secured.

Step 3

Seahorse: After closing Rnd 28, use the remaining yarn tail to cinch and tack the snout area, pulling it into the characteristic angled seahorse profile. Embroider a nose or smile with a contrast yarn tail. Weave in all remaining ends by threading them through the body interior.

Marlene's notes

Note 01

A US G/6 (4 mm) hook is what the whole pattern is built around, so stick with that size even if your chenille feels like it wants something bigger.

Note 02

All three bodies are worked in continuous spirals with no joining, so keep that stitch marker moving at the start of every round or you'll lose your place fast.

Note 03

Chenille hides stitches beautifully but also hides gaps, so stuff a little firmer than you might with a smoother yarn, especially before closing the final rounds.

Note 04

This pattern is written in US crochet terminology.

Note 05

Finished sizes are approximate: the octopus stands about 4 inches tall, the squid about 5 inches, and the seahorse about 5½ inches.

Note 06

Stitch count is given at the end of each round in parentheses, e.g. (16), so you can check your work as you go.

Note 07

Stuff each piece firmly as you work. For the seahorse, add the final stuffing gradually between Rnds 20–24, before the opening becomes too narrow to reach inside.

Note 08

Tension is everything in chenille: it's forgiving on feel, but gaps open up fast at loose tension. If you can see stuffing through the fabric, drop down one hook size - even half a millimeter makes a real difference in the final surface.

Note 09

Nail the invisible decrease every time: insert your hook through the front loop only of the next stitch, then the front loop only of the stitch after. Yarn over, pull through both front loops, then complete as a normal single crochet. This keeps decreases flat and nearly invisible from the right side.

Note 10

Seahorse shaping rows (Rnds 15–17): the slip stitches in this section create the concave belly of the seahorse. Resist the urge to pull them tight - work them at the same even tension as your single crochets, or the row will pucker and pull the shaping off-center.

Note 11

Stuffing the seahorse: because the body narrows and widens several times, add stuffing in stages rather than all at once. Push small amounts through the opening after every few rounds in the belly section, or you'll find the narrow neck too tight to fill properly later.

Note 12

Protecting chenille tentacles: the octopus and squid tentacles curl naturally due to the height difference between hdc stitches and slip stitches on the chain. If they look stiff, gently pull each one lengthwise once to encourage the curl. Never steam or wet-block chenille - heat and moisture will mat the fibers permanently.

Porch photos

Before you sit down

  • Check that your half-skein of each color is enough for the whole toy, since chenille eats up length faster than it looks in a bulky, plush stitch.
  • Set aside your stitch marker before Rnd 1 - you'll be moving it up every single round with no joins to rely on for orientation.
  • Work a small swatch first to see how tightly you naturally stitch, since gauge doesn't matter here but tightness does - you want no stuffing peeking through.
  • Read through Rnd 9 of the seahorse body before you get there, since it's the one round with several increases and a captured yarn tail worked into a single stitch.

How the hours go

Octopus - Body & Head
about 45-60 minutes, because 14 rounds move quickly once the increases settle into a rhythm
Squid - Body & Fins
about 60-75 minutes, because 15 rounds for the body plus two separate fins add a bit more finishing work
Seahorse - Body, Crest & Fins
about 90-120 minutes, because 21 rounds plus the dorsal crest and pectoral fins make it the fiddliest of the three

Looking after it

  • Hand wash in cool water with a gentle soap if the chenille needs freshening up, then press out excess water in a towel rather than wringing, since chenille can lose its plush texture if twisted.
  • Lay flat to dry and reshape gently while damp, then store your finished sea creatures somewhere they won't get squashed, as chenille recovers its softness better than its shape once flattened. Never steam or wet-block chenille pieces - heat and moisture will mat the fibers permanently.
FAQs

Asked on the glider

the ones that come up on the glider

Can I use a different yarn instead of chenille?

You can, though chenille is what gives these toys their plush, seamless look. A smooth super bulky yarn will work up the same way but the stitches will show more, so you'll want extra-tight tension to keep the stuffing hidden.

Why does the pattern say not to join at the end of each round?

All three bodies are worked in a continuous spiral rather than joined rounds, which avoids a visible seam line running down the toy. That's exactly why the stitch marker matters so much - it's your only way of tracking where each round begins.

What size safety eyes do I need?

The pattern calls for 10-12 mm eyes, two per toy, and safety-backed ones are recommended so they lock securely before you stuff and close the head. Make sure they're seated firmly before you finish the final rounds, since they're much harder to adjust afterward.

How much yarn will I actually need?

Half a skein of your main color and half a skein of your contrast color is more than enough per toy, according to the materials list. If you're making all three creatures, you can comfortably work from one full skein of each color.

What's happening in that tricky Rnd 9 on the seahorse?

That's where the head starts to take shape - you work an increase, three stitches into one stitch, another increase, and catch the yarn tail as you go. It reads as a lot in one round, so it helps to work it slowly and count as you stitch.

Do I need to attach the squid's fins right away?

No, you attach both fins after the body is complete, positioning them at the Rnd 8 marker spot and spacing them about 6 single crochets apart. Weaving in ends after each fin keeps things tidy rather than leaving it all for the end.