Intermediate 4-6 hours Bulky yarn

Worked on the glider, counted out loud —

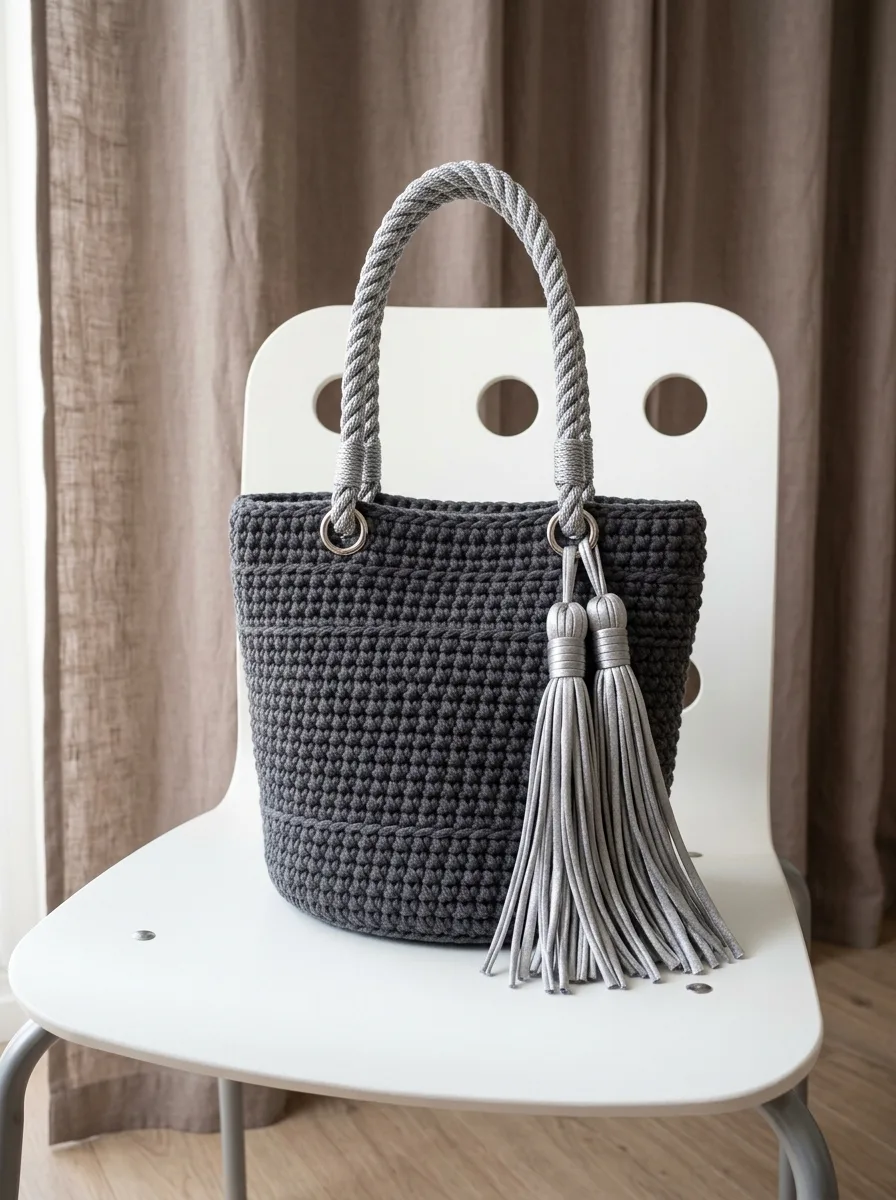
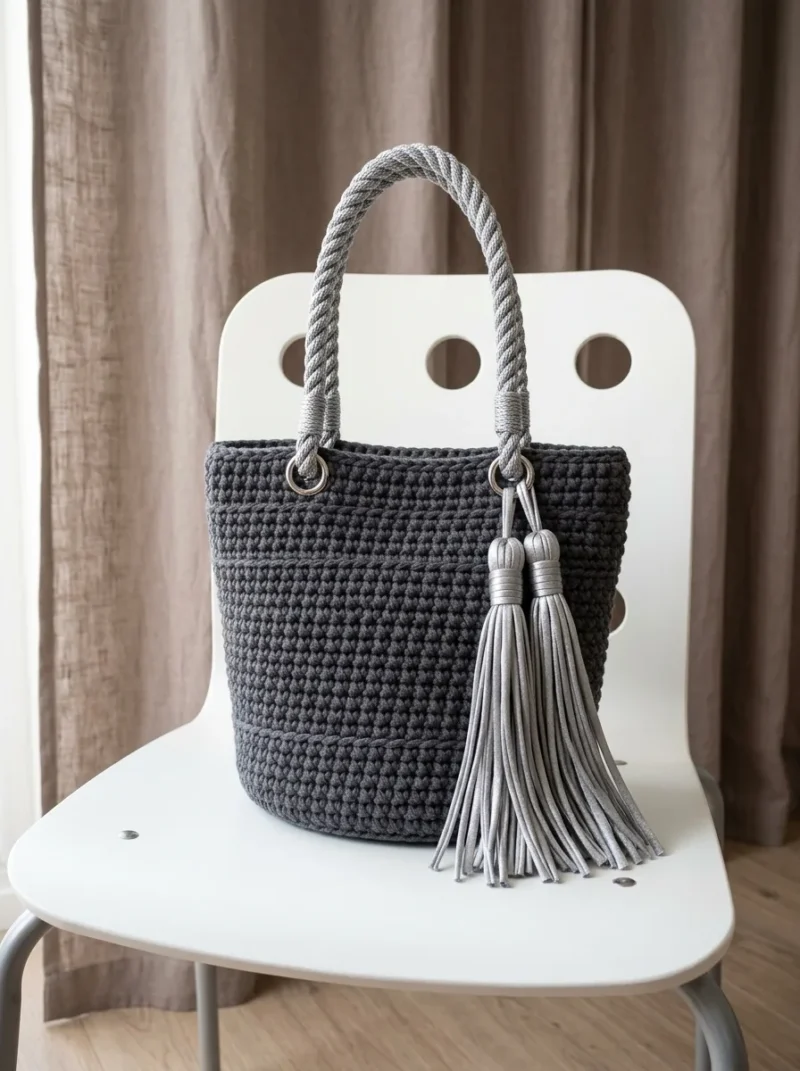
Charcoal Crochet Tote With Silver D-Ring Handles

A sturdy oval-base tote in bulky cord yarn for confident beginners. About 4-6 hours from base to top border.

Jump to the rounds

What this one is

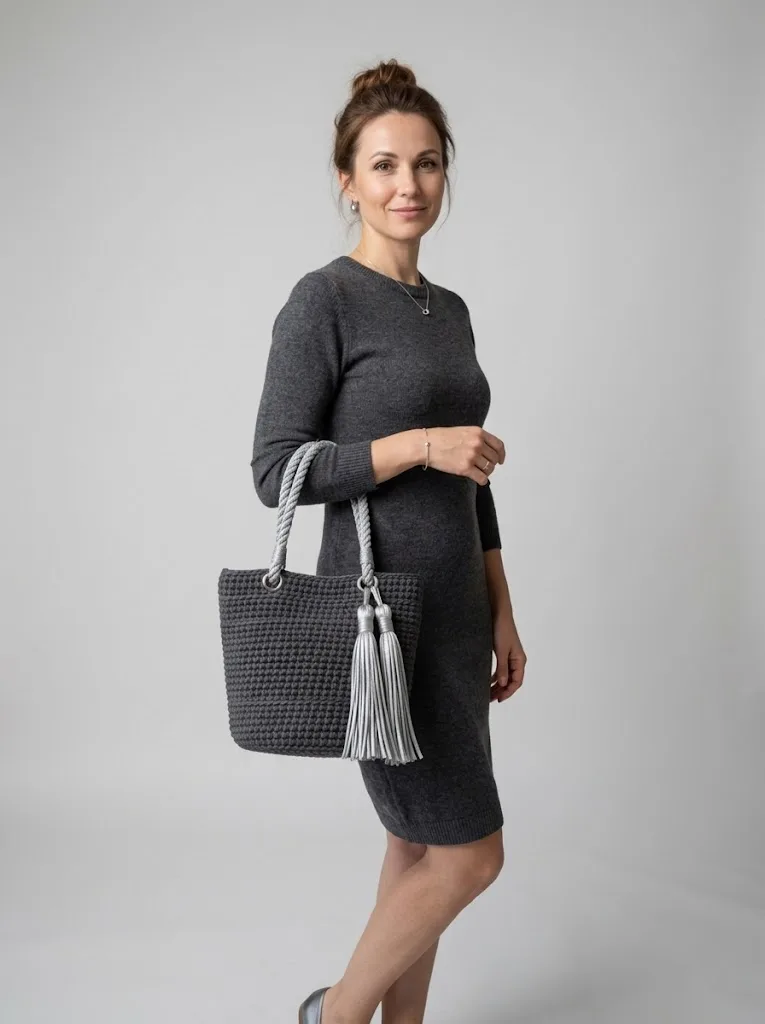
You know the kind of evening this bag is for: the one where you grab your keys, your phone, and whatever you're carrying, and you want it to look like you thought about it without trying too hard. This tote is for the person who likes their accessories a little architectural, a little unfussy, with hardware that catches the light. It's roomy enough for actual life and sturdy enough to hold its shape all on its own.

Your hands will spend most of their time on two things: building that dense single crochet fabric row after row, and then watching the textured stitch pattern pop up across the body like little raised bumps. Between the oval base, the textured walls, and the calm top border, you're looking at somewhere around four to six hours of work, most of it easy once you find your rhythm.
Try it another way

There's real satisfaction in working with bulky cord yarn and a hook this size (9mm or 10mm) because every round moves fast and the fabric grows right in front of you. The back-loop-only transition rounds are the quiet magic trick of this piece: you sc-blo for a few rounds and the flat oval base folds itself upward into a bag wall without any shaping decisions on your part. Then the textured pattern takes over, alternating regular single crochet with front post single crochet worked around the stitch below, building a surface with real tactile interest. It's a technique-forward project that still reads as approachable, and the payoff, a dense, structured tote that doesn't need a liner, feels earned by the time you reach the slip stitch finish at the top.

The rounds, in full

Written out, round by round

Intermediate4-6 hours7 mmBulky

Bring to the porch

Everything this one takes, in the order you will reach for it.

Yarn

  • Approximately 250 to 300 grams of bulky weight cotton cord yarn (also called t-shirt yarn, ribbon yarn, or trapillo) in charcoal gray or dark gray
  • Look for yarn that is approximately 5 to 7mm thick

Hook

  • 9mm or 10mm crochet hook (size N/P-15 or larger)
  • The large hook creates a fabric that is dense but still workable

Notions

  • 2 metal D-rings or O-rings, approximately 25mm diameter, in silver or nickel finish
  • 2 leather or faux leather tassels in silver or gray (optional but stunning)
  • Stitch marker
  • Tapestry needle
  • Scissors

Gauge

  • Working in single crochet with your chosen yarn and hook, 8 stitches and 8 rows should equal approximately 4 inches (10cm). Your gauge does not need to be exact, but a tighter gauge creates a sturdier bag.

The Base (Oval Shape)

The base of this tote is worked flat in rows, then joined, creating a sturdy oval bottom.

Foundation: Ch 15.

  1. Round 1Sc in 2nd ch from hook and in each ch across. (14 sc)
  2. Round 2Ch 1, turn. Sc in each st across. (14 sc)
  3. Round 3through 10: Repeat Row 2. (14 sc each row) You now have a rectangular piece. We will work around the entire perimeter to create the oval base.
  4. Round 11Joining Round Ch 1, do not turn. Work 3 sc into the corner stitch. Sc evenly along the short side (approximately 10 sc). Work 3 sc into the next corner. Sc across the bottom chain edge (14 sc). Work 3 sc into the next corner. Sc along the remaining short side (approximately 10 sc). Work 3 sc into the final corner. Sl st to first sc to join.Total approximately 60 stitches. Your exact count may vary slightly based on your tension. Count your stitches and make note for the next round.
  5. Round 12Ch 1. Sc in each st around, working 2 sc into each corner stitch (the middle stitch of each 3-sc corner group). Sl st to join. (Approximately 64 sc)Place stitch marker. From here, we work in continuous spirals.

The Body (Textured Section)

Now the fun begins. This is where we build up the walls of the tote with that gorgeous textured stitch pattern.

  1. Round 13through 15 (Transition Rounds): Working in continuous rounds, sc-blo in each stitch around. (64 sc per round)Working in the back loop only for these first few rounds causes the fabric to turn upward, creating the sides of the bag. You will see it happen like magic.(64)
  2. Round 16(Begin Texture Pattern): *Sc in next st, FPsc around the post of the stitch in the round below* repeat around. (64 sts)
  3. Round 17Sc in each st around. (64 sc)
  4. Round 18*FPsc around the post of the stitch in the round below, sc in next st* repeat around. (64 sts)This offsets the front post stitches from Round 16, creating a staggered texture.
  5. Round 19Sc in each st around. (64 sc)Rounds 20 through 43: Repeat Rounds 16 through 19 six more times. You are building up the textured body of the bag.

At this point, your bag body should measure approximately 7 to 8 inches tall from the base.

The Top Border

The top section of the bag has a cleaner, simpler texture that creates a nice visual break and provides a stable edge for the hardware.

  1. Round 44through 48: Sc in each st around. (64 sc per round)(64)
  2. Round 49Final Round Sl st in each st around. Fasten off and weave in ends. The slip stitch round creates a neat finished edge.

Marlene's notes

Note 01

This pattern calls for a genuinely large hook, 9mm or 10mm, so if your hand isn't used to that size, expect the first few rows of the base to feel a little unwieldy before it settles into a rhythm.

Note 02

Keep a stitch marker on your first stitch of the round once you move into continuous rounds for the body and top border, since it's easy to lose your place in a solid-color textured fabric.

Note 03

Bulky cord yarn varies by brand in how much it stretches, so check your tension periodically through the textured body rounds to make sure your stitch count is holding steady at 64 stitches.

Porch photos

Before you sit down

  • Buy your yarn in one go if you can. You'll want 250 to 300 grams of bulky cotton cord yarn in a single dye lot so the charcoal gray stays even across the whole bag.
  • Confirm your yarn is genuinely in the 5 to 7mm thick range before you start the foundation chain of 15, since thinner cord will leave the fabric too loose for a structured tote.
  • Work a small gauge swatch in single crochet with your 9mm or 10mm hook and check it against 8 stitches and 8 rows to about 4 inches, remembering that a tighter gauge gives you a sturdier finished bag.
  • Read through the Round 16 texture instruction before you get there, since alternating a regular single crochet with a front post single crochet around the stitch below is easier to follow once you've pictured it in advance.

How the hours go

The Base (Oval Shape)
about 45 minutes to an hour because there are 5 rounds and you're working the rectangle flat before turning the corner into an oval perimeter
The Body (Textured Section)
about 2 to 3 hours because it's 5 rounds at 64 stitches each, plus the back-loop-only transition and the front post texture pattern take a little extra attention per stitch
The Top Border
about 30 to 45 minutes because it's just 2 rounds of plain single crochet and a slip stitch finish, so it moves quickly once you're this far in

Looking after it

  • Cotton cord yarn like this holds up well to a gentle hand wash in cool water; lay the tote flat on a towel to air dry rather than hanging it, since a wet bag can stretch out of shape under its own weight.
  • Reshape the oval base and smooth the textured body while the bag is still damp, then store it stuffed with tissue paper or a folded towel so it keeps its structure between uses.
FAQs

Asked on the glider

the ones that come up on the glider

Can I use regular worsted weight yarn instead of bulky cord yarn?

You could try it, but the pattern is built around 5 to 7mm cord yarn and a 9mm or 10mm hook, so a standard worsted weight will give you a much floppier, less structured bag. If you go this route, expect to size down your hook and rework your gauge swatch from scratch.

Why does my base look rectangular instead of oval?

That's expected in the early rows. The base starts as a flat rectangle worked in rows, and the oval shape only appears once you work around the entire perimeter, so keep going through those first rows before judging the shape.

What does sc-blo mean and why does it matter here?

It means single crochet through the back loop only, and in the transition rounds it's what makes the flat base turn upward into the walls of the bag. Skipping it or working into both loops there will leave your base flat instead of forming sides.

Do I really need a liner for this bag?

No, the textured stitch pattern and dense fabric from the large hook are designed to give the bag structure on their own. You can still add a liner if you prefer a finished interior or want to prevent small items from poking through the stitches.

How do I know where to place the D-rings?

Mark your spots roughly 2 inches from each side seam and about 1 inch below the top edge before you attach any hardware. Using scrap yarn or pins to mark both sides first means your handles end up symmetrical.

My texture pattern isn't showing bumps, what went wrong?

The bumps come from alternating a regular single crochet with a front post single crochet worked around the post of the stitch in the round below, so double-check you're working into the post rather than the top of the stitch. It can help to look at your work every few stitches in Round 16 to confirm the raised texture is forming before you continue.