01
What this one is
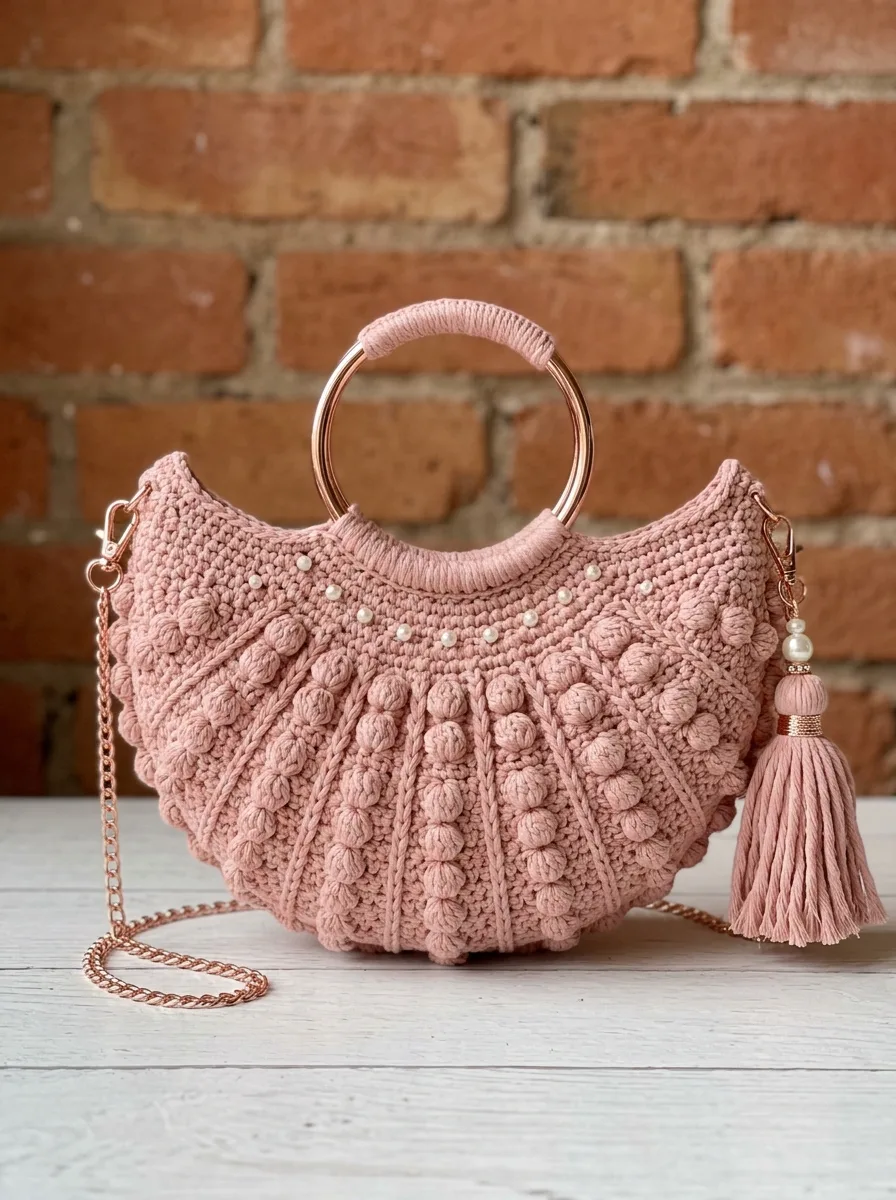
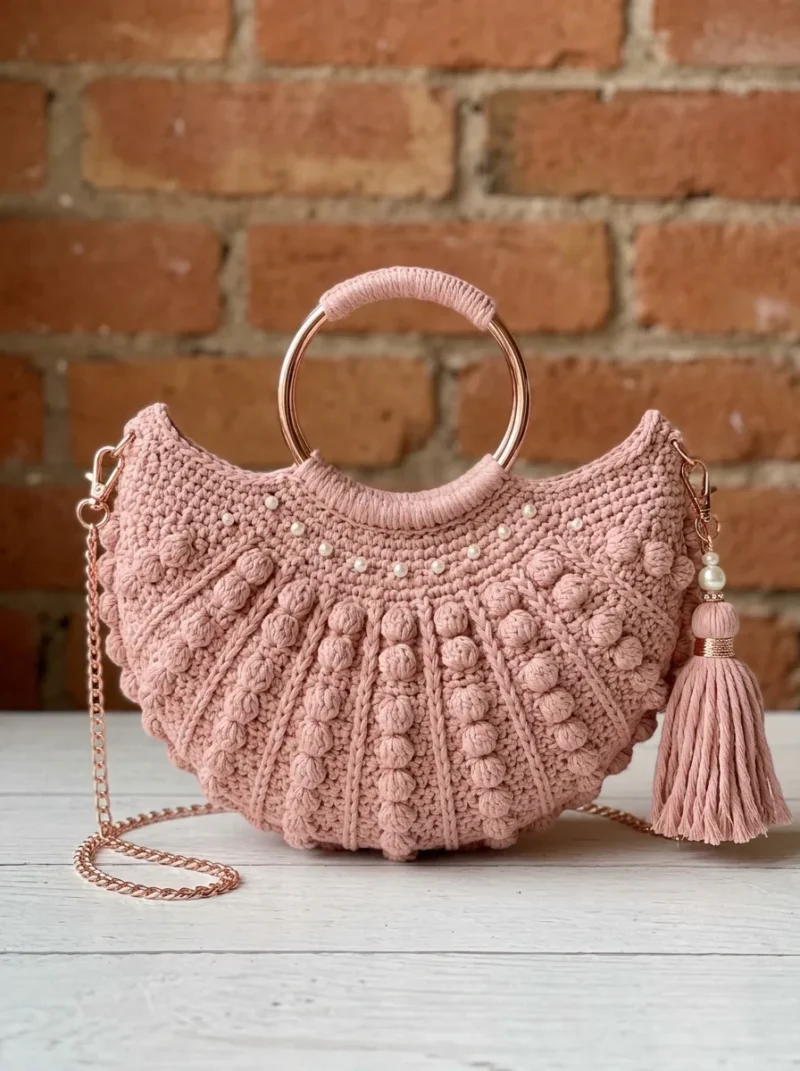
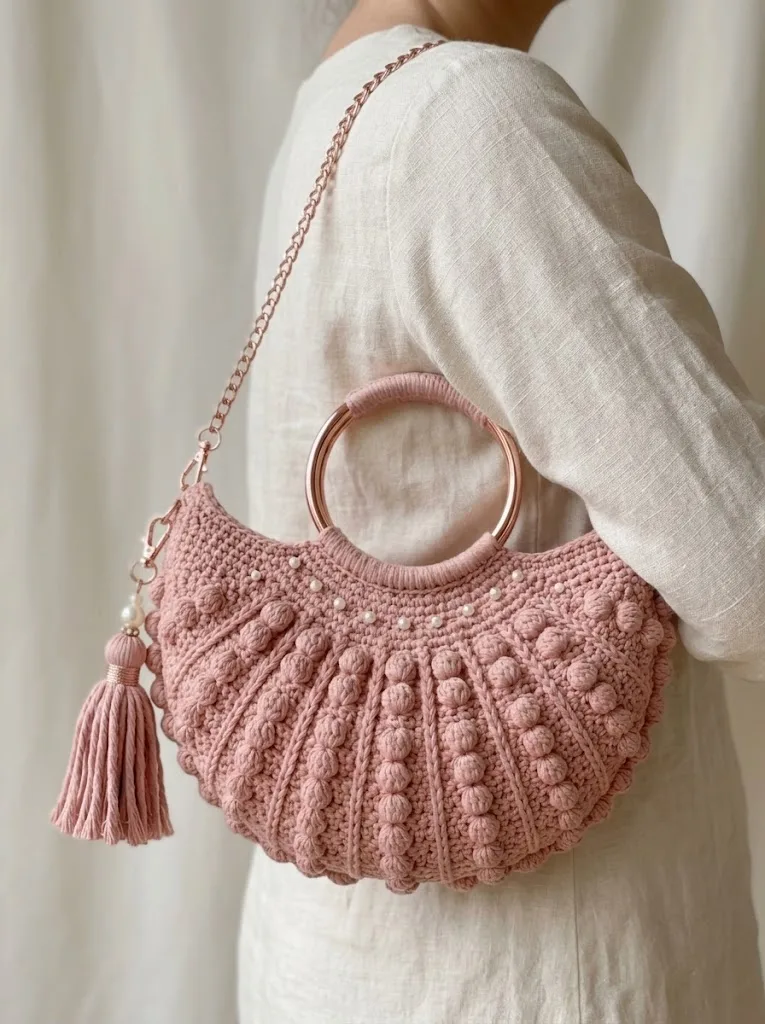
You know the kind of evening this is for: the one where you want a small bag that can hold a lipstick, a phone, and not much else, but still looks like you thought about it. This clutch, with its curved bottom edge and scattered pearls, is for the person who likes her handmade things to read as polished rather than homespun, even though you made every stitch yourself.
Your hands will spend most of their time on two matching panels, worked from the curved bottom up to a flat top edge, where ribbing and bobble columns trade off to build the texture. Between the two panels, the shaping rows, and the finishing with pearls and strap, you are looking at a few focused sittings rather than one long haul.
02
Try it another way
If blush pink is not your color, this same shell and bobble pattern would look just as good in a deeper rose, a soft cream, or even a muted sage, since the cotton's tight twist will show off the texture in almost any shade. For a slightly larger clutch, you could add a few more chains to your foundation row beyond the 46 given here, keeping your bobble and post stitch repeats consistent across the new stitch count. The pearl placement is yours to play with: cluster the 6 to 10 beads along the top edge for a concentrated sparkle, or scatter them more loosely across the upper rows for something subtler. Swap the rose gold ring and chain for a plain wooden ring and a crocheted strap if you want a more everyday, less evening-specific bag. You could also skip the tassel and bead cap finishing and leave the sides plain for a cleaner, more minimal look. If you want a sturdier interior, adding the optional fabric lining mentioned in the assembly steps changes the whole feel of the bag from soft to structured, which is worth trying once you have made the panels and want a change for a second version.
What makes this one satisfying is the way three simple techniques stack up into something that looks far more complicated than it is. The back loop only single crochet gives you that subtle horizontal rib as a quiet background, the bobble columns pop forward in contrast, and the front post double crochet worked around a stitch two rows below adds a third layer of texture without a third skill to master. Then there is the shaping: decreasing two stitches every other row at each edge turns a plain rectangle into that crescent moon curve, which is a neat bit of math to watch happen under your hook. By the time you sew on pearls and clip on the rose gold hardware, you have used ribbing, bobbles, post stitches, and shaping decreases in one small project.