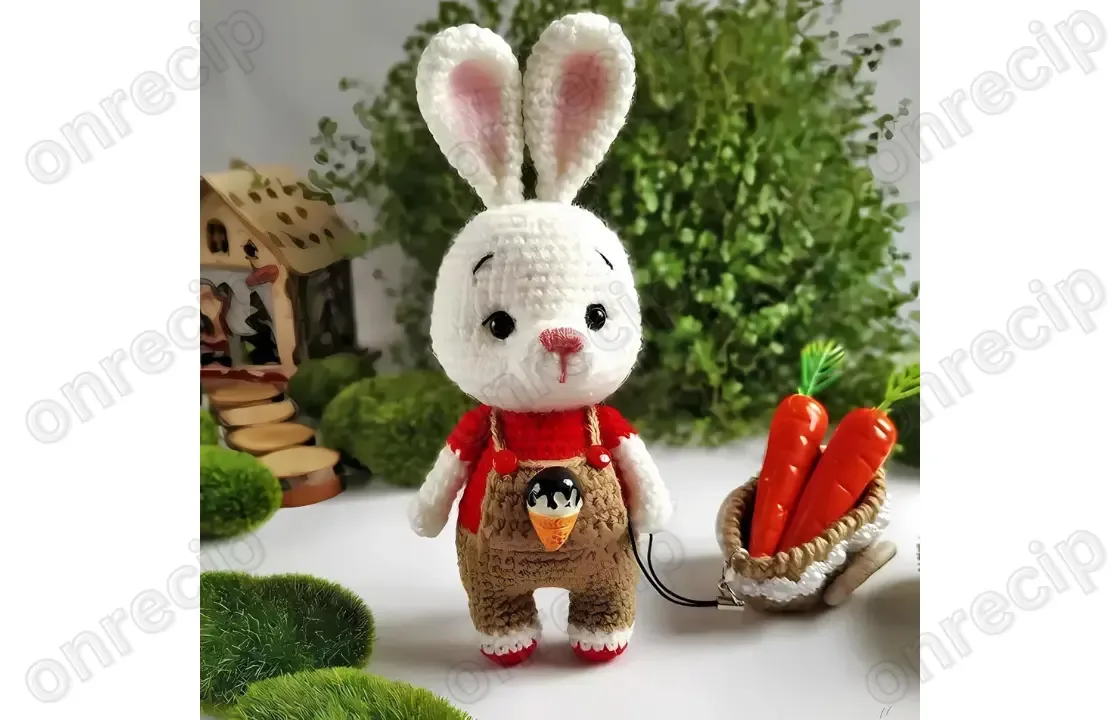
Once you've made him in brown and red, there's so much room to play. Swap color A and B for a soft denim-blue and mustard-yellow combo for a classic farmboy look, or try sage green and cream for a gentler, nursery-friendly palette. If you want a girl bunny, skip the overalls colors altogether and crochet a little pinafore-style dress instead, using the same pants and pocket construction as a base to adapt. For yarn, any worsted weight acrylic or cotton works beautifully — Vanna's Choice or With Love are both easy to find and give nice stitch definition for the tiny overalls details, while a cotton like Hobbii Rainbow Cotton 8/8 will give the finished bunny a slightly firmer, more heirloom feel. Want a bigger bunny? Go up a hook size (for example from a 3.0mm to a 3.5mm) and use a bulkier yarn to scale the same round counts into a larger finished toy, just remember the ears, tail, and arms will grow proportionally too. For a smaller keychain-style version, drop down to a fingering or sport weight yarn with a matching smaller hook. Seasonal fans can have fun with the accessories: add a tiny knit-look scarf in red and white for winter, tuck a small fabric carrot into the pocket for a spring look, or swap the overalls for a striped rugby-style top for a sportier bunny. Whatever direction you take, the core construction — magic ring pieces, simple color changes for the clothes, and the assembly — stays exactly the same, so it's an easy pattern to remix again and again.
I adore this pattern because it takes the classic amigurumi bunny and gives him a whole outfit, which makes the process feel like dressing a tiny friend rather than just stuffing and sewing. Starting each piece in a magic ring keeps the base nice and tight, and working the ears, tail, and arms in just a few rounds means you get quick, satisfying wins before tackling the bigger body and overalls. I love the moment when the pants pocket goes on — it's such a small detail, but it instantly makes him look dressed rather than just decorated. Blushing the ears with dry pastel afterward is one of my favorite steps; it's optional on paper but it's the thing that gives him that soft, lifelike glow. The assembly steps come together quickly once all the pieces are ready, so there's a real payoff after all that individual piece-making. This is the kind of pattern where every part feels purposeful, and by the end you're not just holding a stuffed animal, you're holding a little character with his own outfit and expression.