01
What this one is
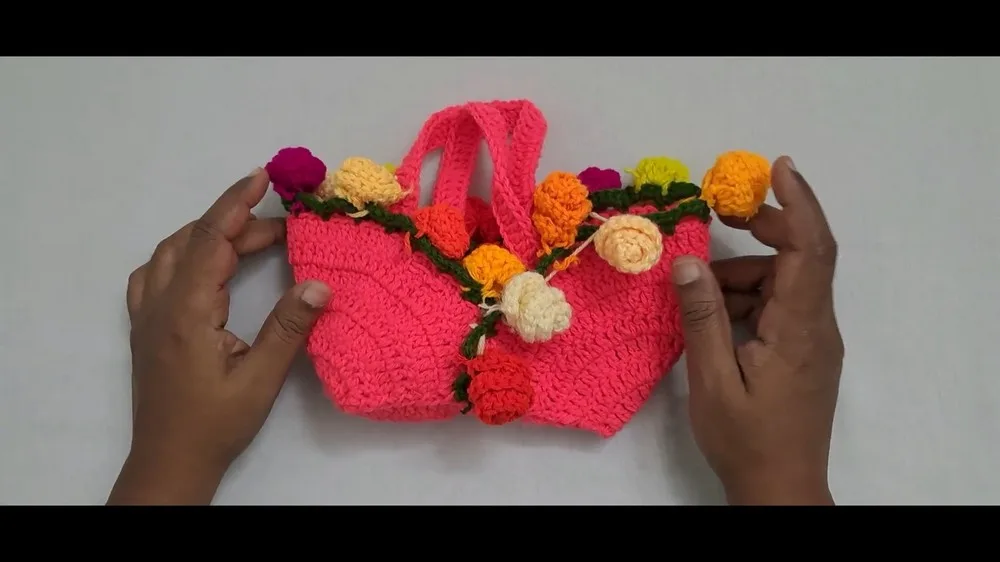
This Blooming Rose Bag is the crochet project I reach for every spring — it's got a shaped base that gives it real structure, a textured body that feels substantial in your hands, and those irresistible dimensional roses that turn a simple bag into a statement piece. It's ideal for anyone who wants a functional accessory that also shows off a little handmade charm, whether you're gifting it or carrying it yourself to a garden party or farmer's market.
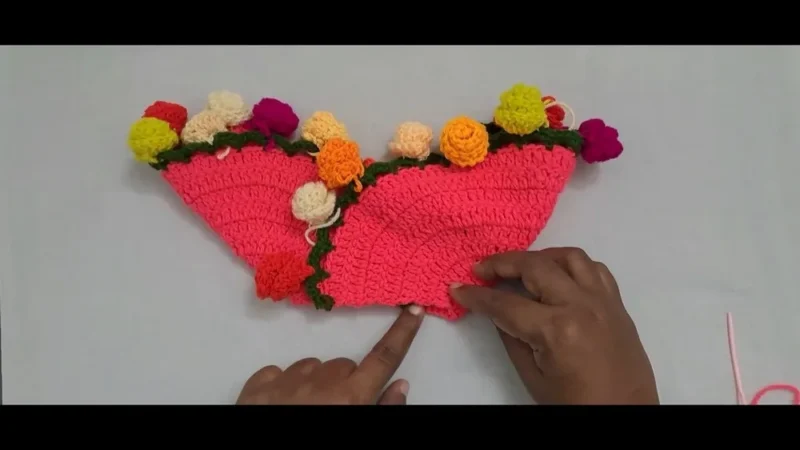
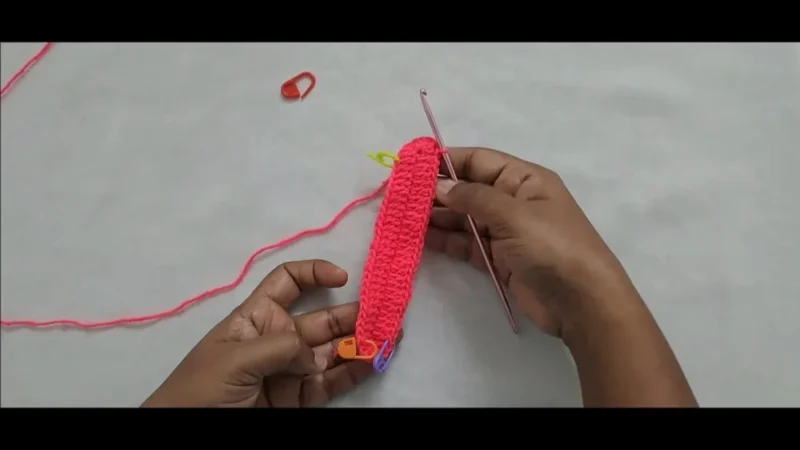
You'll practice foundational skills here: working in the round, shaping increases at the base ends, a lacy panel at the opening, and rolled or layered rose motifs that build dimension without complicated stitches. This is genuinely approachable for confident beginners, though the rose construction gives intermediate crocheters something satisfying to sink into. Expect to spend about 4-6 hours total, especially if you're making multiple roses and leaves.
The finished bag has a rounded, structured base that lets it sit upright on its own, a body with enough texture to feel cozy rather than flat, and a delicate lace opening that adds a feminine finishing touch. It's the kind of piece that photographs beautifully and makes a lovely handmade gift for a friend, sister, or anyone who loves a floral, spring-ready accessory.
02
Variations
One of the best things about this bag is how endlessly customizable it is. For a bold spring look, try a coral or blush pink main color paired with deep red roses and forest green leaves for high contrast. For a more neutral, everyday bag, work the base and body in oatmeal or dove gray, then let the roses pop in a single accent color like mustard yellow or dusty rose. Want an ombré effect? Work the body in three graduated shades of the same color family, changing yarn every round or two. To make the bag larger, simply start with a longer foundation chain for the base and work a couple of extra rounds before shaping — just remember to keep increases only at the base ends so the shape stays even. For a mini version perfect as a phone bag or gift bag, shorten the starting chain and reduce the body rounds accordingly. Seasonal spins are fun too: try white roses with pale green leaves for a bridal-inspired bag, or deep burgundy roses with burnt orange accents for a fall-leaning variation despite the 'spring' name. You can also experiment with strap length — a longer chain strap turns this into a crossbody, while a shorter one keeps it as a classic handheld top-handle bag. Mixing multiple rose colors on a single bag (two pink, one yellow, one white) creates a lovely bouquet effect that makes every bag one-of-a-kind.
I adore this pattern because it takes such simple building blocks — a shaped base, a textured body, a lace panel — and turns them into something so much prettier than the sum of its parts. There's something deeply satisfying about watching the base rounds grow flat and even, then transitioning into the body and feeling the bag start to take real shape in your lap. The lace panel at the opening is my favorite part; it's a small technique shift that instantly elevates the whole design from 'plain bag' to 'boutique-worthy accessory.' And then come the roses! Rolling and shaping those little flowers with tight tension is almost meditative, and no two ever turn out exactly alike, which I love. Attaching the roses and leaves at the end feels like the reveal moment — suddenly your practical little bag has personality and charm. It's a project that rewards patience without demanding advanced skills, and I find myself recommending it to anyone who wants to build confidence with rounds, shaping, and embellishments all in one satisfying make.