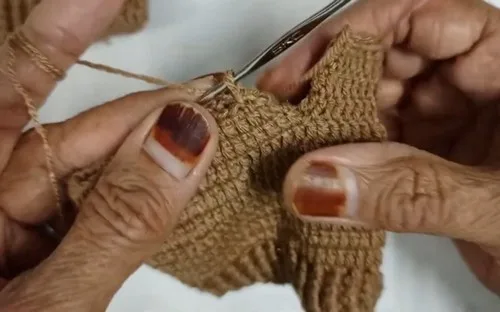
Intermediate 4-6 hours DK yarn

Worked on the glider, counted out loud —

Toddler fingerless gloves with a ribbed cuff and thumb hole

Soft fingerless gloves for little hands, with a ribbed cuff and open thumb hole. About 2-3 hours per pair.

Jump to the rounds

What this one is

You know the moment: little hands reaching for the door on a cool morning, wanting mittens but not wanting anything that traps their fingers. That's who these are for. The ribbed cuff hugs a small wrist without pinching, and the open top means fingers stay free for pointing, grabbing, and all the small business a toddler has to attend to. It's the kind of gift that gets used the same week you make it.

Try it another way

Once you've made one pair, there's plenty of room to play. Swap in a different DK weight yarn in a bold or pastel color for a completely different look, or use two colors, one for the ribbed cuff and a contrasting shade for the hand, so the join reads as a design line rather than a seam. Chain 6 for a shorter, snugger cuff or chain 8 if you want more coverage up the forearm, since the pattern already gives you that range to work within. You can also stop Rounds 8 to 9 earlier for a younger toddler with shorter fingers, or add an extra round if you're making these for an older child, since that stage is meant to be worked until the glove covers the knuckles rather than to a fixed count. For gifting, make the second glove in the pair with a swapped cuff and hand color for a mismatched set that still looks intentional. And if you want a slightly firmer fabric for daily wear, go with the 4.0 mm hook instead of the 5.0 mm and expect a smaller, snugger result throughout.

There's a real satisfaction in working the cuff first, since single crochet through the back loop only, row after row, gives you that stretchy, ribbed texture you'd expect from a knit cuff, but built entirely with a hook. Joining the first and last row into a loop is a small, tidy trick that turns a flat strip into a wearable band. Then the hand section moves quick, half double crochet rounds stacking up fast, until you reach the thumb hole round, where a short chain-and-skip maneuver opens a gap without any complicated shaping. It's a pattern that teaches you two different skills, ribbing and thumb-hole shaping, in one small, fast project, and you end up with something a toddler will actually keep on.
The rounds, in full

Written out, round by round

Intermediate4-6 hours4.0 mmDK

Bring to the porch

Everything this one takes, in the order you will reach for it.

  • Light Worsted or DK weight yarn soft baby friendly
  • Crochet hook size 4.0 mm or 5.0 mm depending on tension
  • Scissors and yarn needle for finishing

The Cuff

Chain 6 to 8 for cuff height

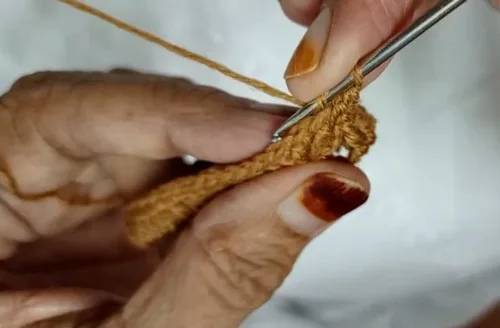
  1. Round 1single crochet in second chain from hook and across chain 1 turn Ribbing rows work single crochet in back loop only across chain 1 turnRepeat until piece measures 14 to 16 rows about 4.5 to 5 inches Join first and last row with slip stitches to form cuff loop

The Hand and Thumb Hole

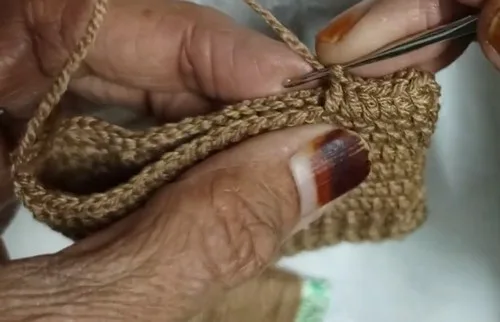
  1. Round 1chain 2 work half double crochet evenly around cuff edge slip stitch to join
  2. Round 2to 5 chain 2 half double crochet in each stitch around slip stitch to join repeat until reaching base of thumb
  3. Round 6chain 2 work half double crochet in next 4 stitches chain 3 to 4 skip same number of stitches continue half double crochet around slip stitch to join
  4. Round 7chain 2 work half double crochet in each stitch and into each chain space slip stitch to join
  5. Round 8to 9 chain 2 half double crochet in each stitch slip stitch to join work until glove covers knuckles

Putting it together

Step 1

Fasten off cut yarn and pull through loop to secure

Step 2

Weave in all loose ends with yarn needle

Step 3

Repeat pattern for the second glove

Marlene's notes

Note 01

Your hook size makes a real difference here: if your ribbing comes out loose, drop down to the 4.0 mm; if it's too tight to stretch over a wrist, move up to the 5.0 mm.

Note 02

The thumb hole in Round 6 depends on an even stitch count reaching that point, so keep a loose stitch marker on your starting stitch through Rounds 2 to 5 to make sure you land in the right spot.

Note 03

Rounds 8 to 9 are meant to stop once the glove covers the knuckles, not at a fixed count, so try the glove on as you go rather than crocheting both rounds blind.

Porch photos

Before you sit down

  • Check that your yarn is soft enough for baby skin, since light worsted or DK weight against little wrists should feel gentle, not scratchy.
  • Swatch a few rows of the back-loop-only ribbing first, since this stitch determines how snug the cuff sits and it behaves differently from regular single crochet.
  • Read through Round 6 before you get there, so you know exactly how many stitches to skip when you open the thumb hole.
  • Have both a 4.0 mm and 5.0 mm hook on hand, since your tension will decide which size gives you a cuff that actually fits a toddler wrist.

How the hours go

The Cuff
about 25-35 minutes, because the ribbing needs 14 to 16 rows worked back and forth before it's long enough to join into a loop
The Hand, Rounds 1-6
about 25-30 minutes, because the stitches build up quickly in half double crochet until you reach the fiddly chain-and-skip of the thumb hole
The Hand, Rounds 7-9
about 20-25 minutes, because working across the thumb chain space in Round 7 takes a careful eye before the last two rounds finish up fast

Looking after it

  • Hand wash in cool water with a gentle soap, since baby-friendly DK and light worsted yarns often hold their softness better without a machine cycle.
  • Lay the gloves flat to dry and ease the ribbed cuff back into shape while damp, then store them flat or loosely folded so the ribbing doesn't stretch out of its snug fit.
FAQs

Asked on the glider

the ones that come up on the glider

What size hook should I use?

The pattern calls for either a 4.0 mm or 5.0 mm hook, depending on your tension. Start with a small swatch of the ribbing to see which one gives you a cuff that will actually stretch over a toddler wrist.

How do I know where to put the thumb hole?

It happens in Round 6, where you work half double crochet in the next 4 stitches, then chain 3 to 4 and skip that same number of stitches before continuing around. A stitch marker at your round's starting point through the earlier rounds helps you keep track of where that gap should land.

How long does one glove take to make?

Between the ribbed cuff and the hand section, you're looking at roughly 1 to 1.5 hours per glove, plus a little more for weaving in ends. Both gloves together fall comfortably into an afternoon.

What yarn works best for this pattern?

A light worsted or DK weight yarn that's soft and baby friendly is what the pattern calls for. Since these sit against a toddler's skin, softness matters more than exact fiber content.

How do I make the cuff snugger or looser?

The chain length at the start sets your cuff height, anywhere from 6 to 8 chains, and the row count, 14 to 16 rows, sets how long the ribbed band is before you join it into a loop. Shortening either gives you a snugger cuff, and lengthening them gives you more coverage.

How do I know when to stop the last rounds?

Rounds 8 to 9 aren't a fixed stopping point, you work them until the glove covers the knuckles. Try the glove on the child's hand as you near the end so you stop at the right length.