Beginner 1-3 hours Worsted yarn

Worked on the glider, counted out loud —

A Ribbed Crochet Dog Collar You Can Size to Fit

A decorative crochet dog collar in three sizes for calm, supervised wear. About 1-3 hours from chain to buckle.

Jump to the rounds

What this one is

This one's for the quiet evening when you want something small and finishable before you turn off the lamp. It's a sweet project for the crocheter who loves a dog but isn't quite ready for another sweater or amigurumi animal—something with real use, sized for a pet who deserves a handmade touch for photos, calm walks, or lounging around the house.

Your hands spend most of this project doing one thing well: half double crochet through the back loop, row after row, building that ribbed texture one turn at a time. There's no shaping to track and no rounds to count—just a steady rhythm of chain one, turn, and hdc across. Depending on the size you pick, expect somewhere between one and three hours of sitting before you're ready to attach the hardware.

Try it another way

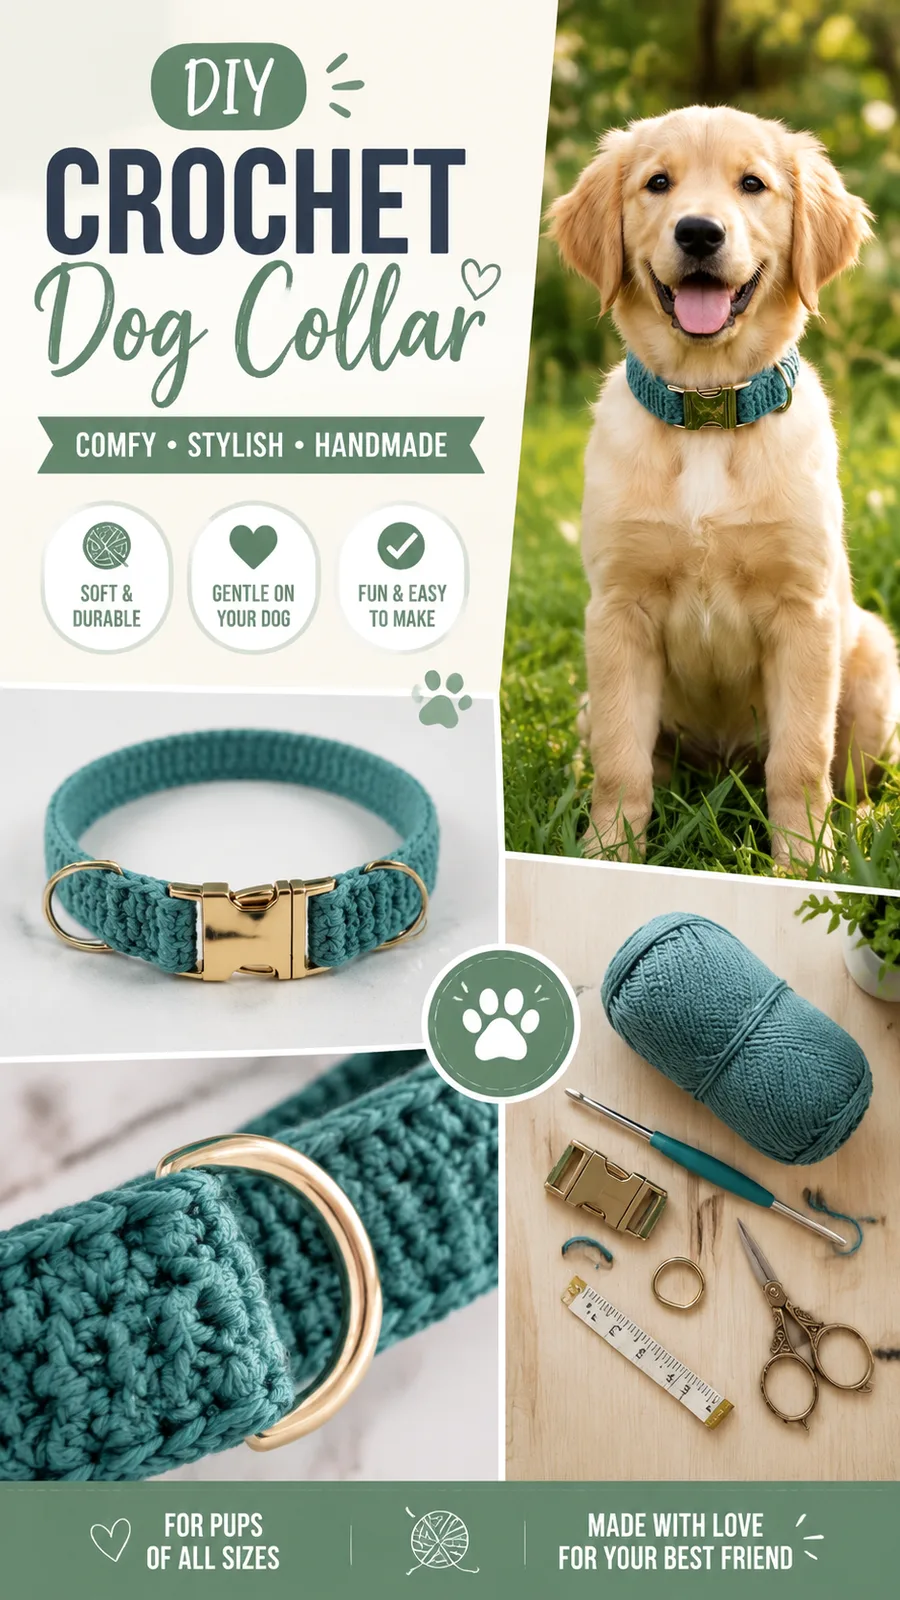
Once you've made one size, the other two are easy repeats rather than new patterns. If your dog sits between sizes, you can chain 13, 15, or 17 to start and simply stop at a length that suits your own measuring tape rather than the suggested 14, 18, or 24 inches—just keep track of your row count so both ends match in tension. Cotton or a cotton blend keeps the strap crisp, but a sturdy acrylic worsted yarn in the same weight will work through the back loop just as cleanly if you want a washable everyday version. The blue-green shown in the original is calm and modern, but this strap takes color changes well if you'd rather stripe two shades every few rows, or keep it solid for a tidier look against a metal buckle. Since this is a decorative accessory rather than a safety-tested leash collar, consider a narrower 12-stitch version as a matching leash charm instead of widening it for a dog that pulls hard. Swap the metal D-ring for a wooden ring if you want a softer look for photos rather than daily wear.

What makes this collar satisfying is how little it asks of you and how much it gives back. Working hdc through the back loop only, row after row, builds a dense, ribbed fabric that looks deliberately textured rather than plain—each ridge catching the light a little differently. Because the strap is worked flat instead of in a tube, you get clean, narrow edges from the very first row, with nothing to seam or turn right-side-out later. It's a project that rewards patience more than skill: the stitch never changes, so your tension settles in fast, and the repetitive hdc blo rows become almost meditative. By the time you fold the strap around the buckle and D-ring, you've made something sturdy, textured, and wearable.

The rounds, in full

Written out, round by round

Beginner1-3 hours4.0 mmWorsted

Bring to the porch

Everything this one takes, in the order you will reach for it.

  • Worsted weight cotton or cotton blend yarn.
  • 4.0 mm crochet hook (US G/6).
  • Matching sewing thread or strong yarn for attaching hardware.
  • 1 side-release buckle suitable for collar width.
  • 1 metal D-ring.
  • Yarn needle.
  • Scissors.
  • Measuring tape.

Small Size

Chain 13.

  1. Round 1Hdc in second chain from hook and across. Turn. (12 sts)
  2. Round 2Ch 1, hdc blo across. Turn. (12 sts) Repeat Row 2 until the strap measures approximately 14 inches (36 cm).Fasten off and leave a long tail for attaching hardware.

Medium Size Chain 15.

Part 2

  1. Round 1Hdc in second chain from hook and across. Turn. (14 sts)
  2. Round 2Ch 1, hdc blo across. Turn. (14 sts) Repeat Row 2 until the strap measures approximately 18 inches (46 cm).Fasten off and leave a long tail.

Large Size

Chain 17.

  1. Round 1Hdc in second chain from hook and across. Turn. (16 sts)
  2. Round 2Ch 1, hdc blo across. Turn. (16 sts) Repeat Row 2 until the strap measures approximately 24 inches (61 cm).Fasten off securely.Assembly Instructions Slide one end of the crochet strap through the buckle loop.Fold approximately 1 inch (2.5 cm) of the strap back onto itself.Sew the folded section securely using strong stitches.Place the D-ring near the buckle end and fold the strap around it.Stitch the folded section firmly, creating a reinforced attachment point.

Check all hardware connections before use.

Finishing

Weave in all yarn ends with a yarn needle. Lightly steam block the strap if needed to even the edges, but avoid flattening the raised rib texture. Allow the collar to dry completely before attaching it to hardware.

Customization and Size Adjustment Guide

The easiest way to customize this crochet dog collar is by changing the strap length. Measure around your dog’s neck and add enough length for buckle overlap and comfortable movement. The collar should sit comfortably without being tight.

For a narrower collar, reduce the starting chain while keeping the same stitch pattern.

For a wider collar, add chains in even numbers and maintain the same row technique.

Experiment with contrasting borders using single crochet stitches.

Use different solid colors or simple stripes for personalized pet accessories.

Common Mistakes and Troubleshooting Collar stretches too much: Try a smaller hook size or a stronger yarn fiber.

Edges look uneven: Count stitches at the end of every row.

Hardware feels loose: Reinforce attachment areas with additional sewing.

Texture looks different: Make sure every hdc is worked through the back loop only.

Finishing, Care, and Maintenance

Handmade crochet pet accessories benefit from gentle care. Wash the collar according to the yarn instructions and allow it to air dry flat. Avoid exposing crochet hardware attachments to excessive pulling or rough use.

Regularly inspect the stitched areas around the buckle and D-ring. Re-secure loose threads immediately to help maintain the collar’s appearance.

At a Glance Best yarn choice: durable cotton or cotton blend yarn.

Skill level: beginner-friendly crochet project.

Key technique: half double crochet back loop only.

Main adjustment: customize strap length and width.

Finishing method: secure hardware attachment and neat yarn weaving.

Final Thoughts on This Crochet Dog Collar Pattern

This crochet dog collar pattern is a simple way to combine handmade creativity with a useful pet accessory. The ribbed crochet texture creates a modern look while the adjustable construction makes it easy to personalize for different dogs and styles.

Before beginning, choose your yarn carefully, check your gauge when changing materials, and read through the complete pattern instructions. With thoughtful finishing and your favorite colors, this crochet dog collar can become a charming handmade project for any pet lover.

Tags Crochet Dog Collar Pet Crochet Accessories Free Crochet Pattern Beginner Crochet Pattern Handmade Pet Gift Crochet Tutorial
Putting it together

Step 1

Handmade crochet pet accessories benefit from gentle care. Wash the collar according to the yarn instructions and allow it to air dry flat. Avoid exposing crochet hardware attachments to excessive pulling or rough use.

Step 2

Regularly inspect the stitched areas around the buckle and D-ring. Re-secure loose threads immediately to help maintain the collar’s appearance.

Marlene's notes

Note 01

Keep an eye on tension through the back loop only—hdc blo rows can tighten up if you pull too hard, which stiffens the strap more than intended.

Note 02

A 4.0 mm hook keeps the stitches dense enough to hold their shape, so avoid sizing up even if your gauge runs a little loose.

Note 03

Sew the buckle and D-ring on with matching sewing thread or strong yarn, and reinforce those stitched areas rather than relying on a single pass.

Before you sit down

  • Measure your dog's neck with a measuring tape and compare it to the three finished lengths—14, 18, or 24 inches—before you chain.
  • Pick your buckle and D-ring first; the strap width (12, 14, or 16 stitches) needs to match the hardware opening you've chosen.
  • Work a small swatch in hdc blo with your 4.0 mm hook to check that your rows stay firm rather than stretchy.
  • Have your worsted weight cotton or cotton blend yarn and a yarn needle on hand, since the long tail left at fasten-off is used for attaching hardware.

How the hours go

Small Size
about 1 to 1.5 hours because it's only 12 stitches across and the shortest strap at 14 inches
Part 2 (Medium Size)
about 1.5 to 2 hours because the 14-stitch rows stack up to a longer 18-inch strap
Large Size
about 2 to 3 hours because the widest 16-stitch rows need to reach a full 24 inches

Looking after it

  • Hand wash the collar in cool water with a mild detergent, since cotton can hold onto dirt around the buckle stitching if left too long.
  • Lay it flat to air dry and ease it back into shape while damp, then store it coiled loosely rather than folded so the ribbed hdc rows don't crease.
FAQs

Asked on the glider

the ones that come up on the glider

Can I make this collar a different size than the three given?

Yes, just chain an odd number for your desired width and keep working hdc blo rows until the strap reaches your dog's measured length. Remember your stitch count sets the strap width, so check it matches your buckle before you start.

Why does the pattern use hdc through the back loop only?

Working through the back loop leaves the front loop sitting on the surface, which is what creates that ribbed, ridged texture. It also makes a denser fabric than regular hdc, so the strap holds its shape better.

Is this collar safe for walking a dog that pulls on the leash?

No, it's meant as a decorative accessory for calm, supervised wear rather than a leash-safety collar. For dogs that pull, use equipment specifically tested for that purpose instead.

What yarn works best for this project?

A worsted weight cotton or cotton blend gives the firmest, most washable strap, which matters since this piece sits against fur and skin. Stick with a 4.0 mm hook to keep the stitches dense.

How do I attach the buckle and D-ring securely?

Fold the strap end around the hardware and sew it down with matching sewing thread or strong yarn, using the long tail left at fasten-off to help. Check these stitched areas regularly and re-secure any loose threads right away.

Can I skip the D-ring and buckle for a simpler collar?

You can, though you'll lose the adjustable closure and the spot to clip a tag. If you leave off the hardware, consider a simple button-and-loop closure instead so the collar still fastens securely.