Intermediate 4-6 hours Worsted yarn

Worked on the glider, counted out loud —

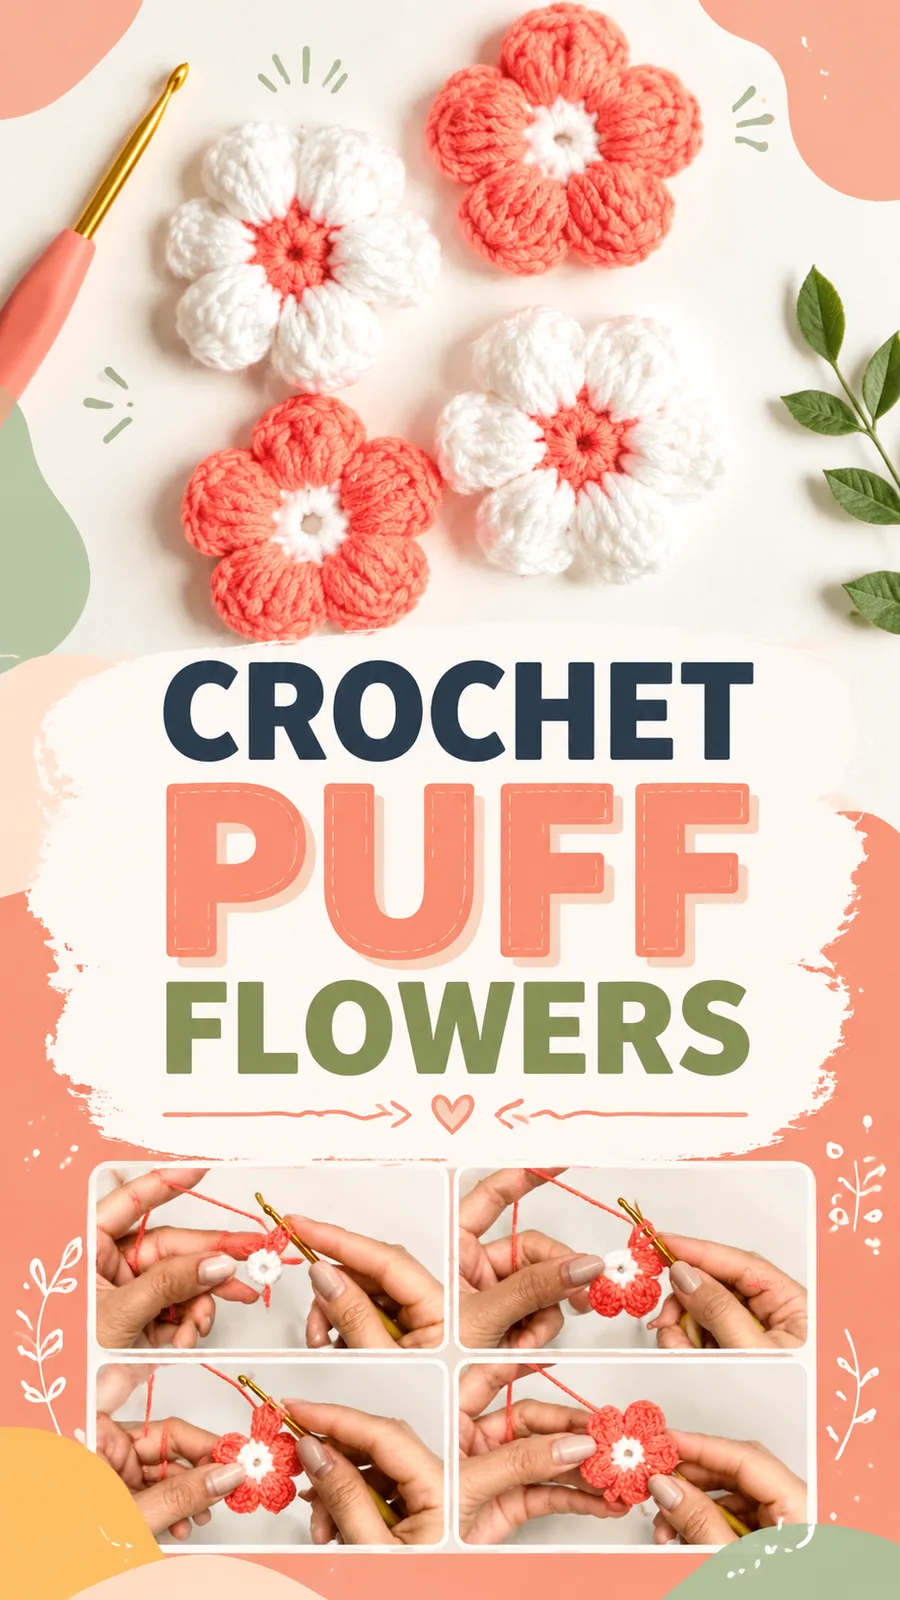
Puffy petal flower crochet pattern for bags and clips

A small puff-petal flower for beginners, worked in an evening. Easy crochet accessory for bags, clips, or pins.

Jump to the rounds

What this one is

You know those quiet stretches when you want your hands busy but your mind doesn't need to work hard? This little flower is made for exactly that. It's for the crocheter who has a few scraps of cotton leftover from a bigger project and wants to turn them into something that can go anywhere - a bag strap, a hair clip, a pin on a jacket collar.

Your hands start at the very center, working a tight magic ring before building outward in joined rounds. There's a short stretch of single crochet to establish the base, then the satisfying part where puff clusters gather into petals. From first stitch to finished bloom, you're looking at an hour or two of actual work, plus a little drying time if you shape it damp.

Try it another way

This flower is easy to nudge in different directions once you've made the base version. For a smaller bloom, drop down to a thinner yarn and smaller hook than the 3.5 mm called for here; for something larger, go up to bulky yarn, or work an extra increase round after Round 2 before you start the petals - just know that changes your stitch counts from the 10 and 20 given in the pattern. Color placement is where this one really shines: try pastels for a soft spring look, or push the contrast between center and petal color for something bolder. Since the petals are built from five puff clusters total, you can make a handful of flowers in varying sizes and colors and cluster them into a bouquet applique for a bag flap or cardigan. For attachment, the materials list already gives you several routes - fabric glue for a quick fix to a flat surface, a hair clip or pin backing for something wearable, or a few stitches of thread if you want it permanently sewn to an existing project. If you're using acrylic instead of cotton, expect a softer, fuzzier petal texture rather than the crisp, structured look cotton gives the puffs.

What makes this one fun is the shift in texture between rounds. You start flat and tidy with single crochet, then suddenly you're working petal puff clusters - two double crochets, a chain, two more double crochets, all tucked into the same stitch - and the flower just rounds up in your hands. Shaping each cluster outward afterward is almost like sculpting rather than stitching. The five-petal count keeps the project from dragging, so you get that reveal moment fast: flat disc, then suddenly a full dimensional bloom. It's a small enough make that you can try a color combination, don't love it, and start fresh without much yarn lost.
The rounds, in full

Written out, round by round

Intermediate4-6 hours3.5 mmWorsted

Bring to the porch

Everything this one takes, in the order you will reach for it.

  • Worsted weight cotton yarn in two colors: center color and petal color
  • 3.5 mm (US E-4) crochet hook
  • Yarn needle
  • Small scissors
  • Stitch marker
  • Optional fabric glue, hair clip, pin backing, or thread for attachment

Main Pattern

  1. Round 1Center With center color, make a magic ring. Ch 1, work 10 sc into the ring. Join with a sl st to the first sc. (10 sts)
  2. Round 2Center Increase Ch 1. Work 2 sc in each stitch around. Join with a sl st to the first sc. (20 sts)Fasten off center color. Join petal color in any stitch.
  3. Round 3Petal Foundation Ch 1, sc in same stitch. Sk 1 stitch, then work 1 petal puff cluster in next stitch. Continue around the flower by working: *sc in next stitch, sk 1 stitch, petal puff cluster in next stitch* Repeat from * to * until five petal clusters are created. Join with a sl st to the beginning sc. (5 petal clusters, 5 sc spaces)
  4. Round 4Petal Shaping Sl st into the next stitch space. In each petal cluster space work: 1 sc, 2 hdc, 3 dc, 2 hdc, 1 sc.Repeat around each of the five petals. Join with a sl st to the first sc. (5 shaped petals)
  5. Round 5Petal Edge Optional texture round. Sl st around each petal edge using relaxed tension. Fasten off, leaving a long tail for attaching if desired.

Project Name

Puff Bloom Crochet Flower Accessory

Pattern Description: This original crochet pattern creates a rounded floral applique with a raised center and five textured petals. The flower can be used as a standalone decoration or attached to handmade accessories.

Skill Level Easy to confident beginner Finished Size Approximately 3 inches (7.5 cm) wide Yarn Suggested worsted weight cotton yarn, approximately 20 yards (18 meters) total

Hook Recommended 3.5 mm (US E-4) crochet hook Gauge Not critical. Aim for firm stitches with a structured fabric.

Terminology US crochet terms

Special Stitch

Petal Puff Cluster: In the same stitch, work 2 dc, 1 ch, 2 dc. This creates a rounded raised petal section. Gently shape each cluster outward after finishing.

Putting it together

Step 1

For the best shape, gently arrange the petals while the flower is slightly damp. Allow it to dry completely before attaching it to another project.

Step 2

Important: Handmade crochet flowers keep their shape best when stored flat and protected from heavy pressure. Wash gently according to the yarn fiber instructions.

Marlene's notes

Note 01

Keep your tension on the firm side through Rounds 1 and 2 - a loose center ring can leave a visible gap once the petals are added around it.

Note 02

When you fasten off the center color and join the petal color in Round 3, weave the tail in as you go rather than leaving it for later, since the center of a small flower gets crowded fast.

Note 03

The turning chain never counts as a stitch in this pattern, so count your sc and petal clusters against the stitch counts given, not against the chains.

Before you sit down

  • Check that you have enough worsted cotton in two colors - about 20 yards total covers one flower, so weigh out roughly how much of each shade you're committing.
  • Place a stitch marker at the first stitch of Round 1 before you join, since the joined rounds in this pattern rely on knowing exactly where each round starts.
  • Read through Round 3 and the Petal Puff Cluster instructions together before you begin, so the sc-skip-cluster rhythm is clear in your head.
  • Swatch a single petal puff cluster on scrap yarn first to see how your hook size handles the 2 dc, ch 1, 2 dc grouping before committing to the full flower.

How the hours go

Center rounds (Rounds 1-2)
about 15 minutes because it's only two short rounds of single crochet before the color change
Petal construction (Rounds 3-5)
about 45-60 minutes because the puff clusters and petal shaping rounds take more careful stitch placement than plain sc
Finishing and shaping
about 20-30 minutes plus drying time because the petals need light blocking or finger shaping to hold their rounded puff form

Looking after it

  • Hand wash the finished flower gently in cool water if made with cotton, since cotton holds its shape well but can still mat if agitated too roughly; lay flat to dry rather than hanging it.
  • Store finished flowers flat and away from heavy pressure so the puff petals keep their dimension, and reshape gently by hand if they get flattened in storage.
FAQs

Asked on the glider

the ones that come up on the glider

What yarn works best for this flower?

Worsted weight cotton is the recommended choice because it helps the petals hold their rounded shape while keeping the whole flower lightweight. Acrylic works too if you'd rather have a softer, fluffier texture instead of cotton's crisper structure.

How much yarn do I actually need?

The pattern calls for about 20 yards (18 meters) total across both colors for one flower. Since it's such a small amount, this is a great project for using up leftover scraps from a bigger make.

What is a petal puff cluster exactly?

It's the special stitch that gives this flower its dimension: 2 dc, 1 chain, 2 dc, all worked into the same stitch. You then gently shape each cluster outward once it's finished to encourage the rounded puff look.

Do I need to block the flower when I'm done?

Light blocking or finger shaping while the piece is slightly damp helps the petals settle into their rounded form. Let it dry completely before you attach it to a bag, clip, or any other project.

How do I attach the finished flower to something?

The materials list gives you several options depending on your project: fabric glue for flat surfaces, a hair clip or pin backing for wearable pieces, or simply sewing it on with thread. Pick whichever matches where the flower is headed.