Beginner 1-2 hours DK yarn

Worked on the glider, counted out loud —

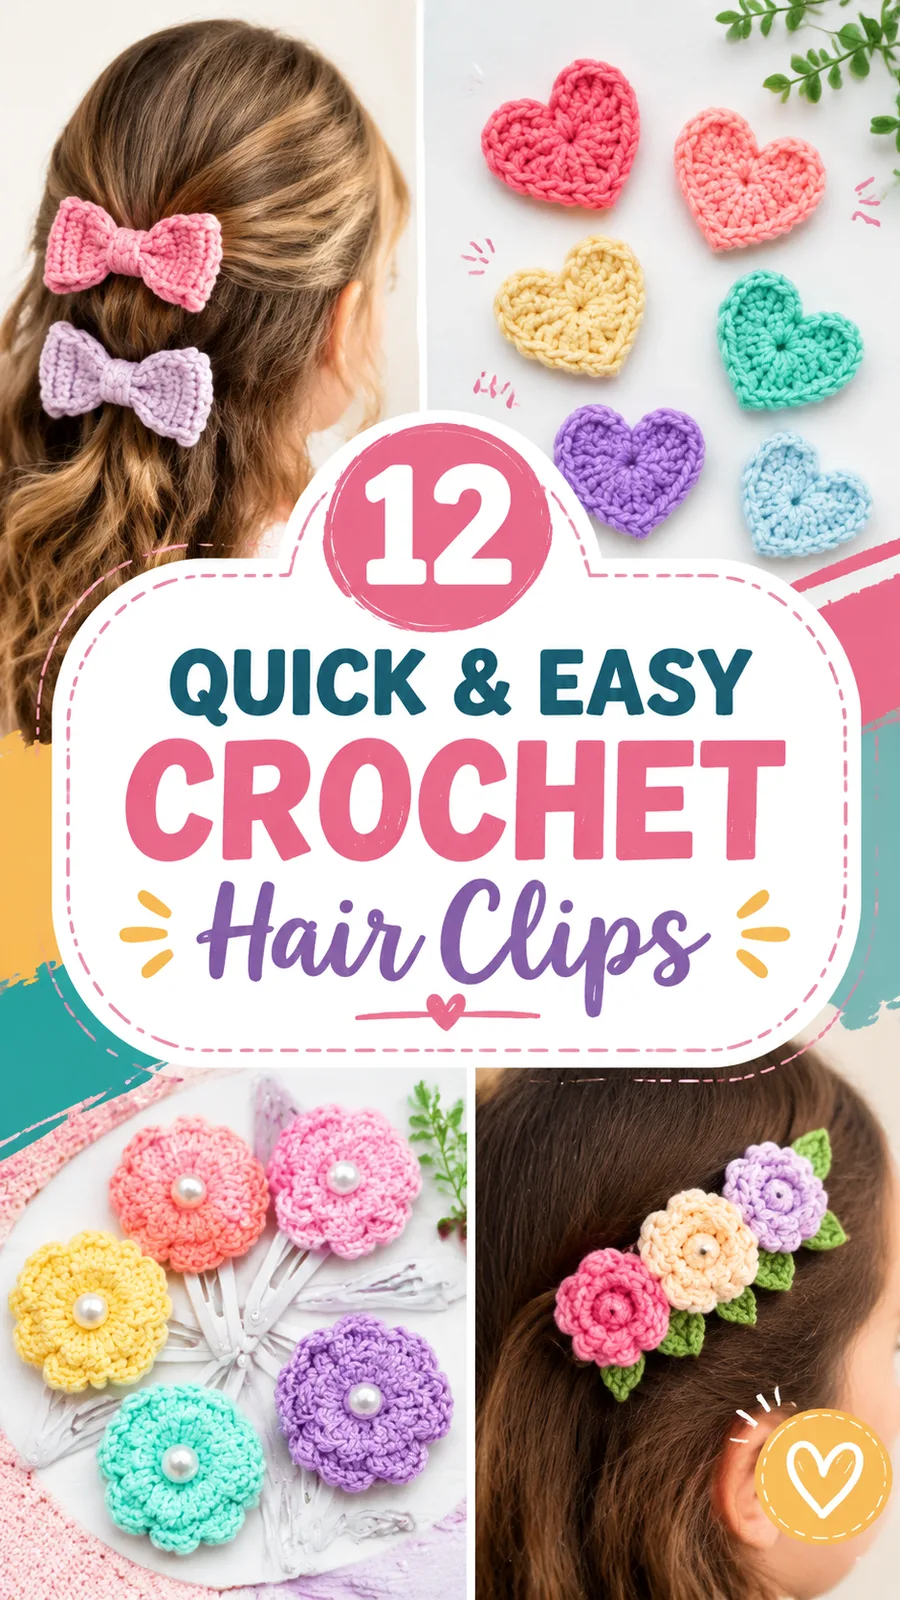
Crochet bow hair clip with a textured center wrap

A quick cotton bow clip for beginners, worked flat in sc and hdc. About an hour, start to finish.

Jump to the rounds

What this one is

You know those evenings when you want your hands busy but your mind doesn't want anything complicated? This bow clip is for that kind of evening. It's for the crocheter who wants a finished, wearable thing by the time the kettle's gone cold twice, and for anyone making something small and cheerful for a kid, a sister, or themselves.

Your hands mostly do one thing here: single crochet, row after row, until a little rectangle of fabric builds up. Then you gather it, wrap it, and watch it become a bow. Between the main piece, the center wrap, and the optional flower, you're looking at maybe an hour of actual stitching, plus a few quiet minutes of shaping at the end.

Try it another way

Once you've made one bow, it's easy to play with the scale. For a smaller clip for a child's hair, start with fewer than the original 21 chains and work fewer than the 14 rows called for in the Bow Main Piece. For a wider, statement-sized bow, add stitches to your starting chain in multiples of two, since that keeps your row count clean. Try two different colors for the Bow Main Piece and the Center Wrap, so the wrap reads as a contrasting band rather than blending in. The Optional Decorative Flower Accent is worth making in a leftover scrap color for a pop against the main bow. Beyond hair clips, this same bow shape works as a brooch pin backing, a bag charm, or a gift-wrap topper, since the construction doesn't change, just what you glue or sew it onto. If you're making several at once for gifts, batch your Center Wrap pieces together first since they're quick, then move on to the longer Bow Main Piece rows while you've got your rhythm going.

There's something genuinely satisfying about how little this pattern asks of you and how much it gives back. You're working two straightforward rectangles in single crochet, and the entire look of the bow comes from what you do after the stitching is done: folding, gathering, and wrapping that narrow center band tight enough to pinch the bigger piece into shape. It's a nice reminder that construction, not just stitch choice, is where a lot of handmade charm comes from. If you add the magic ring flower with its four little hdc-and-dc petals, you get a second small technique to enjoy in the same sitting. The cotton blend keeps every stitch crisp, so the bow holds its shape instead of slumping, which feels like a small, quiet win.
The rounds, in full

Written out, round by round

Beginner1-2 hours3.25 mmDK

Bring to the porch

Everything this one takes, in the order you will reach for it.

  • DK weight cotton or cotton-blend yarn in your preferred color, about 20 yards (18 meters).
  • 3.25 mm (US D-3) crochet hook.
  • Small hair clip base or snap barrette, approximately 2 to 3 inches (5 to 7.5 cm).
  • Yarn needle.
  • Scissors.
  • Optional fabric glue for securing the clip base.

Bow Main Piece

Make 1 rectangle.

Ch 21.

  1. Row 1Starting in second ch from hook, sc across. Turn. (20 sc)
  2. Row 2Ch 1, sc in each st across. Turn. (20 sc)
  3. Rows 3–14Repeat Row 2. (20 sc) FO and weave in ends. The rectangle should measure approximately 3.5 x 2 inches (9 x 5 cm).

Center Wrap

Ch 9.

  1. Row 1Starting in second ch from hook, sc across. Turn. (8 sc)
  2. Rows 2–5Ch 1, sc across. Turn. (8 sc) FO leaving a long yarn tail for sewing.

Optional Decorative Flower Accent

Make a magic ring.

  1. Round 1Ch 1, make 8 sc into ring. Sl st to first sc. (8 sc)
  2. Round 2Ch 2, hdc in same st, 2 dc in next st, sl st in next st. Repeat around to create 4 petals.

FO and attach to the bow center if desired.

Putting it together

Step 1

Fold the main rectangle accordion-style by pinching the center area together.

Step 2

Wrap the center strip around the gathered middle section.

Step 3

Sew the center wrap securely using the yarn tail.

Step 4

Attach the finished bow to the hair clip base with strong stitches.

Step 5

Secure all ends and check that the clip opens and closes properly.

Marlene's notes

Note 01

Cotton and cotton-blend yarn don't have much give, so keep your tension even and snug across all 20 stitches in the Bow Main Piece rather than letting the edges loosen.

Note 02

The Center Wrap is deliberately narrow at 8 stitches wide, so leave yourself a generous yarn tail at the end for sewing it tightly around the gathered bow.

Note 03

If you're attaching the piece to a clip, test the fit of your snap clip, alligator clip, or barrette base before you glue anything, since bases vary slightly in width.

Note 04

Finished size is approximately 3.5 x 2 inches (9 x 5 cm). Gauge is approximately 20 single crochet stitches by 22 rows = 4 inches (10 cm), so swatch first if you want your rectangle to come out true to size.

Note 05

Small crochet accessories show uneven tension more easily than larger projects, so take time to maintain consistent stitch height so both sides of the bow look balanced.

Before you sit down

  • Check that you have enough DK cotton or cotton-blend yarn for a 21-chain and 9-chain rectangle plus a little extra if you're adding the flower.
  • Swatch a few rows of single crochet with your 3.25 mm hook to make sure your 20-stitch rows aren't curling or flaring.
  • Read through the Center Wrap part before you start the Bow Main Piece, since it's the smaller piece that does the gathering work.
  • Decide now whether you want the Optional Decorative Flower Accent, since it changes how much yarn and time you set aside.

How the hours go

Bow Main Piece
about 35-40 minutes because you're repeating the same 20-stitch row 14 times
Center Wrap
about 10 minutes because it's only 8 stitches wide across 5 short rows
Assembly and optional flower
about 15-20 minutes because gathering the bow and shaping it by hand takes a little patience, plus extra time if you're adding the petal accent

Looking after it

  • After assembly, gently shape the bow with your fingers. If needed, lightly steam block the piece while keeping the crochet fabric flat and protected. Avoid soaking the clip hardware unless it is designed for water exposure.
  • Hand wash the finished clip gently in cool water if it needs cleaning, since cotton and cotton-blend fibers hold up well to light washing but the clip hardware may not.
  • Let it air dry flat, then reshape the bow gently with your fingers before storing it away from heavier items that could crush its shape.
FAQs

Asked on the glider

the ones that come up on the glider

What yarn works best for this bow clip?

DK weight cotton or cotton-blend yarn is recommended because it gives clean, firm stitch definition. It helps the bow hold its shape rather than going soft or floppy.

Can I make this bow bigger or smaller?

Yes, the pattern is built to adapt. Start with fewer chains and fewer rows for a smaller clip, or add stitches in multiples of two to your starting chain for a wider bow.

Do I need the Optional Decorative Flower Accent?

No, it's entirely optional and made separately using a magic ring and four simple petals. You can attach it to the bow center if you want extra texture, or skip it for a plainer look.

What kind of clip base should I use?

A snap clip, alligator clip, or small barrette base all work well with this bow shape. Choose whichever base fits how you plan to wear or gift the piece.

How do I attach the finished crochet piece to the clip hardware?

Sewing is the sturdiest option, using the long yarn tail left from the Center Wrap. Fabric glue is listed as an optional extra if you want added security at the base.

Why does the Center Wrap matter so much?

The Center Wrap is what gathers the Bow Main Piece into its classic bow silhouette. Without wrapping it tightly around the gathered rectangle, the piece will stay flat instead of pinching into shape.

Why does my bow look uneven?

Check that both sides of the Bow Main Piece have the same number of rows; an uneven row count is the most common cause of a lopsided bow.

Why is my fabric curling?

Your tension may be too tight. Try a slightly larger hook to relax the stitches and flatten the fabric out.

What if the clip feels loose?

Add extra stitches when attaching the crochet piece to the base for a more secure hold.

What if the bow shape doesn't hold?

Light blocking can help relax the fibers and improve symmetry if the shape isn't holding well on its own.