Beginner 1-2 Hours Worsted yarn

Worked on the glider, counted out loud —

Polka Dot Granny Square Pattern for Beginners

Learn to crochet a cheerful polka dot granny square with this easy 7-round beginner pattern using two colors and simple magic ring basics.

Jump to the rounds

Before you sit down

Form a magic ring to create a tight, adjustable center loop with no gap.

Chain two for height, which sets you up without counting as an actual stitch.

Work your first round of stitches directly into the magic ring, then pull the tail to close it snugly.

Continue building outward through the following rounds, increasing at the corners to keep the square lying flat.

Carry the resting yarn color neatly along your stitches so it stays hidden on the back of the work.

Keep counting stitches at the end of every round to make sure the square stays flat and even.

Finish after six shaping rounds plus a single crochet border round, weave in your ends, and block lightly for a clean, flat finished square.

What this one is

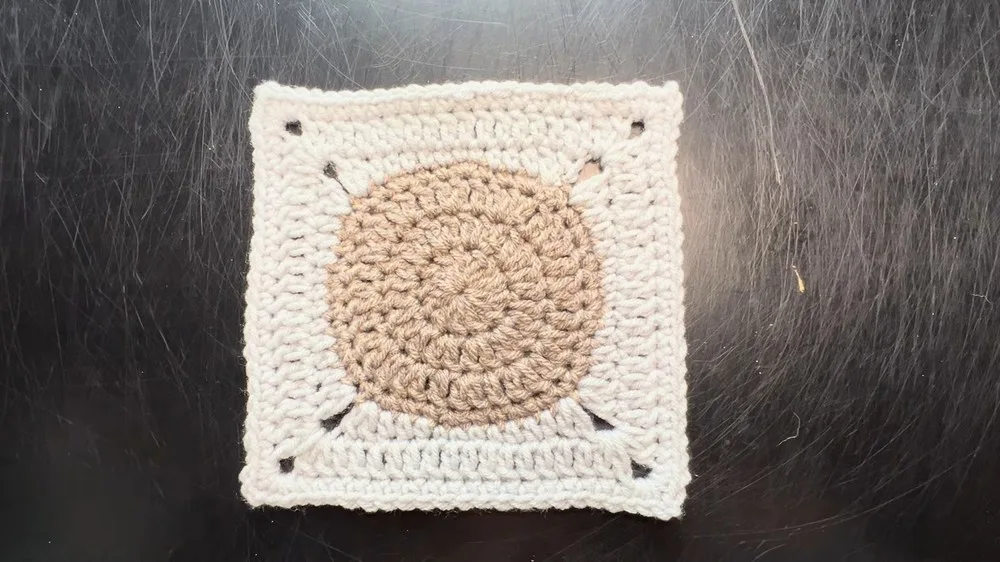
This Polka Dot Granny Square takes the classic crochet motif and gives it a playful twist with a two-toned dotted effect built right into the rounds. Worked in just two colors — a soft beige/gray GR and a dreamy Mist blue — this square is perfect for crocheters who love the look of traditional granny squares but want something a little more eye-catching. It's an ideal building block for blankets, cushion covers, or even a stack of coordinating coasters.

The techniques here are wonderfully approachable: you'll start with a magic ring foundation, work a chain-two for height, and build the circle outward through six shaping rounds plus a single crochet border round, using a medium weight (4) yarn and a 5.5 mm hook. This is a great confidence-building project for beginners who've mastered basic stitches and are ready to try color changes and circular rounds. Expect to spend about an hour or two, making it a satisfying single-sitting project.

The finished square has that classic granny texture with a rounded, dotted center that pops against the surrounding rows, giving it real visual depth. It's sturdy enough to hold its shape as a coaster or block, yet soft and cozy enough to feel right at home in a throw blanket. Made in bulk, these squares make a thoughtful handmade gift for anyone who loves a nostalgic, cottage-cozy aesthetic.
Variations

I adore this pattern because it takes something as familiar as a granny square and makes it feel brand new with that polka dot color placement. Starting with a magic ring means no gappy hole in the center — just a clean, tight little circle to build from. The chain-two for height keeps your rounds looking neat without adding bulk, which is such a helpful trick for beginners still getting a feel for round shaping. Working through all the rounds with the GR and Mist combo from Dollar Tree's Just Yarn line proves you don't need fancy, expensive yarn to make something genuinely charming — this budget-friendly yarn holds its stitch definition beautifully. There's something so satisfying about watching the dots emerge round by round, especially once you see how the color placement creates that eye-catching contrast. It's quick enough to finish in an evening, but engaging enough that you'll want to make a whole stack of them. Honestly, this is the kind of pattern I keep coming back to when I want a low-stress, high-reward project.

Common mistakes

  • Pulling the magic ring closedAfter completing your first round of stitches into the ring, tug firmly on the yarn tail to cinch the center closed completely before continuing to round two.
  • Forgetting the chain-two for heightAlways begin each new round with a chain-two before your first stitch, and remember this chain does not count as a stitch — it's purely for height.
  • Losing track of which round you'reUse a stitch marker or scrap yarn to mark the start of each round, and jot down a tally after finishing each one so you always know where you left off.
  • Carrying the unused color looselyCarry the resting color loosely along the top of your previous round and crochet over it with your working yarn so it's neatly enclosed inside your stitches.
  • Working stitches too tightly aroundKeep your tension relaxed for the first round, especially the initial stitches worked directly into the ring, so there's enough give to cinch it shut smoothly.
  • Not counting stitches at the endPause after every round to count your total stitches against what the round calls for, and unravel back to fix any missed or extra increases before moving on.

The rounds, in full

Written out, round by round

Beginner1-2 Hours5.5 mmWorsted

Materials

Everything this one takes, in the order you will reach for it.

Yarn

  • Dollar Tree “Just Yarn” by Premiere in two colors: GR (beige/gray mix) and Mist.
  • Medium weight (4) yarn.

Hook

  • Boye 5.5 mm crochet hook.

keep this to hand

Abbreviations

US crochet terms, as used in this pattern.

  1. chchain
  2. ststitch
  3. sl stslip stitch
  4. scsingle crochet
  5. hdchalf double crochet
  6. dcdouble crochet
  7. incincrease
  8. decdecrease
  9. mrmagic ring
  10. fofinish off

Main Pattern

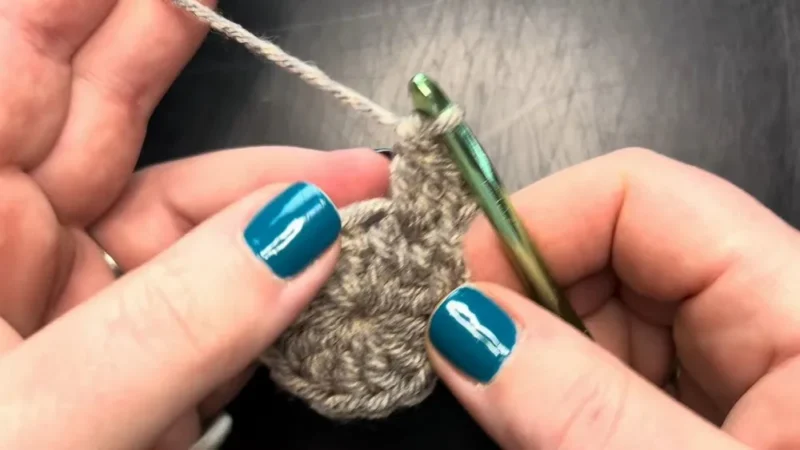
Step by step Step 1: Magic Ring Foundation. Start by creating a magic ring for the center of the granny square. Hold the yarn around two fingers, twist it, and secure the loop with your pinky. Bring the strand through the loop and prepare the base ring. Chain two for height (not considered as a stitch).

  1. Round 1Create the Base Circle Work several double crochets into the magic ring, closing the ring tightly afterward.Join the round using a slip stitch into the first double crochet.
  2. Round 2Double Crochets with Increases Begin with a chain two (for height). Work two double crochets into each stitch.Join with a slip stitch to complete the round.
  3. Round 3Alternating Increases Alternate between two double crochets in one stitch (increase) and one double crochet in the next.Repeat the pattern around to shape the circular base.
  4. Round 4Single Crochet Round Work two single crochets into one stitch (increase). Alternate with single crochets across the next two stitches.Change colors at the end of the round for the square foundation.
  5. Round 5Add the square shape by working different stitch sets on each side. Pattern: Double crochets, half double crochets, single crochets, and corner spaces with chain stitches.Corner spaces consist of doubling the stitches and adding chains for shaping.
  6. Round 6Focus on building larger, evenly shaped sides. Work consistent double crochet stitches along each side.Add structured corners to define the square shape.
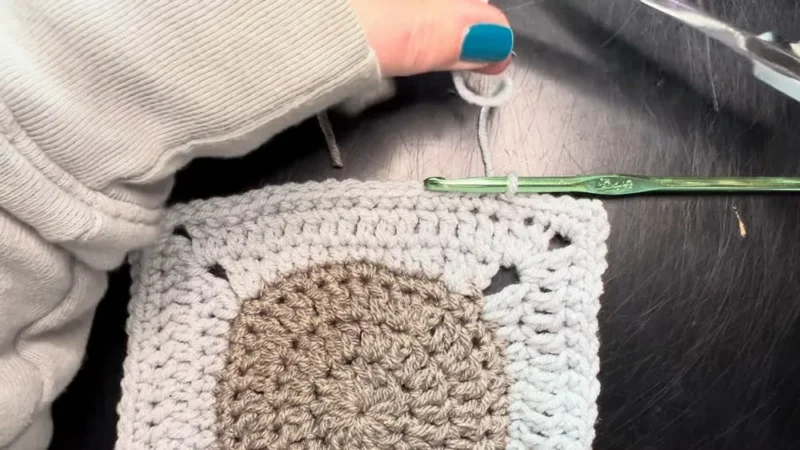
  7. Final RoundSingle Crochet Border Work single crochets along each side to complete the square and finalize its edges.Add single crochets and chain stitches at each corner. Finish the round with slip stitching, tying off, and weaving in ends.

Important notes

Note 01

💡 Use a 5.5 mm Boye hook with your medium weight (4) yarn for the stitch gauge this pattern is designed around — sizing down can make the rounds too tight to work comfortably.

Note 02

💡 Keep your magic ring tail long enough (about 6 inches) so you have plenty to pull tight and weave in securely once the center is closed.

Note 03

💡 Since Dollar Tree's Just Yarn is a budget option, check each skein for any thin or inconsistent spots and knot in a new strand if needed before it affects your tension.

Note 04

💡 Count your stitches regularly throughout the pattern to avoid missing or adding extra stitches, and use different color combinations to personalize your design.

More photos

FAQs

Asked on the glider

the ones that come up on the glider

Can I use a different yarn brand instead of Dollar Tree Just Yarn?

Absolutely — any medium weight (4) worsted yarn will work well with this pattern. Just make sure to keep your 5.5 mm hook, or adjust slightly if your chosen yarn runs thicker or thinner than standard worsted weight.

How many rounds does this pattern have, and how big will the finished square be?

This pattern works up over six shaping rounds plus a single crochet border round, building outward from the magic ring center. The exact finished size will depend on your yarn and tension, so it's worth swatching one square first if you need a precise measurement for a project.

Is the chain-two at the start of each round counted as a stitch?

No, the chain-two is worked purely for height and is not counted as a stitch in this pattern. Make sure not to work a stitch into it or your stitch count will be off for that round.

Can I join multiple polka dot squares together into a blanket?

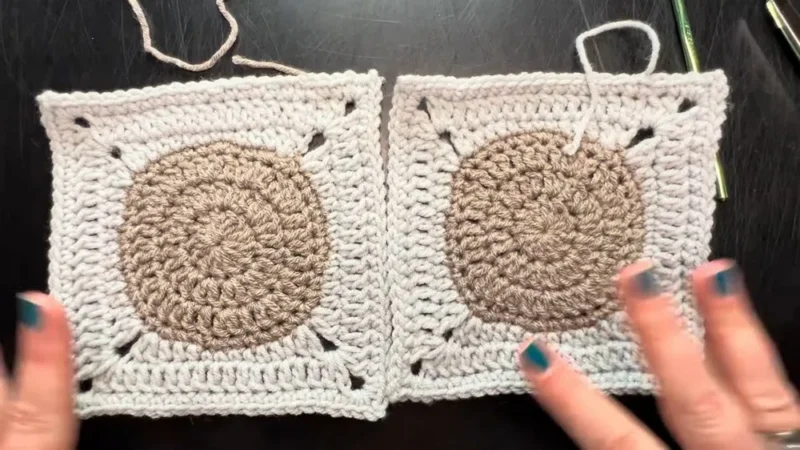
Yes, once you've made several squares you can join them using your preferred method, such as whip stitch or slip stitch seaming. Blocking each square first will help them line up neatly and lie flat when joined.