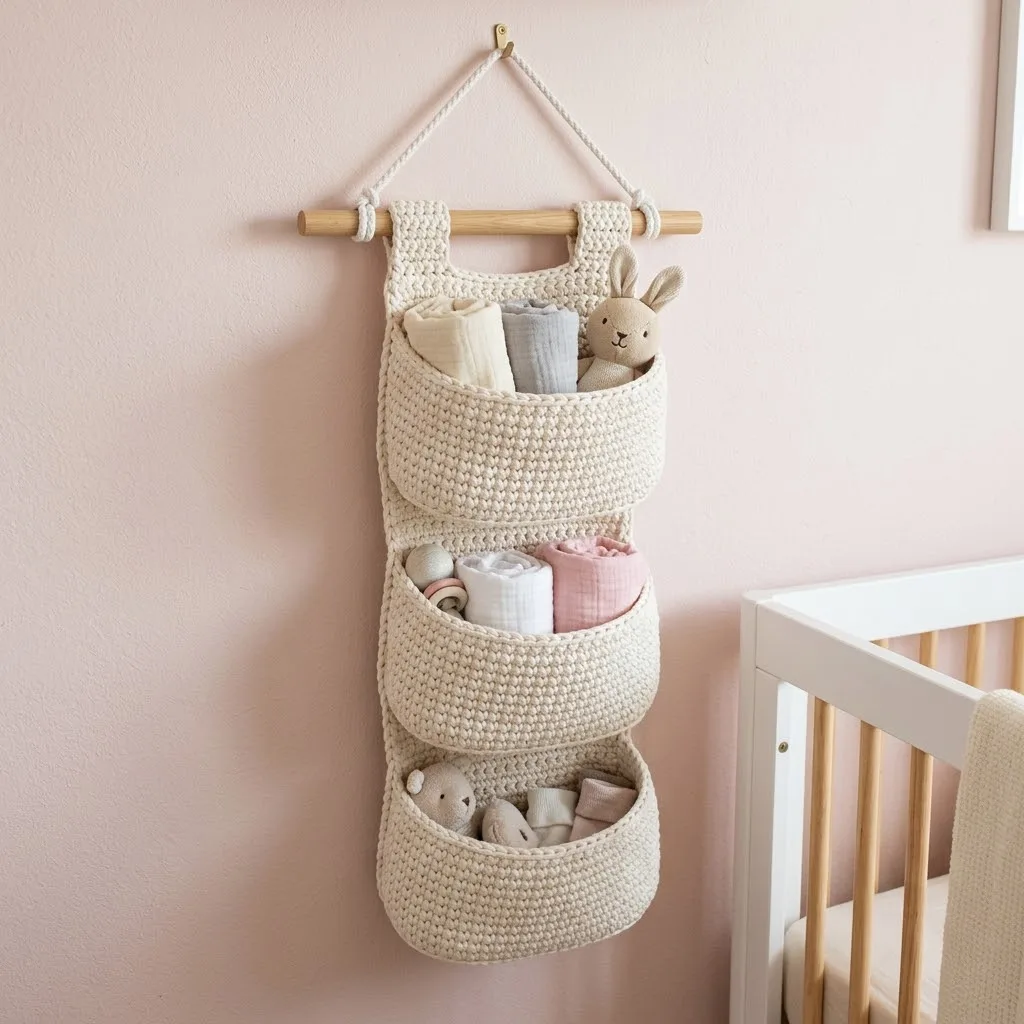
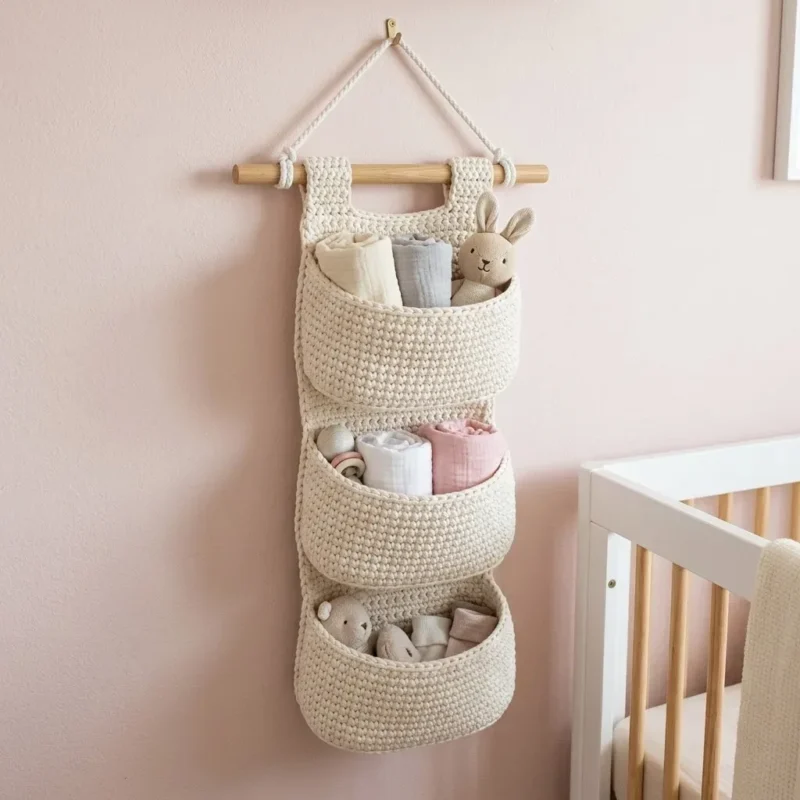
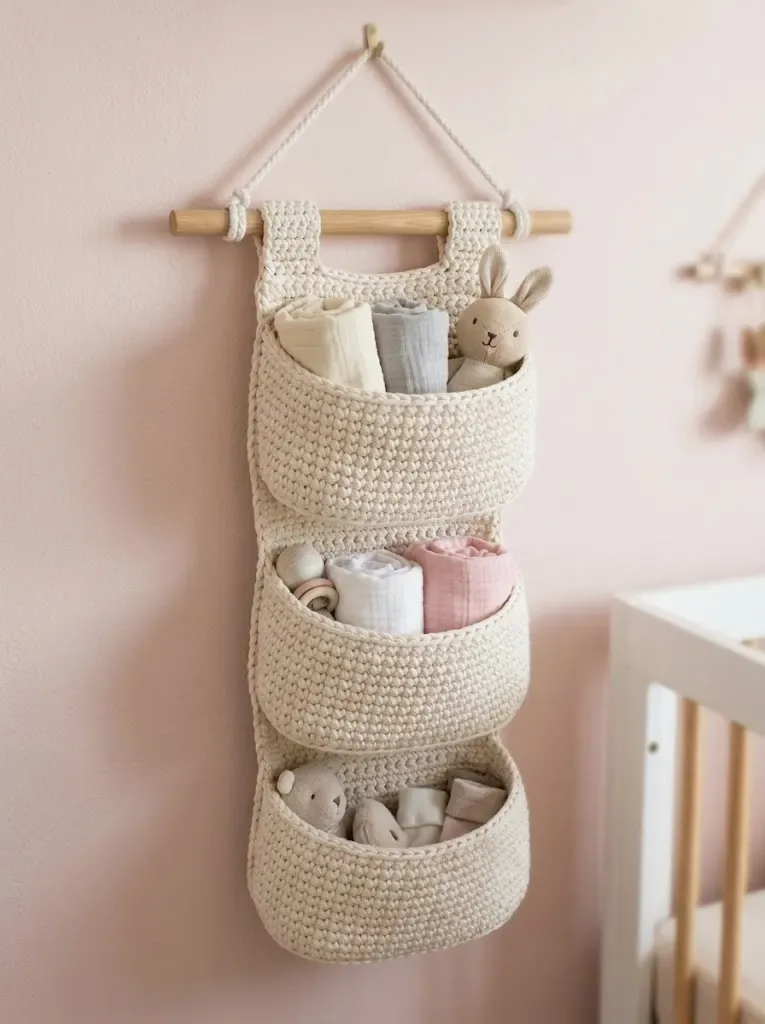
Part 3
- Round 1Ch 9. Sc in 2nd ch from hook and in each ch across. (8 sts)
- Round 2through 16: Ch 1, turn. Sc in each st across. (8 sts) Fasten off , leaving a long tail for sewing.
Your tabs should measure approximately 2 inches wide and 4 inches long.
Assembly
This is where your organizer comes together. Take your time with the seaming. Neat stitches here make the finished piece look polished.
Attaching the Tabs
Fold each tab in half lengthwise, creating a loop large enough for your dowel to slide through. Position the tabs approximately 2 inches from each side edge of the back panel, at the very top.
Using your tapestry needle and matching yarn, whip stitch both ends of each tab securely to the back of the panel. Reinforce these stitches. The tabs bear all the weight when hanging.
Positioning the Pockets
Lay your back panel flat with the right side facing up. Place your three pockets evenly spaced along the length.
Top Pocket: Position the top edge approximately 3 inches below the tabs.
Middle Pocket: Position approximately 3 inches below the bottom of the top pocket.
Bottom Pocket: Position approximately 3 inches below the middle pocket, leaving a few inches at the very bottom.
Pin or use stitch markers to hold the pockets in place before sewing.
Sewing the Pockets
Using your tapestry needle and a long length of yarn, whip stitch around the back half of each pocket base to attach it to the back panel. You are sewing through the back panel and the bottom edge of the pocket simultaneously.
Important: Only sew the back portion of each pocket to the panel. The front curves outward to create the pocket opening. Sew approximately halfway around each oval, following the curve.
When you reach the sides where the pocket curves toward you, stop sewing. This leaves the front of the pocket open and functional.
Secure your stitches well and weave in all ends.