Easy to intermediate 2-3 hours Worsted yarn

Worked on the glider, counted out loud —

Tiny crochet book keychain pattern for bags and gifts

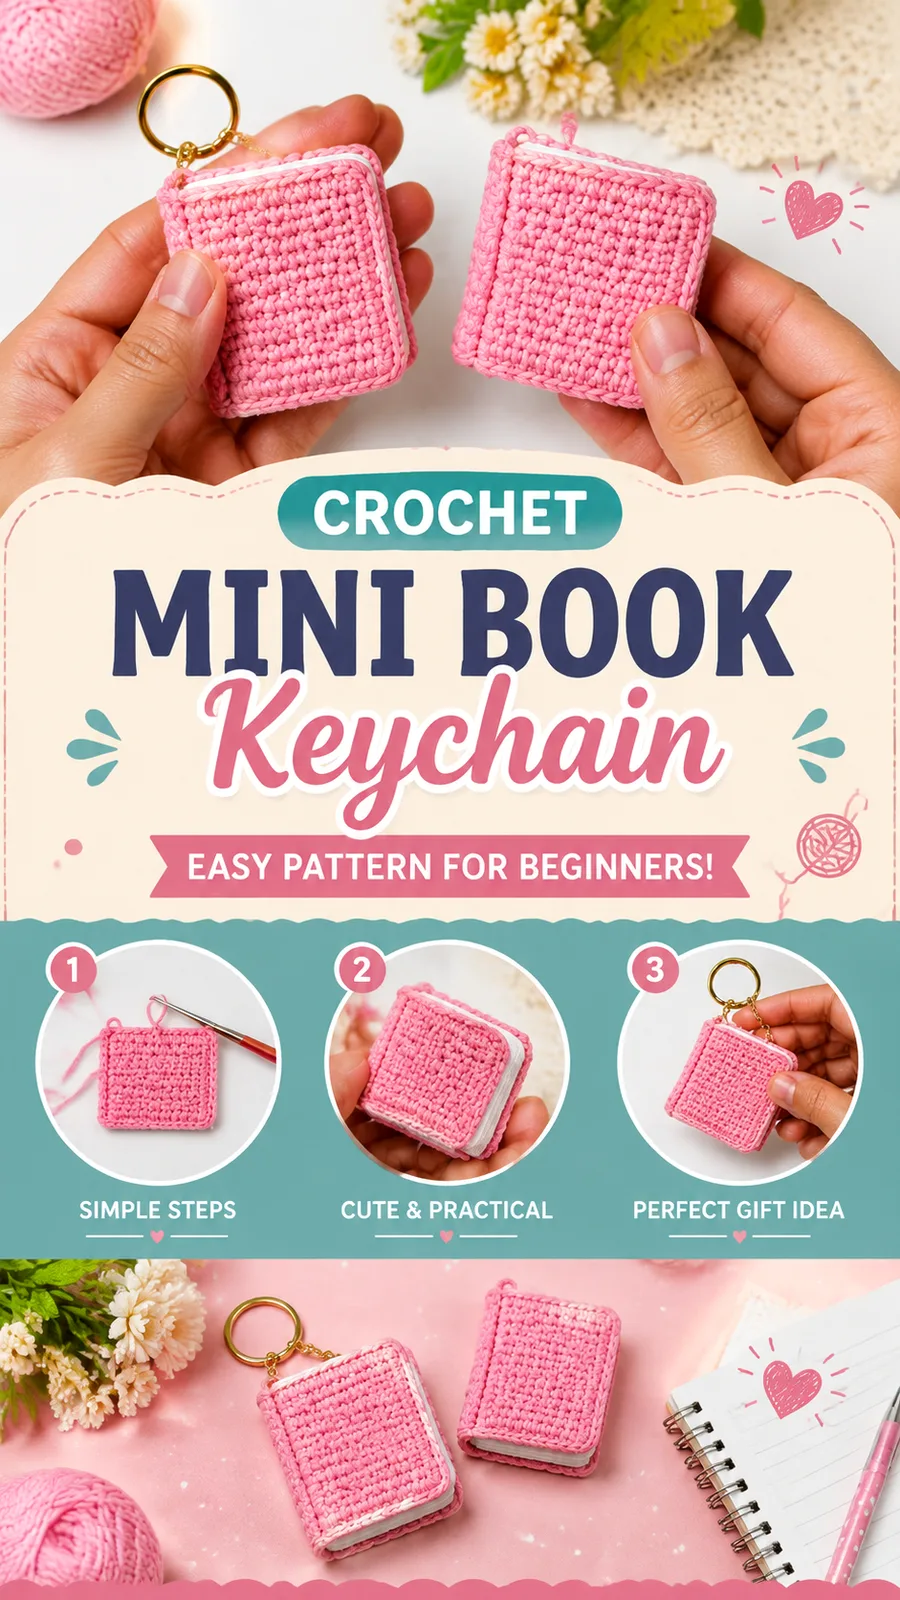
A small crocheted book charm worked in sc rows, perfect for bag charms or quick gifts in an evening or two.

Jump to the rounds

What this one is

This is the kind of project you pull out when you want something small to finish start to end without much fuss. It suits the crocheter who loves books, or the one who's shopping for a friend who does, and it makes a sweet little nod to reading without taking over your whole project basket. You don't need much yarn or much time to get a charming result.

Your hands spend most of the time on plain single crochet rows, back and forth, turning at the end of each one, which makes this a good piece for half-watching a show while you work. Between the two cover panels, the optional page insert, and the joining border, you're looking at a project you can realistically finish in one sitting or two.

Try it another way

Once you've made one of these, it's easy to start playing with it. Try working the two cover panels in different colors for a two-tone book, or save a contrasting cotton for just the joining border so it reads like a bound edge against the cover color. If you want a slimmer charm, leave out the page insert entirely and just join the two 12-stitch cover panels directly; if you want a slightly puffier one, add the felt insert or a pinch of stuffing before you close the border. The page insert itself, at 10 stitches across instead of the cover's 12, is already set up to sit neatly inside, so swapping it for cream, white, or even a pastel yarn can give the impression of painted page edges. For gifting, swap the keychain hardware for a bag charm clip instead of a jump ring, or skip the hardware altogether and sew a loop of ribbon through the top loop for hanging on a bulletin board. Smooth cotton gives the crispest stitch definition for all of these variations, but a soft acrylic in the same worsted weight will still hold the basic shape if that's what you have on hand. For a larger charm, increase the starting chain by 2 stitches and add more rows; for a smaller charm, reduce the starting chain and row count while keeping both panels identical. You can also add embroidered initials, seasonal colors, or small crochet flowers or hearts for extra decoration.

There's something quietly satisfying about watching a stack of single crochet rows turn into a tiny rectangle that actually looks like a book cover. The dense sc fabric holds its shape well, so by the time you've worked all 28 rows on each cover panel, you've got a firm little rectangle rather than something floppy. Adding the optional page insert, worked a touch smaller at 10 stitches across, gives the inside a bit of dimension once it's tucked between the covers. Then there's the joining border that pulls the two panels together and the small loop at the top that turns the whole thing from a flat charm into something you can actually hang. It's a nice small lesson in how a few simple techniques, done with even tension, add up to something with real structure.
The rounds, in full

Written out, round by round

Easy to intermediate2-3 hours3.0 mmWorsted

Bring to the porch

Everything this one takes, in the order you will reach for it.

  • Worsted weight cotton yarn in main cover color (approximately 35 yards / 32 meters)
  • Small amount of white or cream yarn for pages
  • 3.0 mm crochet hook (US C-2)
  • Yarn needle
  • Small amount of stuffing or felt insert if extra firmness is desired
  • Keychain hardware with jump ring
  • Scissors
  • Stitch marker

Project Category and Best Uses

This project belongs to the category of small crochet accessories and miniature handmade gifts. The compact size makes it ideal for using leftover yarn from larger projects.

Keychain accessory Backpack or purse charm Handmade stocking stuffer Craft fair mini item Cute crochet gift idea for book lovers

The suggested difficulty level is easy to intermediate beginner . Basic crochet skills such as chaining, single crochet, counting stitches, sewing pieces together, and weaving in ends are helpful.

Special Stitch Information

Single crochet (sc): Insert hook into indicated stitch, yarn over, pull up a loop, yarn over again, and pull through both loops on hook.

Cover Panels (Make 2)

Each panel is worked flat in rows. Turning chains do not count as stitches.

  1. Row 1Ch 13. Sc in second ch from hook and across. (12 sc)
  2. Row 2Ch 1, turn. Sc in each stitch across. (12 sc)
  3. Rows 3–28Repeat Row 2 until you have 28 rows total. (12 sc) Fasten off the first panel. Keep yarn attached on the second panel for assembly if desired.

Page Insert (Optional)

  1. Row 1Ch 11. Sc in second ch from hook and across. (10 sc)
  2. Rows 2–24Ch 1, turn. Sc across. (10 sc) The page insert should be slightly smaller than the cover panels so it sits neatly inside.

Keychain Loop

Attach yarn at the top center of the book.

Chain 8.

Slip stitch back into the same attachment point to create a small loop.

Fasten off and weave in the ends securely.

Putting it together

Step 1

Place the page insert between the two cover panels.

Step 2

Align all edges evenly.

Step 3

Using the cover yarn, join the panels with single crochet stitches around three sides.

Step 4

Before closing the final side, add a small amount of stuffing if a padded book shape is preferred.

Step 5

Continue single crochet around the final edge and slip stitch to secure.

Step 6

Weave in all yarn ends using a yarn needle. Lightly steam block or wet block the panels if needed to improve the rectangular shape, but avoid heavy stretching because the charm should remain compact.

Marlene's notes

Note 01

Use the 3.0 mm hook and keep your single crochet stitches snug rather than loose; this pattern leans on firm tension to keep the finished book from stretching out of shape with use.

Note 02

A stitch marker is genuinely useful here, not optional, since both cover panels run to 28 rows and it's easy to lose count partway through.

Note 03

If you want a firmer charm, tuck a small amount of stuffing or a felt insert between the covers before you close up the border; this is a nice option but not required by the pattern.

Note 04

Finished size is approximately 2.25 x 2.75 inches (5.7 x 7 cm). Gauge is approximately 20 single crochet stitches by 22 rows = 4 inches (10 cm), using suggested worsted weight cotton yarn (about 35 yards / 32 meters). This pattern uses US crochet terms throughout.

Note 05

If your panels come out wider or narrower than expected, count your stitches at the end of every row. Missing the first or last stitch is the most common cause of uneven edges.

Note 06

Make sure the hanging loop is firmly attached through several stitches. A reinforced connection will help the charm handle everyday use.

Note 07

Pro tip: For a polished handmade finish, match your joining stitches closely to the cover color so the edges look clean and professionally finished.

Before you sit down

  • Check that you have enough worsted weight cotton for both cover panels, since each one runs 28 rows long and firm tension uses a bit more yarn than loose work.
  • Have your 3.0 mm hook (US C-2) on hand along with a stitch marker to keep track of row counts across those longer repeats.
  • Work a small swatch in single crochet first to confirm your tension feels tight and even, since this pattern depends on a dense fabric to hold its book shape.
  • Read through the Cover Panels rows once before you start so you know you're repeating Row 2 straight through to row 28, with no shaping to watch for.

How the hours go

Cover Panels (make 2)
about 45-60 minutes each, because 28 rows of plain single crochet add up even though each row itself is quick
Page Insert (optional)
about 15-20 minutes, because it's only 24 rows and one stitch narrower than the covers, so it moves fast
Border, loop, and assembly
about 20-30 minutes, because joining the edges neatly and attaching the keyring loop takes a bit more care than the straight rows before it

Looking after it

  • Hand wash the finished charm gently with mild soap, since it's made from cotton yarn, and reshape it while it's still damp so the panels lie flat and square.
  • Let it dry completely before clipping it onto a bag or keys, and store it away from rough surfaces or anything that might snag the yarn when it's not in use. Secure loose ends immediately if they appear, and refresh the shape with gentle blocking when needed.
FAQs

Asked on the glider

the ones that come up on the glider

Can I use acrylic instead of cotton for this pattern?

Yes, a soft acrylic yarn will work fine and the pattern notes it as an option. Cotton just tends to give a crisper, more structured finish, which suits the book shape especially well.

Do I really need the page insert, or can I skip it?

The page insert is listed as optional, so you can leave it out and simply join the two cover panels directly. It's a nice detail if you want the charm to feel more book-like inside, but it's not essential to the structure.

Why does my charm feel floppy instead of firm like a little book?

This usually comes down to tension being a bit loose, since the pattern relies on tight single crochet stitches to create that dense, structured fabric. Try sizing down slightly or simply crocheting a bit firmer, and consider adding stuffing or a felt insert for extra body.

How much yarn do I actually need for one keychain?

The materials list calls for a small amount of worsted weight cotton for the main cover color, approximately 35 yards (32 meters), plus a small amount of white or cream for the pages, since each cover panel is only 28 rows at 12 stitches wide. It's a good project for using up leftover yarn from bigger projects.

What size hook should I use?

The pattern calls for a 3.0 mm hook, listed as US C-2. Sticking with that size, combined with firm tension, is what keeps the fabric dense enough to hold the little book shape.

Can I make this bigger or smaller than the pattern gives?

Yes, though you'll want to adjust the row counts accordingly rather than just guessing. For a larger charm, increase the starting chain by 2 stitches and add more rows; for a smaller charm, reduce the starting chain and row count while keeping both panels identical.