Easy 1-2 Hours DK yarn

Worked on the glider, counted out loud —

Lemon Granny Square — Free Crochet Pattern

Free lemon granny square crochet pattern using half double crochet increases. A 3.7-inch citrus square perfect for blankets, coasters and summer bags

Jump to the rounds

What this one is

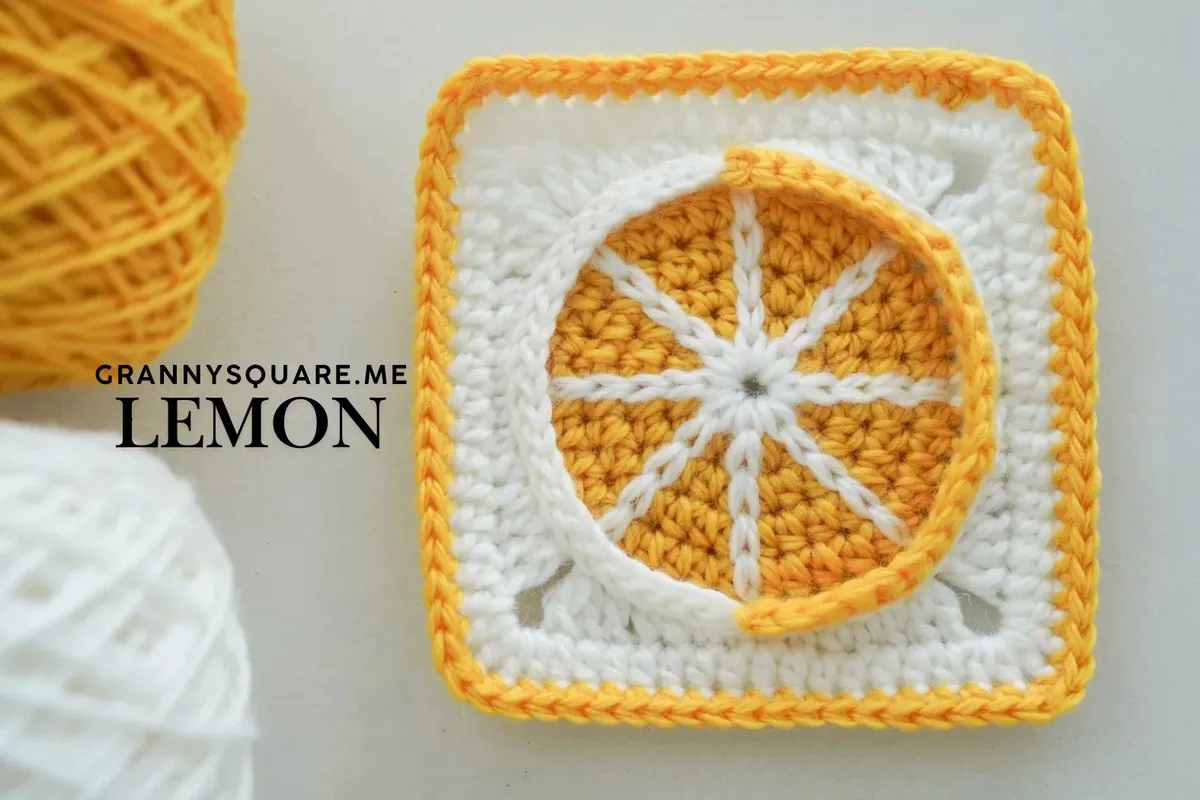
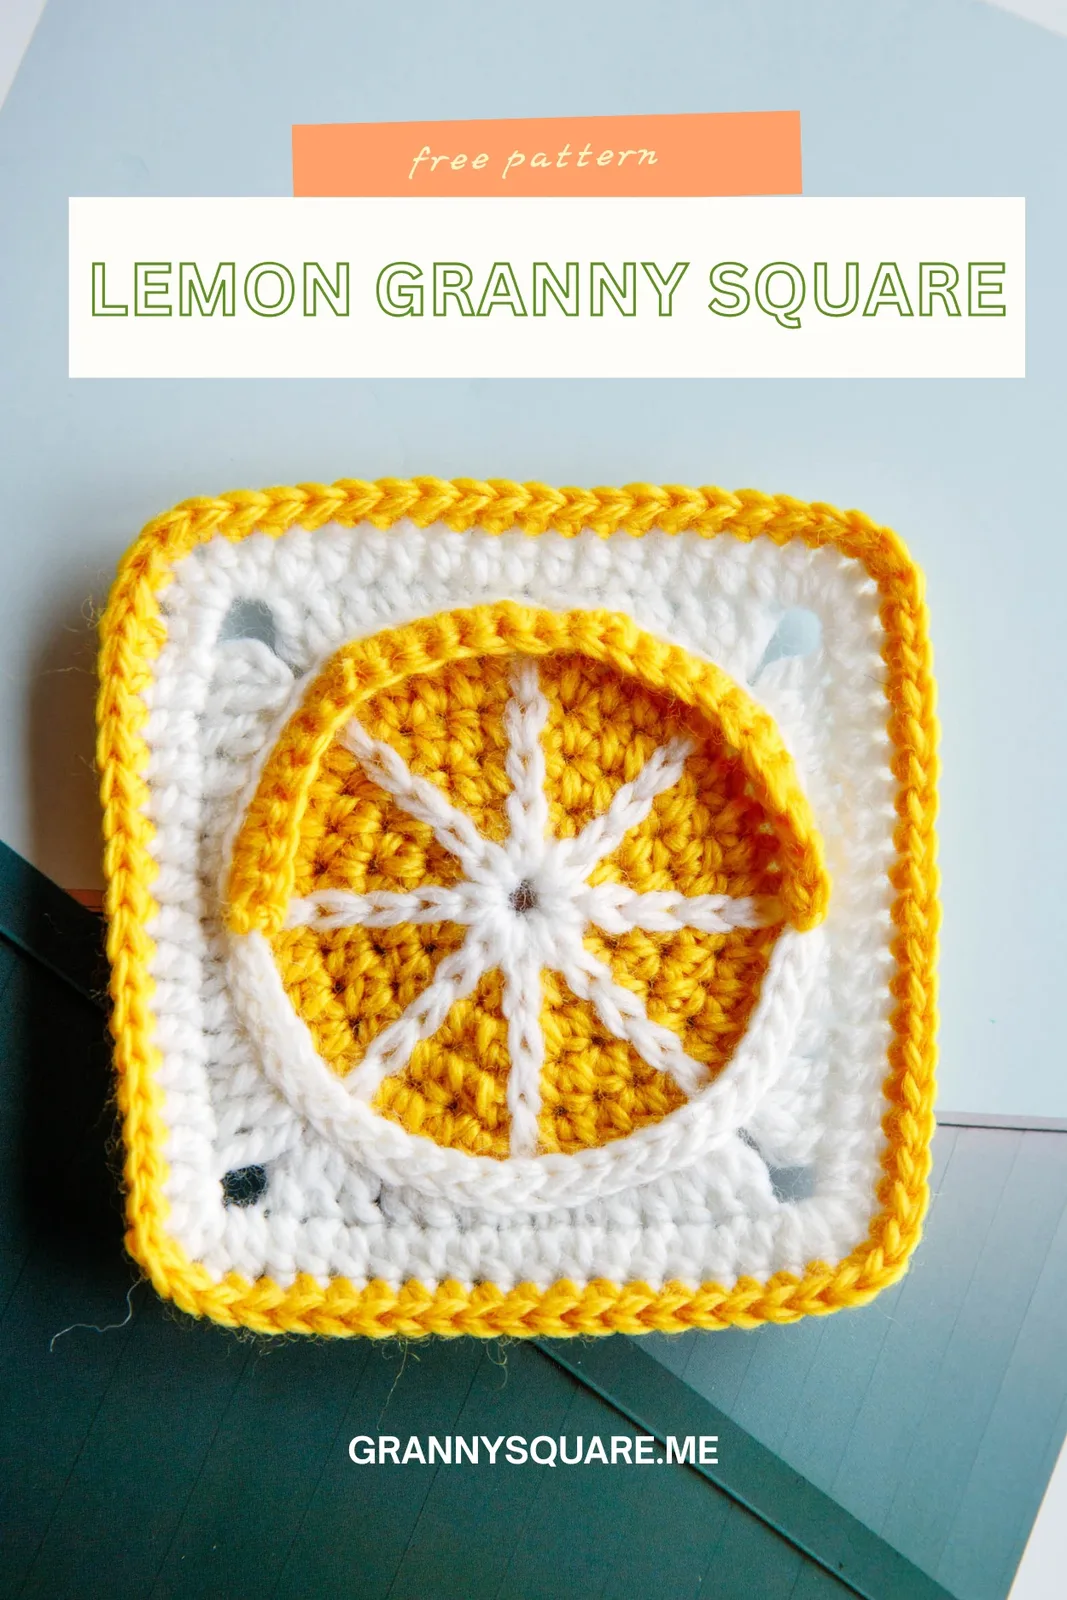
This pattern turns two colors of yarn into a cheerful lemon slice worked entirely in the round and then shaped into a tidy little square. It starts with a chain-5 loop holding eight single crochet, blooms outward through rounds of golden yellow half double crochet increases that build the lemon flesh, then gains a white border, eight white slip-stitched segment lines like the dividers in a real slice, and finally a rind worked in two halves. It is ideal for anyone who loves fruit motifs, summer color palettes, or a satisfying make that finishes before the tea goes cold

The technique list is refreshingly short: chain, slip stitch, single crochet, and half double crochet, plus the hdc increase that does all the growing. Rather than a magic ring, you begin with a chain-5 loop, which is far friendlier for anyone whose magic circles keep loosening. Each round follows a predictable rhythm — ch2 as a standing stitch, an increase in the same stitch, then a set number of plain hdc between increases. The last rounds add texture by working into the front loops only and then the third loops only of Round 6. Expect roughly one to two relaxed hours, less once the pattern clicks

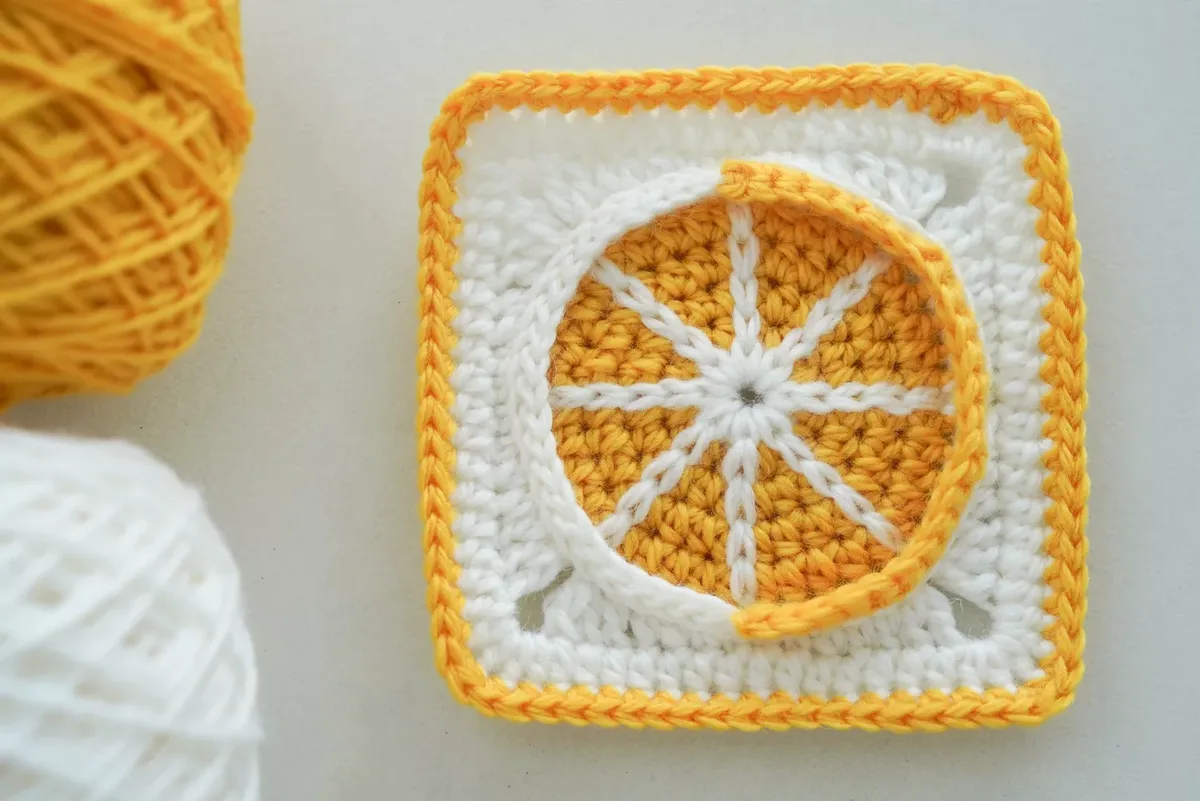
The finished square measures about 3.7 inches by 3.7 inches in DK Sports weight on a 3.00mm hook — a small, dense, pleasantly firm motif that holds its shape without blocking gymnastics. The golden yellow center reads as lemon flesh while the eight white segment lines read as pith, so from across the room it genuinely looks like a citrus slice. Make one as a coaster, six as a mug rug set, or forty-two as a summer blanket that makes people smile every time they walk past it. It is also the ideal focus motif for a fruit tote or summer market bag

Variations

The obvious swap is the citrus family: trade golden yellow for bright orange to get an orange slice, or go lime green for a lime. A ruby grapefruit version — coral pink flesh with white segment lines — is my personal favorite and looks stunning in a mixed fruit blanket. For a watermelon spin, work the center rounds in raspberry pink, keep the white border round, then finish in leaf green. Size changes are easy because the increase math is transparent. Every round adds eight increases, so continuing the sequence gives you hdc-inc then 4hdc, then hdc-inc then 5hdc, and so on. Two extra rounds pushes the square closer to 5.5 inches, which is a lovely size for a cushion panel. For a mini version at roughly 2.5 inches, stop two rounds early and work the corners a touch tighter — perfect for garland bunting or brooch backings. Yarn substitutions open up more looks. Paintbox Simply DK and Scheepjes Catona (used doubled) both give the same crisp stitch definition as the DK Sports sample. Drop to a 2.5mm hook with cotton for firm, flat coasters that will not curl. For a fluffier decorative version, try a soft acrylic like Stylecraft Special DK with a 3.5mm hook. Seasonal ideas: silver-flecked yarn for the segment lines makes a winter citrus wreath, or a deep mustard and burnt orange combination that slots straight into autumn decor

I fell for this square the moment the second round of hdc increases doubled around and the little circle popped into being — there is something addictive about that early stage where eight stitches become sixteen and the fruit shape suddenly announces itself. What keeps me coming back is the rhythm: ch2 as a standing stitch, increase in the same stitch, then one plain hdc, then two, and each round the spacing grows by exactly one. You barely need to read after the fourth round because your hands already know what comes next. I also love that the color change happens by joining the golden yellow to any stitch rather than carrying yarn, which means no messy floats on the back and a join that looks crisp and deliberate. And at 3.7 inches, it is the perfect size for the kind of project where you want progress you can actually see — I made four while watching a film and had a set of coasters by the credits. It is a genuinely joyful little make
Common mistakes

  • Working the first roundAfter the slip stitch that forms the loop, insert your hook into the open space at the middle of the ring — not into the individual chain stitches. All eight single crochet go around the chain bar. If your center still looks tight, gently tug the starting tail after round two to close any remaining hole rather than pulling it as you go. Note that Round 7 asks you to pull white yarn from this central hole, so do not close it completely
  • Losing count on the increase roundsEvery increase round is built on a repeat of eight. After each round, count your increases — you should always have exactly eight. If the piece ruffles, you added extras; if it cups into a bowl, you missed some. Drop a stitch marker into the first stitch of each round and count the increases before you join, not after you have moved on
  • Treating the ch2 as a chainThe ch2 at the start of each round counts as your first half double crochet. The very next stitch you make goes into that same stitch to form the increase — but that is only two stitches total in that spot, not three. If your joins look bulky and lopsided, you are almost certainly adding a phantom stitch at the start of every round
  • Slip stitching the join into the wrongAlways join to the TOP of the first ch2, meaning the second chain of that pair, not the base of it and not the first hdc beside it. Joining low is the most common reason a round-start seam drifts diagonally across the finished square
  • Joining the golden yellow yarnJoin with a standing stitch or a tight slip knot on the hook, then work into any stitch of the previous round with the tail held to the back. Keep the first two stitches after the join snug. When you weave the tail in later, run it through the backs of stitches in the same color so it never peeks between the two shades
  • Working Round 8 and Round 9 into wholeRound 6 is the foundational round for both of the rounds that follow: Round 8 works into the front loops only of those stitches and Round 9 works into the third loops only. That loop sequence is what creates the layering and depth. If you work into both loops, the border sits flat and the plump, dimensional fruit-flesh effect disappears entirely
  • Using a hook that is too largeThe sample uses a 3.00mm hook with DK Sports, which is a step down from typical DK recommendations and that is intentional. The tighter gauge is what keeps the fruit shape crisp and the square firm. If your motif comes out much bigger than 3.7 inches and you can see through it, go down another half millimeter

The rounds, in full

Written out, round by round

Easy1-2 Hours3.00 mmDK

Materials

Everything this one takes, in the order you will reach for it.

  • Yarn of your choice —2 colors; the sample is made with DK Sports. The finished lemon granny square is about 3.7 inches by 3.7 inches.
  • Crochet hook- we are using a 3.00mm hook
  • Darning Needle
  • Scissors
  • Colors used in the sample: golden yellow for the lemon flesh and white for the border, the segment lines and one half of the rind.

keep this to hand

Abbreviations

US crochet terms, as used in this pattern.

  1. chchain stitch
  2. ch-spchain space
  3. dcdouble crochet
  4. scsingle crochet
  5. hdchalf double crochet
  6. incincrease
  7. reprepeat
  8. ststitch
  9. slst / sl stslip stitch for joining for different rounds
  10. skskip
  11. FLfront loop
  12. FLOfront loop only
  13. TLOthird loop only

Main Pattern

Round 1 Round 1 – Lemon Center. This granny square features a thin round lemon slice in the center, and this round forms the small ring that everything grows from.

  1. Round 1knot on your hook, ch5, sl st to the first ch to form a loop, ch1 as a standing st, 8sc in this loop, sl st to the first sc, fasten off.Round 2 Round 2 – Start the Lemon Flesh. The golden yellow yarn joins here and the flesh of the lemon begins, with an increase worked in every stitch of Round 1.
  2. Round 2Join golden yellow yarn to any st, ch2 as a standing st(count as 1hdc), 1hdc in the same st to form a hdc-inc. *hdc-inc* rep 7 times, sl st to the top of the first ch2.Round 3 Round 3 – Enlarge the Lemon Flesh. From here the rounds keep the same rhythm: ch2 as a standing stitch, an increase in that same stitch, then one more plain hdc between increases with every round that follows.
  3. Round 3ch2 as a standing st(count as 1hdc), make another hdc in the same st to form a hdc-inc, hdc in next st. *hdc-inc, 1hdc* rep 7 times, sl st to the top of the first ch2.
  4. Round 4ch2 as a standing st(count as 1hdc), make another hdc in the same st to form a hdc-inc, 2hdc. *hdc-inc, 2hdc* rep 7 times, sl st to the top of the first ch2.
  5. Round 5ch2 as a standing st(count as 1hdc), make another hdc in the same st to form a hdc-inc, 3hdc. *hdc-inc, 3hdc*rep 7 times, sl st to the top of the first ch2, fasten off.Round 6 Switch to white yarn and create a distinct border for the lemon slice.

Round 6 This foundational round is key — the later two rounds will build dimension by working into these stitches. In Round 8, work into the front loops only of these stitches. In Round 9, work into the third loops only. This strategic two-round loop sequence creates layering and depth, transforming your flat square into something with genuine visual dimension.

  1. Round 6Join white yarn to any st, ch1+1sc in this st. 3sc, sc-inc. *4sc, sc-inc* rep 7 times, sl st to the first sc, fasten off.Round 7 Round 7 – Crochet Lemon Pith. This round uses only slip stitches. Pay careful attention to which stitches you work into — they are strategically spaced to create perfectly aligned segment lines, just like the dividers in an authentic lemon slice.
  2. Round 7Pull white yarn from the central hole. Sl st in any st of Round 1, continue upward, sl st to the st directly above in Round 2. Repeat this through Round 5, fasten off. These slst align in a straight vertical line to create one lemon segment divider.Step by step: Make 7 more segment lines using same method and spaced them evenly around the circle, so the finished slice has eight segments in total. Round 8 Round 8 – Lemon Rinds (two halves). Divide the lemon into two halves: white slip stitches on one side, golden yellow single crochets on the other. Throughout both halves, work in front loops only to create the dimensional depth that gives your lemon a plump, realistic fruit flesh effect.

Note Note: Increase the spacing between segment lines as you move upward to the next round. In Round 2, space them 2 stitches apart. In Round 3, 3 stitches apart. In Round 4, 4 stitches apart. In Round 5, 5 stitches apart.

  1. Round 8FLO for this round. Join white yarn to any sc from Round 6 that sits above a segment line. slst along the edge, passing over 3 segment lines. Stop when you reach the sc that sits above the 4th segment line, then fasten off. Work from this st, join golden yellow yarn to the FL. ch1+1sc in this loop, sc in remaining sts, sl st to the first joining st, fasten off.Round 9 Round 9 – The granny square border. This round still works into the stitches of Round 6, but into the third loops, keeping the perfect shape and texture effect at most.
  2. Round 9TLO. Find the next segment line right of the color meeting point. Join white yarn to the Round 6's st above it. ch3 as a standing st(count as 1dc), 1dc in the same st to form a dc-inc, 1dc, 2hdc, 4sc, 2hdc, 1dc, dc-inc, ch3. *dc-inc, 1dc, 2hdc, 4sc, 2hdc, 1dc, dc-inc, ch3* rep 3 times, sl st to the top of the first ch3.
  3. Round 10ch2 as a standing st(count as 1hdc), hdc in remaining sts, 5hdc in each corner sp, finish with sl st to the top of the first ch2, fasten off.
  4. Round 11Join golden yellow yarn to any st, ch1. Work sc-inc in the middle hdc of each 5-hdc group from the previous round. In all remaining sts, work 1sc. Finish with sl st to first sc and fasten off.

Important notes

Note 01

💡 Use a 3.00mm hook with DK Sports weight yarn for the 3.7 inch by 3.7 inch finished size. Going up to a 3.5mm will give you roughly 4.3 inches, which is useful if you want the square to match motifs from a different pattern in a blanket layout

Note 02

💡 Place a removable stitch marker in the top of the ch2 at the start of every round. Because hdc joins can visually blur into each other, that marker is the difference between a confident round and a recount

Note 03

💡 This pattern fastens off often — after Rounds 1, 5, 6, 7, 8, 10 and 11 — so leave tails long enough to weave in securely with the darning needle, and weave each one into stitches of its own color before moving on

Note 04

💡 Count before you join, every single round. Rounds 2 through 6 grow by exactly eight stitches each time, so if the number is off you only have to frog one round instead of discovering the problem four rounds later

Note 05

💡 If you are making many squares for a blanket, work them assembly-line style — do all the centers first, then all the white rounds. Your tension stays far more consistent across the set and each color only has to be joined once per sitting

Note 06

💡 A light steam block with a damp cloth and a warm iron held just above the fabric will square up the corners beautifully. Cotton yarn especially benefits; acrylic needs only the gentlest steam or it will go limp and lose that firm citrus-slice body

More photos

FAQs

Asked on the glider

the ones that come up on the glider

Can I use a magic ring instead of the chain-5 loop?

Yes, though keep in mind that Round 7 asks you to pull white yarn out through the central hole, so do not cinch a magic ring completely closed. Work your 8 single crochet into the ring, snug it just enough to look tidy, then continue with the pattern exactly as written. The chain-5 loop leaves a small opening on purpose, which makes that later step much easier

Why does my square look more like a circle than a square?

The motif is built as a circle first and only becomes a square in Round 9, where the dc increases and ch3 spaces form the four corners. A round appearance before that point is completely normal. If it is still round at the end, check that you worked the corner sequence four times in Round 9 and placed 5hdc in each corner space in Round 10. Blocking the four corners into shape also makes a noticeable difference

How many squares do I need for a blanket?

3.7 inches each, a lap blanket of about 37 by 44 inches needs roughly 10 squares across and 12 down, so 120 squares in total. A baby blanket at around 30 by 30 inches needs about 64 squares. Add a border round or joining rounds and you will gain another inch or two overall

What is the best way to join these squares together?

A flat slip stitch join or a whip stitch through the back loops both work well and keep the citrus motifs sitting flat next to each other. If you want a visible grid effect, single crochet the squares together using the golden yellow border color so the seams read as part of the design

How much yarn does one square use?

Each square uses roughly 8 to 10 yards total in DK Sports weight, split between the golden yellow flesh and the white segments and border. A standard 50g DK ball will comfortably make around 15 to 20 squares depending on your tension, which makes this a wonderful pattern for stash busting

What does working FLO in Round 8 and TLO in Round 9 actually do?

Both rounds are worked into the same Round 6 stitches, just into different loops. Round 8 uses the front loops only and Round 9 uses the third loops only, which leaves the remaining loops free and stacks the two rounds at slightly different levels. That is what gives the finished square its layered, dimensional look instead of a flat border