Intermediate 1-2 Hours DK / Sport yarn

Worked on the glider, counted out loud —

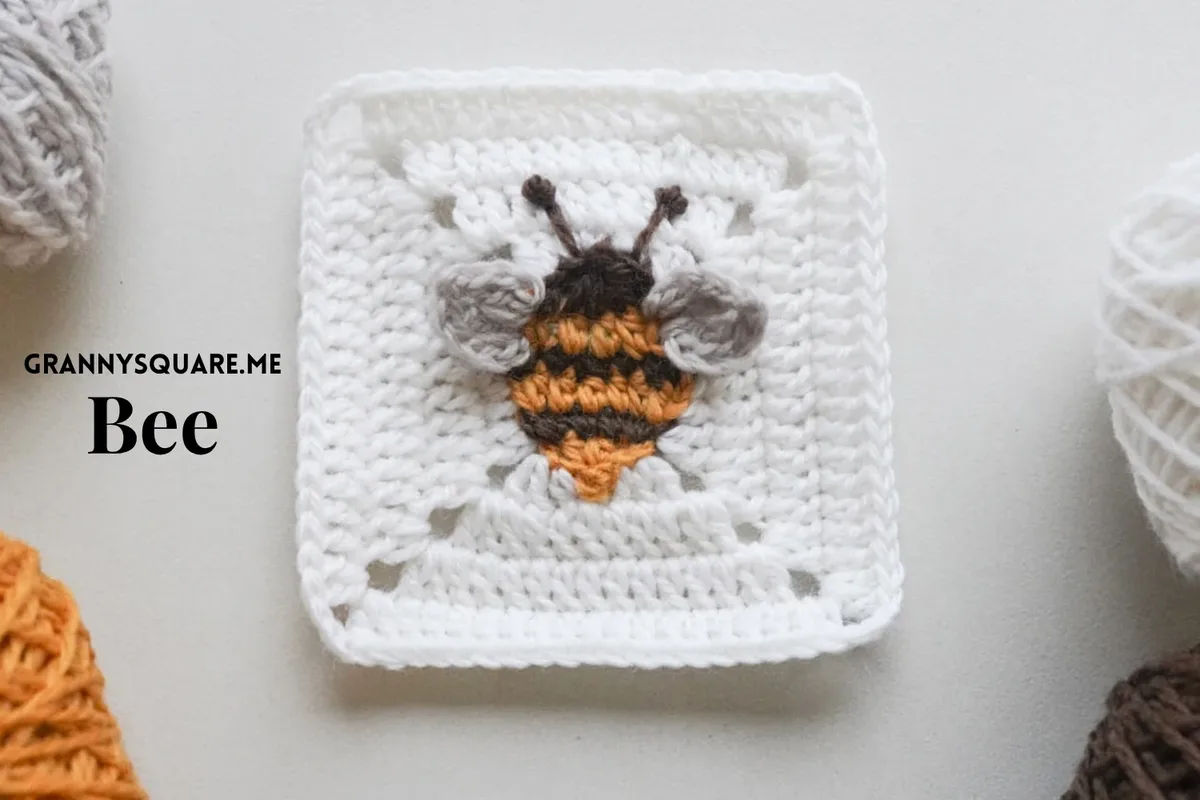
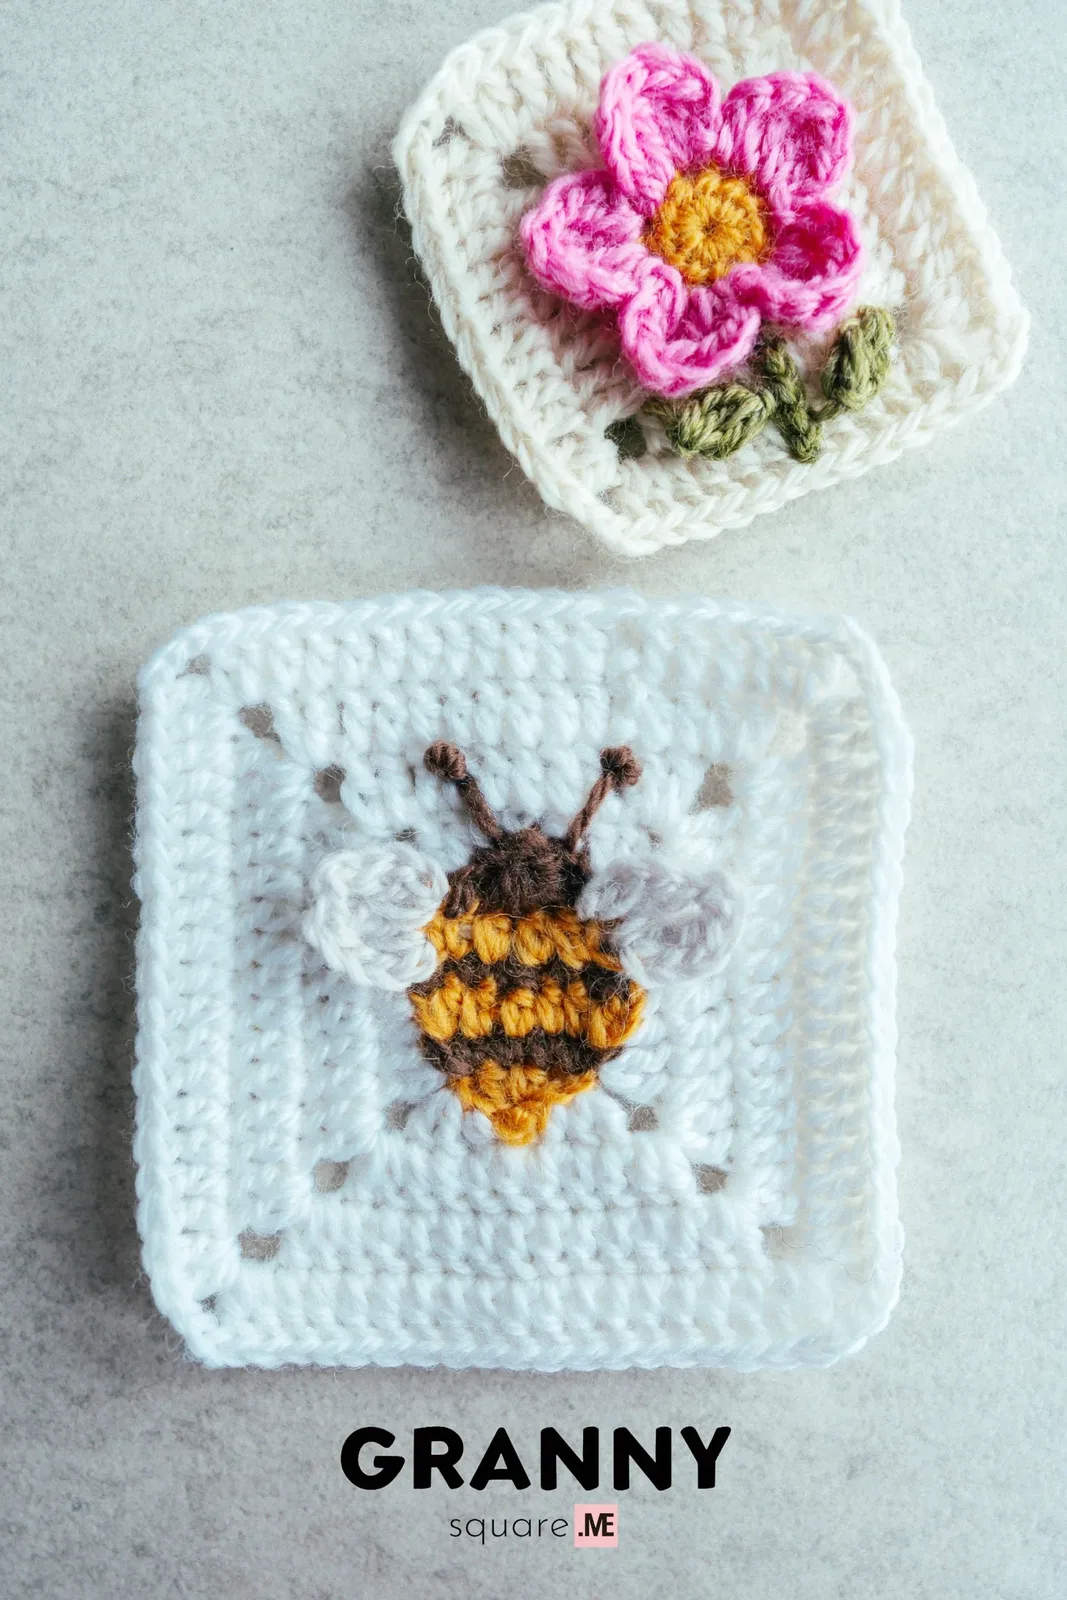
Bee Granny Square — Free Crochet Pattern with Textured Wings

Free bee granny square crochet pattern with striped body, picot stinger and BLO wings. Make a 3.66-inch bee motif for blankets, bags and cute gifts

Jump to the rounds

What this one is

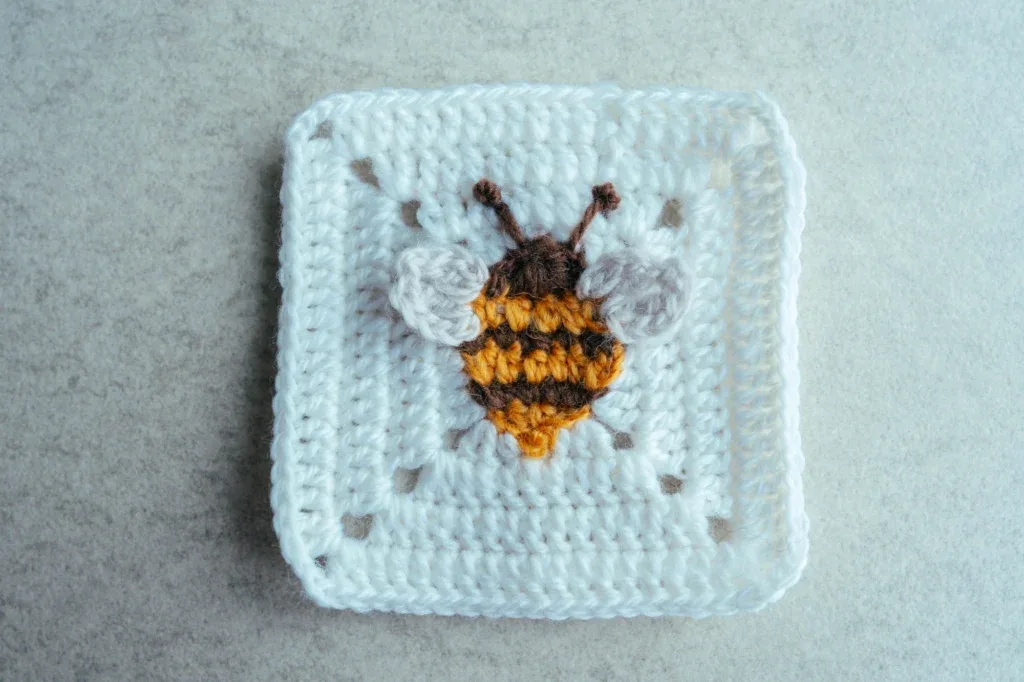
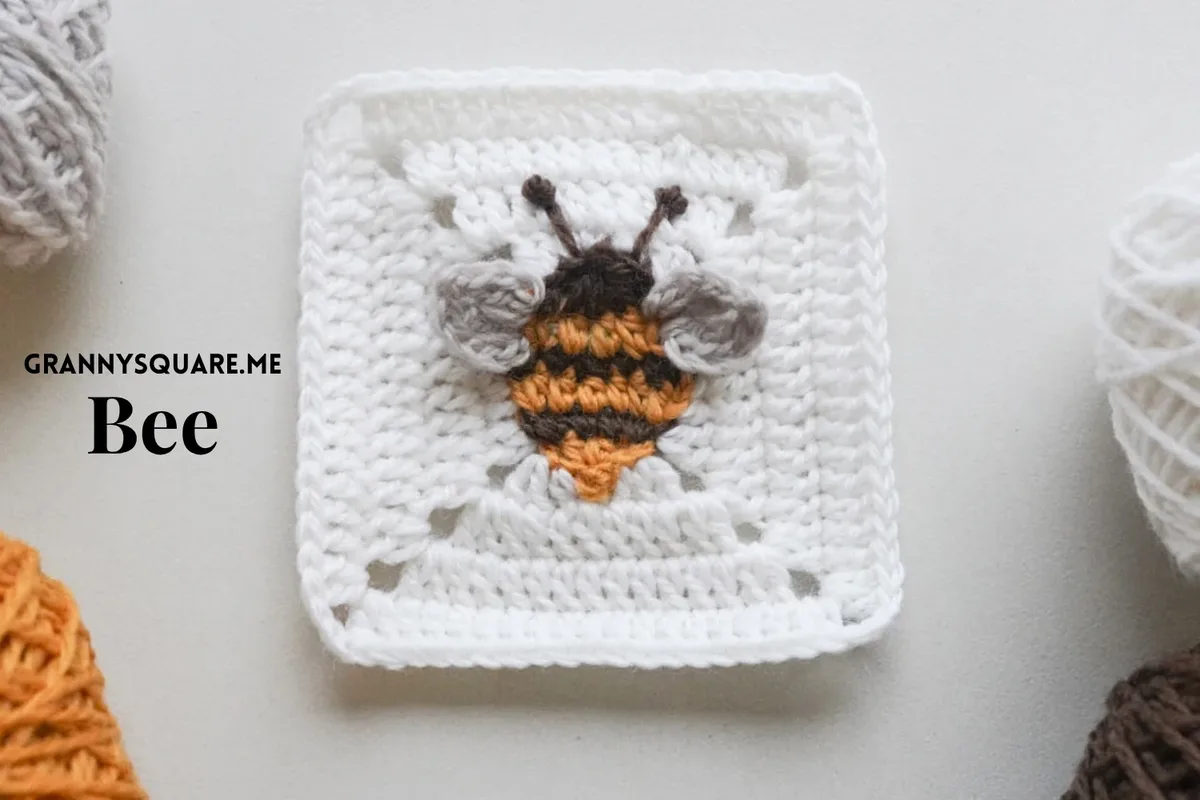
This pattern creates a tiny bumble bee worked as a granny square motif — a rounded brown-and-yellow striped body that tapers to a picot-tipped stinger, finished with two little textured wings worked in back loops only. You crochet the bee's body first, then turn it into a solid granny square with a third-loop round and dc border rounds; the wings and the antennae are added once the square background is finished. What makes it special is that the bee is built in short horizontal rows rather than concentric rounds, so each stripe gets its own color join. The shaping comes from stacked increases and decreases, which means the body genuinely curves instead of being a square with a bee drawn on it. Perfect for anyone who loves small, satisfying motif projects

You'll be using hdc, sc, sc increases, sc2tog, a four-stitch (hdc, sc, sc, hdc) worked together for the tapered tail, a ch-1 picot for the stinger tip, standing stitches to start each new color cleanly, treble crochet in the wings, back loop only work to make the wings sit proudly on top of the body, and a third-loop-only round plus plain dc rounds to square everything off. None of these stitches are advanced on their own, but stacking six color joins with shaping in between makes this a confident-beginner-to-intermediate make. Expect 1-2 hours for your first bee, and closer to 40 minutes once the rhythm clicks

The finished square measures about 3.66 × 3.66 inches in DK/sport weight wool with a 3.00 mm hook, which is a lovely size for joining into blankets, cushion fronts or a sampler throw. The bee itself reads instantly as a bee even from across a room — the fat striped body, the tapering tail and the picot stinger do all the work. Stitch a single one onto a tote or a cardigan pocket, or make thirty and join them into a honey-colored baby blanket that will get requested at every shower

Variations

Color is the fastest way to make this bee yours. The classic is golden yellow and dark chocolate brown on a white background, but a honey-mustard with charcoal reads more grown-up and modern for adult blankets. Swap the brown for deep navy and the yellow for buttery cream and you get a gentle nursery bee that won't fight a pastel palette. For a bumble-vs-honeybee distinction, use amber and burnt umber; for a fantasy version, try lavender with silver-grey and make the wings in a white metallic thread held with the DK. The wings are also the perfect place for variegated leftovers since they're only a few stitches. For size, going up to worsted with a 4.00-4.50 mm hook takes the square to roughly 4.75-5 inches without changing a single stitch count — ideal if you're joining into an existing worsted blanket. Going down to fingering with a 2.50 mm hook gives you a ~2.5-inch bee that works beautifully as an applique on a hat brim or a hair clip. You can also stop the border earlier or keep going past Round 10 to size the square to whatever your project needs. Yarn-wise, Paintbox Simply DK and Scheepjes Catona (held as DK by doubling) give crisp stitch definition, while a wool like Drops Merino Extra Fine keeps the picot stinger sharp. Avoid fuzzy mohair here; the shaping disappears. Seasonally, make an autumn version in rust and cream. The antennae are optional too — sew them on with French knot tips for a fuzzy finish, or leave the bee clean as a silhouette

I fell for this bee at the exact moment the shaping clicked. You start with that little ch-4 base and 2 hdc worked into the final chain, and honestly it looks like nothing — a scrap. Then the brown row goes on with its sc increases, the yellow row widens with hdc, and suddenly there's a body. The part I look forward to every single time is the final brown row where you work (hdc, sc, sc, hdc) together across four stitches — four stitches collapsing into one gives you that perfect tapered bee bottom in a single move, and then the ch-1 picot pops out as the stinger like a punchline. The wings are my other favorite bit. Working them in BLO off the ch-2 groups means they physically stand away from the body instead of lying flat, so the bee has dimension without a single stitch of stuffing. And because each stripe is joined fresh with a standing stitch, you never carry yarn, never get that muddy float showing through the yellow. Then the third-loop round swallows the whole bee into a tidy square and the dc border rounds frame it. It's fiddly in the best way — short, fast, and finished before you lose interest
Common mistakes

  • Skipping the standing stitchEach color row here starts with a standing sc or a ch-2 that acts as a stitch. If you join with a slip knot and chain, you add bulk exactly at the edge where the bee's outline should stay smooth, and your stitch count at the end of the row will be off by one. Pull a loop of the new color directly through the stitch, chain 1 as your standing stitch, and work the first sc into that same stitch as instructed
  • Working the (hdc, sc, sc, hdc) togetherThis is a four-stitch decrease, not four stitches. Yarn over for the hdc, insert and pull up a loop in the first stitch (leaving the loops on your hook), then work the sc, sc and final hdc the same way without completing any of them. You should have all loops live on the hook, then yarn over and pull through everything at once. Working them separately gives you a flat-bottomed blob instead of the tapered bee tail
  • Missing the BLO instructionBoth wings are worked in back loop only — you add the new yarn in the back loop of the bottom chain of the ch-2 group, and the dc or tr at the other end goes into the back loop of the top chain. If you split through both loops, the wing fuses flat against the body and loses the lift that makes this bee dimensional. Tip the square away from you so the back loop of each chain sits clearly on top, and slide your hook under that single strand only
  • Losing track of which ch-2 group the wings attach toThe wings go into the ch-2 groups at the two ends of the top yellow row, and it's easy to grab the ch-2 from the earlier yellow row by mistake since they look identical. Right after finishing each yellow row, slide a locking stitch marker into the bottom chain of its ch-2 group. When you get to the wings, the marked loops are the only candidates and there's no counting backwards
  • Working sc2tog across the wrong pairIn Row 4 you work sc2tog, 1sc, sc2tog, 1sc, sc2tog — the single sc between each decrease is what keeps the curve symmetrical. If you decrease twice in a row, the left side of the bee pulls in faster than the right and the stinger ends up off-center. Count your stitches before starting that row and lay the piece flat halfway through to check the two sides mirror each other
  • Pulling the ch-1 picot too tight or too looseThe ch-1 picot is the stinger tip, so it's the most visible single stitch on the bee. Chain 1 at your normal tension rather than yanking it closed. Too tight and it vanishes into the tail; too loose and it flops sideways. Block the finished square with a pin holding the picot pointing straight down
  • Leaving short tails on the many separate color joinsEvery row of this bee is fastened off, which means a pile of tails on a piece under four inches wide. Leave at least 5-6 inches on every start and finish — short tails will work loose through the open hdc rows and unravel your color edges. Weave each one along its own color stripe on the back, never across a contrasting stripe, or you'll see shadows through the yellow

The rounds, in full

Written out, round by round

Intermediate1-2 Hours3.00 mmDK / Sport

Materials

Everything this one takes, in the order you will reach for it.

  • Yarn of Your Choice - 4 colors, the sample is made with dk sport wool yarn, with a 3.00 mm crochet hook, the finished Bee Granny Square is about 3.66 × 3.66 inches
  • Crochet Hook - we used a 3.00 mm hook
  • Darning Needle
  • Scissors

keep this to hand

Abbreviations

US crochet terms, as used in this pattern.

  1. chchain stitch
  2. hdchalf double crochet
  3. scsingle crochet
  4. dcdouble crochet
  5. trtreble crochet
  6. Sl Stslip stitch for joining to a different round
  7. ststitch
  8. incincrease
  9. togtogether
  10. BLback loop
  11. BLOback loop only
  12. picpicot stitch
  13. skskip
  14. tlthird loop

Main Pattern

The body of the bee We crochet the bee's body first, then turn it into a solid granny square. Wings and antennae will be made after the granny square background is finished. The body is worked in short rows, and every row is a new color that is joined with a standing stitch and fastened off at the end.

  1. Row 1With yellow yarn, ch4, return, sk3, work 2hdc in the final ch, ch3, slst to the same ch, fasten off.
  2. Row 2Add brown yarn to the top of the right skipped ch3, ch1 as a standing st, sc inc in the same st, 2sc, sc inc in the top of the left ch3, fasten off.
  3. Row 3Add yellow yarn in the rightmost st, ch2, 1hdc in the same st, 4hdc, 1hdc in the final st, ch2, slst to the same st, fasten off.
  4. Row 4Add brown yarn to the top of the right ch2, ch1 as a standing st, sc2tog across the next 2 sts, 1sc, sc2tog, 1sc, sc2tog over the final hdc and the top of the left ch2, ch1 (doesn't count as a st) to secure, fasten off.
  5. Row 5Add yellow yarn to the sc on the right side, ch2, 1hdc in the same st, 2hdc, 1hdc+ch2 in the final st, slst to the same st, fasten off.
  6. Row 6Add brown yarn to the top of the right ch2, ch2, work a (hdc, sc, sc, hdc) tog across the following 4 sts, ch-1 pic, ch2, slst to the top of the left ch2. Fasten off.The right wing of the bee Make this wing to the ch-2 group on the right of the top yellow row, working in BLO. Step by step: add new yarn in the BL of the bottom ch of this ch-2 group, then work the wing as written below.
  7. Right WingAdd new yarn in the BL of the bottom ch of this ch-2 group, ch3, 1tr in the same loop, ch-1 pic, 1dc in the BL of the top ch, ch2, slst to the same loop. Fasten off.The left wing of the bee Position the bee upside down, make this wing to the ch-2 group at the opposite end of the same yellow row, working in BLO. Step by step: add new yarn in the BL of the bottom ch of this ch-2 group, then work the wing as written below — note the stitch order is mirrored from the right wing.
  8. Left WingAdd new yarn in the BL of the bottom ch of this ch-2 group, ch2, 1dc in the same loop, ch-1 pic, 1tr in the BL of the top ch, ch3, slst to the same loop. Fasten off.

Turn the bee into a square This round is worked in the third loop only and squares off the whole bee. Step by step: flip the bee right-side up; start from the right ch1 of the top brown row; add the new background yarn in the tl of that ch1; the four ch3 spaces you make along the way become the four corners of the square.

  1. Round 7Third loop only. Flip the bee right-side up, start from the right ch1 of the top brown row, and new yarn in the tl of this ch1, ch3 as a standing st (count as 1dc), 1dc in the same st to form a dc-inc, 1hdc, 1sc, 1hdc, dc inc, ch3, 2dc, 1sc, 2hdc, dc inc, ch3, dc inc, 1hdc, 1sc, 1hdc, dc inc, ch3, dc inc, 2hdc, 1sc, 2dc, ch3, slst to the top of the first ch3.The borders of the bee These plain dc rounds build the granny square background out around the bee — the sample uses white. Keep the 2dc+ch3+2dc corner groups stacked directly above the corners of the round below so the square stays true, and fasten off after Round 10.
  2. Rounds 8-10For each round, ch3 to start (count as 1dc), 1dc in each st around, 2dc+ch3+2dc in each corner as you go, slst to the top of the first ch3 at the end. Fasten off after Round 10.

Finishing For a final touch, sew the antennae to the bee's head, and French knots for the tips of the antennae.

Important notes

Note 01

💡 The sample uses DK/sport weight wool in 4 colors with a 3.00 mm hook, and the finished Bee Granny Square measures about 3.66 × 3.66 inches. That hook is a little smaller than the yarn's usual recommendation, which is intentional — it keeps the rows dense so the brown doesn't peek through the yellow and the square holds its shape without curling

Note 02

💡 Place a locking stitch marker in the bottom chain of each ch-2 group as soon as you make it. You'll need to find those exact loops again when you attach the wings in BLO, and once the square is a few rows taller they all look the same

Note 03

💡 Every color change here is a full fasten-off and rejoin rather than a carried strand. Don't fight it — cut the yarn. Carrying brown behind the yellow rows creates visible shadow lines through the lighter color and adds bulk that throws off the square's flatness

Note 04

💡 The wings are worked in back loop only, and that's what makes them stand up off the body. If your wings look flat and fused to the bee, check that you're working into the back loop of the chain, not splitting through both loops

Note 05

💡 Weave your ends in as you go, one color at a time, and always along a matching stripe on the wrong side. On a square this small, weaving every tail at the end is genuinely miserable, and any tail crossing a contrasting stripe will show through on the front

Note 06

💡 The order of work matters: body rows first, then the third-loop round and the dc border rounds that turn the bee into a square, and only then the wings and the sewn-on antennae. Adding the wings before the background is finished makes the border rounds awkward to work

Note 07

💡 Block the finished square with rustproof pins on a foam mat, pinning the four corners to a true 3.66-inch square and one extra pin holding the picot stinger pointing straight down. If you're making a blanket, block every square to the same measurement before joining or your rows will drift

More photos

FAQs

Asked on the glider

the ones that come up on the glider

Is this really a granny square if the bee is worked in rows?

Yes. The bee's body is built in short rows, which is exactly what lets it curve into a bee shape, and then a third-loop round plus the dc border rounds turn that body into a solid square motif. The finished piece joins to standard 3.66-inch squares perfectly

How many squares do I need for a baby blanket?

3.66 inches per square, a 30 × 36 inch baby blanket needs roughly 8 squares across by 10 down, so about 80 squares. Most people alternate bee squares with plain solid squares — 40 bees and 40 solids gives a lovely rhythm and cuts your making time nearly in half

Can I use worsted weight instead of DK?

Yes, and the stitch counts stay exactly the same. Move up to a 4.00 or 4.50 mm hook and your finished square will land around 4.75-5 inches instead of 3.66. Just make sure every square in a project uses the same weight and hook so they join evenly

Do I have to add the antennae?

The antennae are sewn on at the very end, with French knots for the tips, and they're what give the bee its fuzzy little face. If you'd rather keep the square completely flat — for a pram blanket or anything that gets heavy washing — you can skip them and the silhouette still reads as a bee

My bee looks lopsided — what went wrong?

Nine times out of ten it's Row 4, where you work sc2tog, 1sc, sc2tog, 1sc, sc2tog. If a single sc gets skipped or an extra one sneaks in, one side tapers faster than the other. Count your stitches at the end of every brown row and lay the square flat to check both sides mirror before moving on