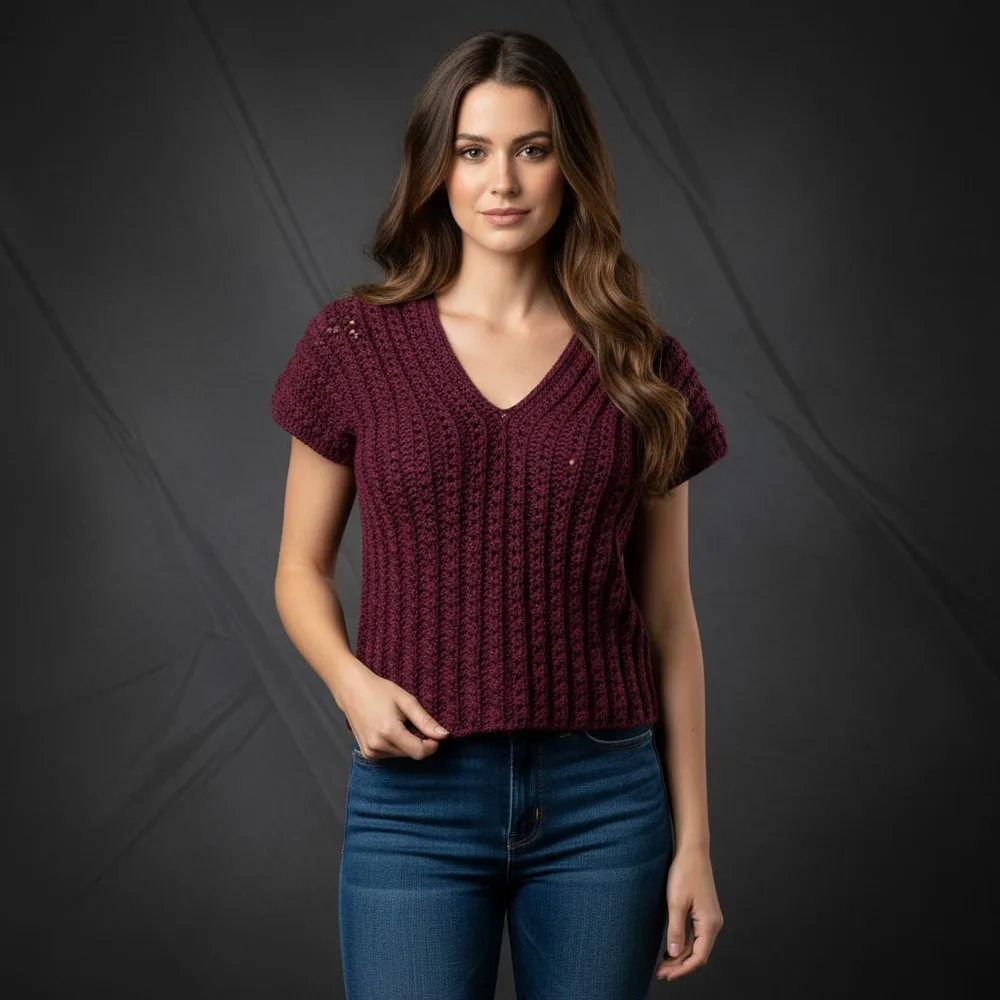
Beginner 4-6 hours DK yarn

Worked on the glider, counted out loud —

Easy two-row crochet top worked side to side

A beginner crochet top worked side to side in a two-row repeat, sized Small to Large, roughly 4 to 6 hours to finish.

Jump to the rounds

What this one is

This one's for the nights you want something a little open, a little breezy, and completely unfussy to throw over a tank or wear on its own. It's built for anyone easing into garment crochet for the first time — the shaping stays beginner level, the stitch count doesn't ask you to think too hard, and the whole thing goes together from two simple panels rather than one big, confusing shape. If you've been eyeing garments but haven't tried one yet, this is a forgiving place to start.

Your hands spend most of the time doing just two things: a plain double crochet row, then a crossed V-stitch row that opens the fabric into mesh. That two-row rhythm repeats until you hit your row count — 17, 21, or 25 depending on size — then you cut yarn and start the second panel from scratch. Once both panels are done, seaming the shoulders and sides and adding the slip stitch edging is an evening's worth of finishing work on its own.
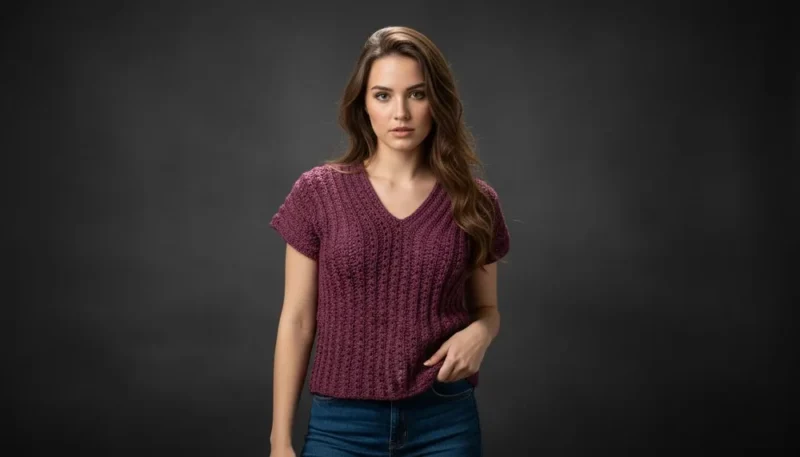
Try it another way

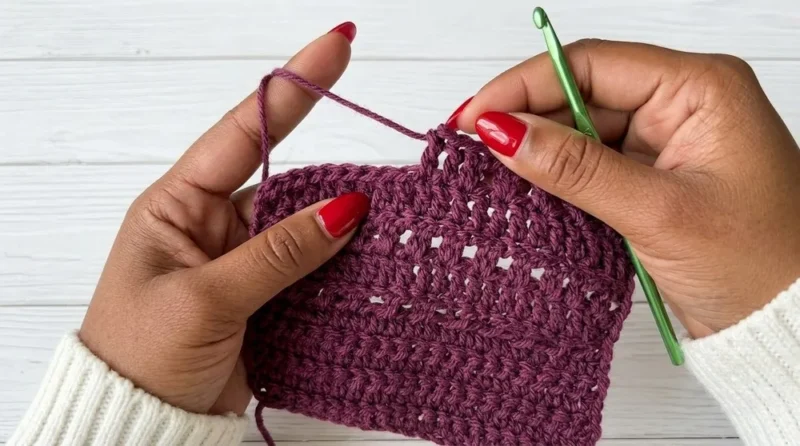
There's something satisfying about a pattern that only asks you to learn two rows and then trusts you to repeat them with confidence. The plain double crochet row gives you a dense, familiar base, and the crossed V-stitch row rewards you with an airy mesh that changes the whole character of the fabric — skip a stitch, hdc into the next, and watch the open squares appear. Because you're working side to side instead of bottom-up, you get to watch the piece grow in length rather than width, which feels different in the hands and keeps the counting simple. The finishing brings its own quiet pleasure too: back-loop whip stitching for a clean seam, and a slip stitch edge around the neckline and sleeves that gives the raw edges a finished, ready-to-wear look.

The rounds, in full

Written out, round by round

Beginner4-6 hours4 mmDK

Bring to the porch

Everything this one takes, in the order you will reach for it.

  • Double knitting (DK) yarn (approx. 2 balls for Medium size — about 200g total)
  • 4 mm crochet hook (or size recommended by yarn)
  • Yarn needle
  • Scissors
  • Stitch markers (optional)
  • Measuring tape

Main Pattern

  1. Round 1Double Crochet Row Turn chain to back side. Skip first 3 chains (counts as 1st dc).Into the 4th ch, make 1 dc.Continue: Work 1 dc into each chain all the way to the end of row.

You should have

Small: 134 dc Medium: 140 dc Large: 144 dc (Count may vary, just make sure your piece matches size requirement.)

  1. Round 2Cross V-stitch (Mesh Row) Ch 2, turn (counts as hdc). Skip next dc, hdc into next st.Repeat: Skip 1 st, hdc into next st across row.At end: Last hdc should go into top of ch-3 turning chain from previous row.

You should have 69 Cross V-stitches for medium (see video for your size).

  1. Round 3Back Loop Only Double Crochet Ch 3, turn (counts as dc). Dc in BLO of next st. Continue: Work 1 dc in BLO in each st across row.End with last dc in top of turning chain.Pattern Repeat Repeat Row 2 and Row 3 for the rest of the body, alternating: Even Rows: Cross V-stitch (hdc, sk 1, hdc)Odd Rows: BLO Double Crochet throughout

Total Rows

Small: 17 rows Medium: 21 rows Large: 25 rows End with a Double Crochet (Row 3 type) row.

Panel 1 Complete Cut yarn.

Set aside first panel.

Repeat above steps to make the second panel.

The two panels will be joined to form the top.

Creating the Neck Opening Lay out both panels, mark for a neck: From start of one side, mark after 33 dc (approx. 20 cm from edge).

Repeat on other side.

There should be an opening of about 23 cm (neck hole).

Join yarn at end of first marker to begin continuing side rows.

Repeat patterning across remaining stitches to form shoulder.

Ch 2, hdc cross V-stitch row up to marker.

Ch 3, BLO dc row up to marker.

Repeat rows to match opposite panel.

At the end of the last row, fasten off and leave a long tail for joining.

Assembly & Finished Size Seaming Shoulder & Side Seams: 1.1. Wear the top and pin where you want the sleeve holes (approx. 23 cm/9” open).

1.2. Use a yarn needle to whip stitch or sl st through back loops only for neat finish.

1.3. Seam from hem up to marking for sleeve opening (both sides).

1.4. Seam along shoulders from edges to your neck opening marks.

Edging Neck & Sleeves

Putting it together

Step 1

Seaming: Shoulder & Side Seams:

Step 2

1.1. Wear the top and pin where you want the sleeve holes (approx. 23 cm/9” open).

Step 3

1.2. Use a yarn needle to whip stitch or sl st through back loops only for neat finish.

Step 4

1.3. Seam from hem up to marking for sleeve opening (both sides).

Step 5

1.4. Seam along shoulders from edges to your neck opening marks.

Step 6

Edging Neck & Sleeves: Neck:

Step 7

1.1. Join yarn at edge of neckline.

Step 8

1.2. Ch 1, sl st loosely in each st around.

Step 9

1.3. At corners, decrease by sl st together two sts as you go for smooth curve.

Step 10

1.4. Repeat for 1–5 rounds as desired (for sample: 5 rounds).

Step 11

1.5. Fasten off, weave in ends.

Step 12

Sleeves:

Step 13

2.1. Join yarn at arm opening edge.

Step 14

2.2. Ch 1, sc loosely around each st (or use sl sts).

Step 15

2.3. At underarm, make an extra st to smooth corner if needed.

Step 16

2.4. Complete round, sl st to join, fasten off, and weave in end.

Step 17

Final Touches: Hide all yarn tails using a yarn needle for a clean finish.

Step 18

Lightly steam or block as desired.

Marlene's notes

Note 01

Use a 4mm hook or whatever size gets your swatch to match — the crossed V-stitch mesh only looks right if your tension stays consistent across both panels.

Note 02

Mark the sleeve opening before you seam — try the top on and pin about 23 cm (9 inches) open for the sleeve hole so both sides end up even.

Note 03

Work the whip stitch or slip stitch seams through the back loops only for a neat, low-bulk finish that won't show on the outside of the top.

Porch photos

Before you sit down

  • Buy enough DK yarn before you cast on — a Medium takes about 2 balls (around 200g total), and the two panels use up yarn steadily since there's no shaping to slow you down.
  • Set a stitch marker at the base of your starting chain so you can count back to your target — 134 dc for Small, 140 for Medium, 144 for Large — without losing your place.
  • Work a small swatch through the double crochet and crossed V-stitch sequence first, since the starting chain needs to land on a multiple of 2 + 4 to keep the V-stitch pattern lining up correctly.
  • Read through the Row 1 and Row 2 instructions once before you begin, since the whole panel is just those two rows repeating — understanding the turn and skip pattern up front saves you from ripping back later.

How the hours go

Panel one (Rows 1-2 to your row count)
about 1.5 to 2 hours, because the two-row repeat is quick once you've got the rhythm, even with 17 to 25 rows depending on size
Panel two
about 1.5 to 2 hours, because you're repeating the exact same steps as panel one, just without the learning curve
Seaming and edging
about 1 to 1.5 hours, because pinning the sleeve openings, seaming shoulders and sides, and slip stitching around the neck and sleeves all take a slower, careful pace

Looking after it

  • Hand wash your top in cool water and skip the wringing — DK yarn holds its shape best when you press the water out gently and lay the piece flat to dry.
  • Reshape the neckline and sleeve edges while the piece is still damp, easing the slip stitch edging back into its curve, then store the top folded rather than hung so the shoulder seams don't stretch.
FAQs

Asked on the glider

the ones that come up on the glider

Do I need to know how to shape a garment for this pattern?

No — the top is worked in two flat panels using just two row types, then seamed and edged afterward, so there's no in-row shaping to manage. It's built as a beginner project for that reason.

What does the crossed V-stitch actually do to the fabric?

It skips a stitch and works an hdc into the next one across the row, which opens the dense double crochet base into an airy mesh. It's what gives every other row its lighter, breezier look.

How do I know I'm making the right size?

Check your starting chain and dc count against the size guide — 134 dc for Small, 140 for Medium, or 144 for Large — and match your row count too, since Small, Medium, and Large each finish at a different row total.

Why does the pattern use back loops only for seaming?

Working through the back loops only keeps the seam low-profile and neat on the right side, which matters since the shoulder and side seams are visible finishing details on a piece this simple.

How much yarn do I actually need?

a Medium, plan on about 2 balls of DK yarn, or roughly 200g total. Smaller or larger sizes will use a little less or more, so keep an extra ball on hand if you're between sizes.

Can I make the sleeve openings bigger or smaller?

Yes — try the top on before seaming and pin where you want the opening, aiming around 23 cm (9 inches) as a starting point, then adjust to taste before you seam permanently.