Confident Beginner 9-12 hours Worsted yarn

Worked on the glider, counted out loud —

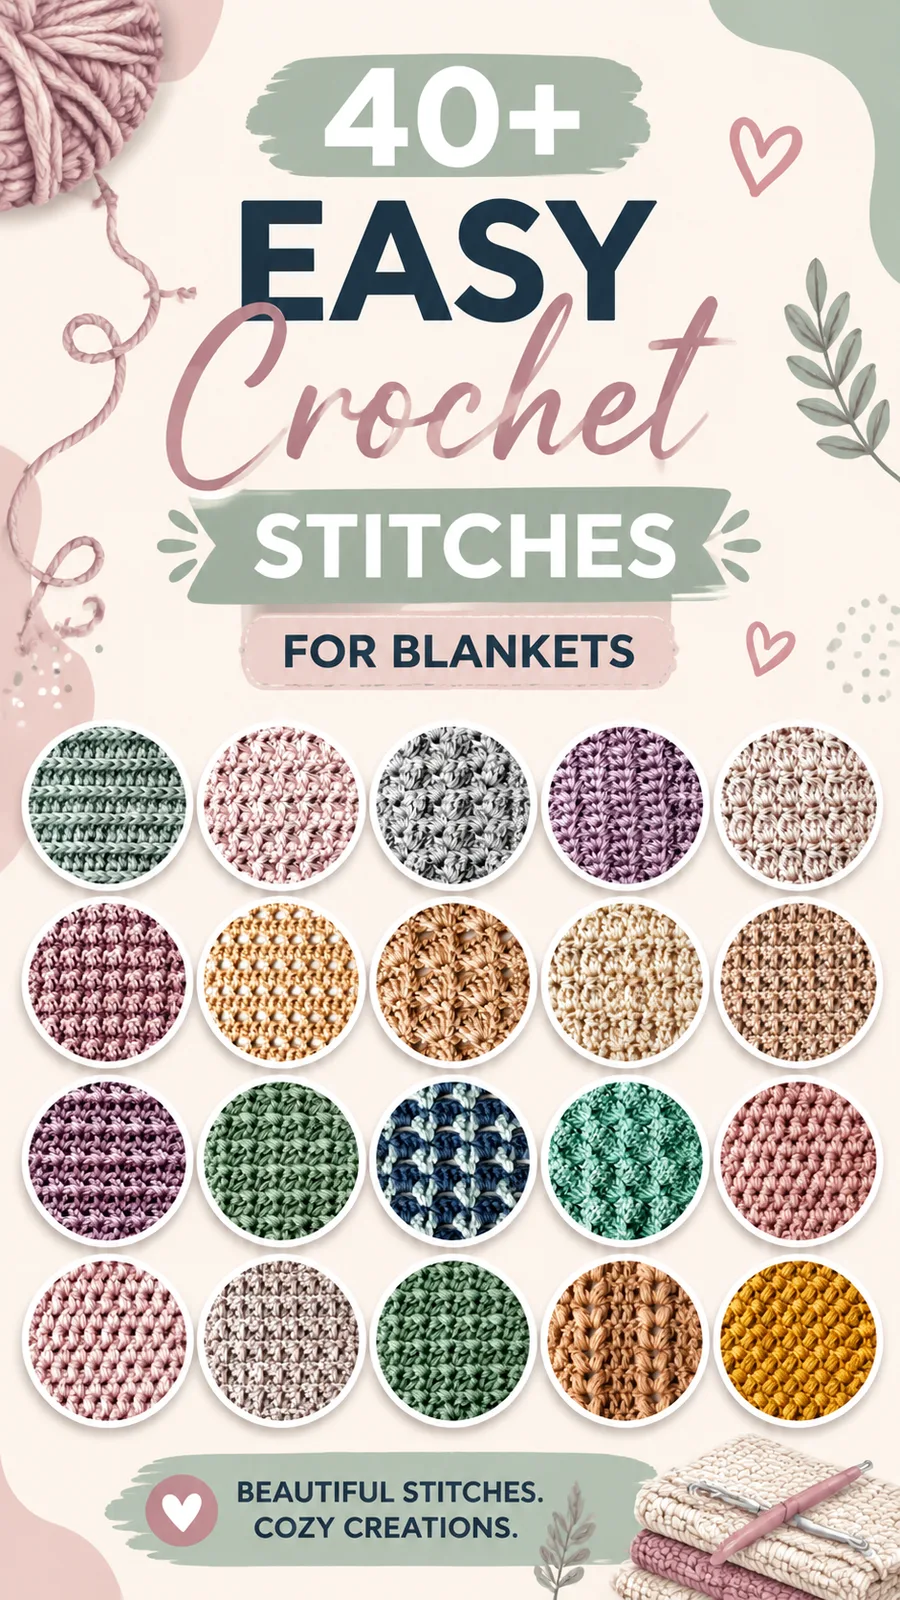
An easy crochet blanket pattern with raised texture rows

A cozy worsted-weight throw for confident beginners, with raised texture rows and a simple border. About 9-12 hours.

Jump to the rounds

What this one is

This blanket is built for the person who likes a throw with a little texture to it, something to toss over the back of the couch or pull close on a quiet evening. It suits a confident beginner who already knows single crochet and double crochet and is ready to combine them into something that looks more complicated than it is. Make it for yourself, for a new apartment, or for someone who appreciates a handmade gift that actually gets used.

Your hands spend most of the time on a five-row texture repeat, working a foundation row of single crochet, two rows of double crochet, and a row where single and double crochet trade places to raise little bumps across the fabric. Because the foundation row sets 175 stitches across, each pass takes a while, and the blanket grows row by row rather than round by round. Expect to return to it over several sessions rather than finishing in one sitting.

Suggested colors lean toward soft neutral and pastel palettes for a Scandinavian-inspired look, though brighter yarn choices turn the same stitch pattern into a playful accent piece. The finished blanket measures approximately 50 x 60 inches (127 x 152 cm) at the stated gauge of 14 stitches and 8 rows over 4 x 4 inches (10 x 10 cm), using US crochet terminology throughout.

Try it another way

To resize by starting chain instead: for a baby blanket, start with approximately 112 chains, keeping the stitch multiple consistent; for a larger bed-sized throw, increase the starting chain in multiples of 4 stitches. A larger hook will also give the finished fabric a softer, more open drape.

What makes this one satisfying is the row 3 move, where you skip a stitch, work a double crochet into the next one, then come back for the skipped single crochet behind it. That little cross is what raises the bumps across the surface, and once you feel the rhythm of skip, dc, sc, the whole row goes almost on its own. The two straight rows of double crochet on either side give your eyes a rest between texture rows, so the pattern reads as deliberate rather than busy. By the time you reach the two border rounds and set three single crochet stitches into each corner to keep them flat, you can see the whole piece has a clean, finished edge instead of a curled one.

The rounds, in full

Written out, round by round

Confident Beginner9-12 hours5 mmWorsted

Bring to the porch

Everything this one takes, in the order you will reach for it.

  • Worsted weight yarn (Category 4), approximately 1,800 yards (1,646 meters), in one main color or multiple coordinating colors — soft acrylic, cotton blend, or washable wool blend recommended
  • 5 mm US H-8 crochet hook
  • Yarn needle for weaving ends
  • Scissors
  • Blocking mat and pins if desired

Main Pattern

This original easy crochet blanket pattern creates a rectangular throw with repeating textured rows. The design is worked from one edge to the other and finished with a simple border that frames the stitch pattern.

Starting chain Chain 176.

  1. Row 1(RS): Work 1 sc in the second chain from hook and in each chain across. Turn. (175 sts)
  2. Row 2(WS): Ch 2, dc in each stitch across. Turn. (175 sts)
  3. Row 3(RS): Ch 1, sc in first stitch, *skip next stitch, dc in next stitch, sc in skipped stitch; repeat from * across until 1 stitch remains, sc in last stitch. Turn. (175 sts)
  4. Row 4(WS): Ch 2, dc in each stitch across. Turn. (175 sts)
  5. Row 5(RS): Ch 1, sc in each stitch across. Turn. (175 sts)Row 6: Repeat Row 2. Turn. (175 sts)Row 7: Repeat Row 3. Turn. (175 sts)Row 8: Repeat Row 4. Turn. (175 sts) Repeat Rows 5 through 8 until the blanket measures approximately 58 inches (147 cm) from the beginning edge, ending after a Row 5 repeat. Fasten off.

Border Pattern

Attach yarn in any corner.

  1. Round 1Ch 1, work sc evenly around the entire blanket. Place 3 sc in each corner stitch to help the corners lay flat. Join with a sl st to the first sc.
  2. Round 2Ch 1, sc in each stitch around, placing 3 sc in each corner stitch. Join with a sl st. Fasten off.Weave in all ends securely.

Project Details and Crochet Style

Project type: Crochet blanket or decorative throw Construction: Worked flat in rows with a textured stitch repeat Primary keyword: easy crochet blanket pattern

Skill level: Confident beginner Texture: Raised stitches with a soft woven appearance Best use: Home décor, cozy throws, handmade gifts

Important: Crochet texture can look different depending on yarn fiber, hook tension, and lighting. The following pattern is an original interpretation designed to create a similar cozy textured blanket effect rather than an exact reproduction of any photographed design.

Special Stitch

Textured Cluster: Skip 1 stitch, work 1 dc in the next stitch, then work 1 sc in the skipped stitch. This creates a crossed texture effect.

Putting it together

Step 1

After completing the blanket, gently wash according to the yarn label instructions. Blocking can help relax the stitches and create straighter edges, especially when using textured patterns.

Step 2

Lay the blanket flat, gently shape the corners, and allow it to dry completely before storing or using it.

Marlene's notes

Note 01

Keep your tension even across the double crochet rows, since a tighter hand will pull the blanket narrower than the 175-stitch count suggests.

Note 02

A marker on the first stitch of every WS row helps you spot the turning chain quickly, especially once the texture rows start to blend together.

Note 03

If you are working stripes, this pattern reads well with color changes made at the start of a double crochet row rather than mid-repeat, so the raised stitches stay consistent.

Note 04

Finished size is approximately 50 x 60 inches (127 x 152 cm) at a gauge of 14 stitches and 8 rows over 4 x 4 inches (10 x 10 cm) in the textured pattern, written using US crochet terminology throughout.

Note 05

Uneven edges usually happen when the first or last stitch of a row is missed, so count your stitches regularly, especially after textured rows.

Note 06

Different yarn fibers and crochet tension can change the appearance of the stitches: a soft acrylic yarn may create a smoother texture, while cotton yarn often produces sharper stitch definition.

Before you sit down

  • Check you have close to 1,800 yards of worsted weight yarn on hand before you start the foundation row, since running short partway through a 175-stitch row is frustrating.
  • Work a small gauge swatch in the textured pattern and check it against 14 stitches and 8 rows over 4 x 4 inches before committing to the full width.
  • Read through Row 3 once before you start it, since the skip, dc, sc sequence is easier to follow when you already know where it is heading.
  • Set out a stitch marker or two if you like to mark the first and last stitch of each row, since it is easy to lose track of the edges across 175 stitches.

How the hours go

Foundation and first texture repeat
about 2-3 hours because setting up the 175-stitch foundation row and learning the five-row texture rhythm takes patience the first time through
Continuing the body in the texture repeat
about 6-8 hours because the blanket grows by repeating the five-row pattern across 175 stitches many times over
Border rounds and finishing
about 1 hour because the two border rounds work up quickly once the body is done, with just the three single crochet corner placements to watch

Looking after it

  • Wash the finished blanket according to whichever fiber you chose, since acrylic, cotton blends, and washable wool blends each have their own care needs on the yarn label.
  • Lay it flat to dry and gently shape the corners while damp, which helps the border rounds sit straight and keeps the texture rows from puckering.
FAQs

Asked on the glider

the ones that come up on the glider

Can I make this blanket smaller, like for a baby?

Yes, work fewer repeats of the five-row texture pattern and stop whenever you reach the length you want. Finish with the same two border rounds regardless of size.

What if my stitch count does not match 175 after Row 1?

Count again before turning, since the foundation row sets the stitch count for every row after it. It is easier to fix a miscount on Row 1 than several rows into the texture pattern.

Do I really need to block this blanket?

Blocking is optional but it helps relax the stitches and straighten the edges, especially with a textured pattern like this one. A quick wash and flat dry does most of the work.

What yarn fiber works best for this pattern?

A soft acrylic, cotton blend, or washable wool blend all work well with the 5 mm hook and worsted weight gauge. Choose based on how you plan to wash and use the finished blanket.

How do I keep the edges from curling?

The two border rounds, with three single crochet stitches placed in each corner, are what keep the edges and corners lying flat. Blocking after finishing helps set that shape even further.