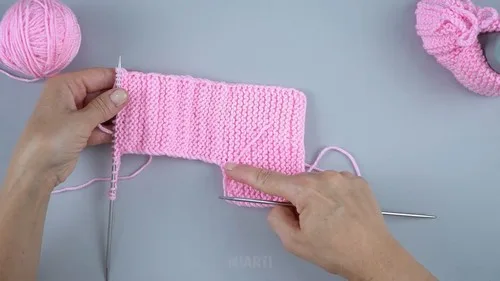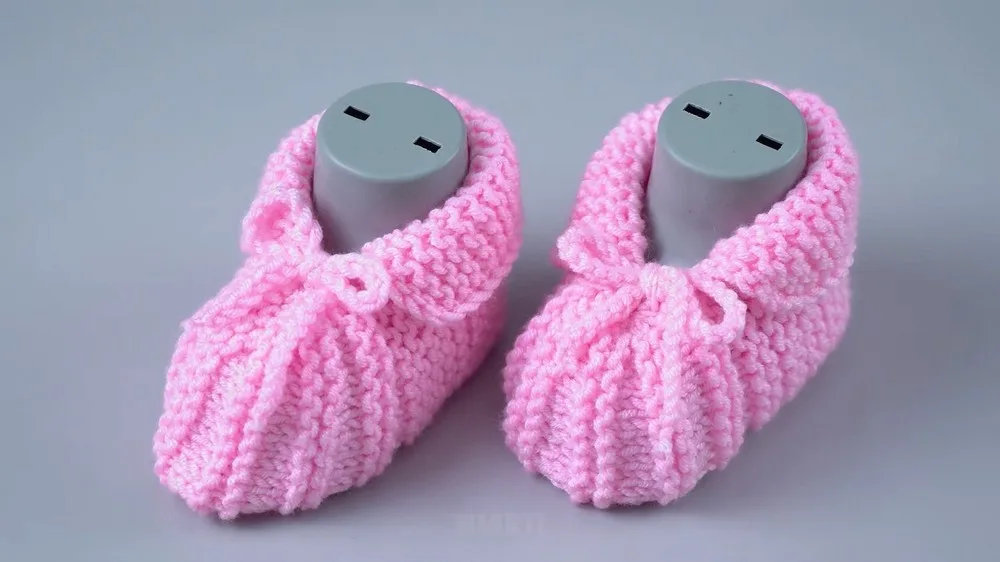
Intermediate 4-6 hours Worsted yarn

Worked on the glider, counted out loud —

Crochet simple baby slippers for cold weather

Baby slippers crocheted in sc rounds from the sole up, with a shaped toe. Suits confident beginners; about 4-6 hours from sole to

Jump to the rounds

What this one is

This one's for the small feet that need covering before the cold really settles in — a first pair of slippers for a baby who's just started noticing their own toes. You work it in rounds around a sole, so there's no fitting a squirming foot mid-project. It's the kind of make you keep in the bag for when someone you love is expecting, or when a friend's baby is finally big enough for something other than socks.

Your hands spend most of this pattern doing plain single crochet in the round, which leaves plenty of room to think or talk while you work. The only real concentration comes in at the toe, where you start decreasing to bring the shape to a close. Start to finish, counting the sole edge, the sides, and the toe shaping, you're looking at somewhere around 4 to 6 hours.
Try it another way

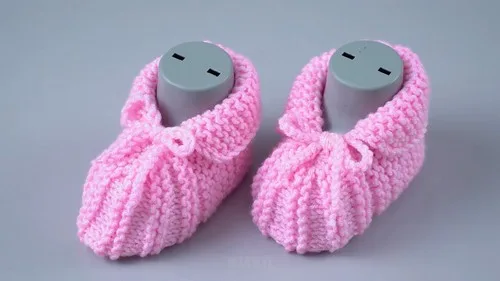
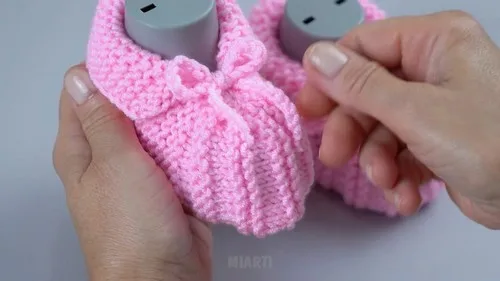
There's something quietly satisfying about building a slipper straight up from the sole — no separate pieces to sew together later, just single crochet worked around in rounds until the sides rise up on their own. The toe is where it gets interesting: paired decreases worked over two stitches at a time, mirrored on each side, pull the round in symmetrically so the shape narrows the way a real toe does. You're reading your stitch count as you go rather than following a fixed number, which makes you pay attention in a good way. And because the whole thing is small, you get to see the shaping decisions you made pay off within a single sitting, which is rare in most other makes.

The rounds, in full

Written out, round by round

Intermediate4-6 hours3 mmWorsted

Bring to the porch

Everything this one takes, in the order you will reach for it.

Yarn

  • 240 meters - 100 grams of acrylic, 90% cotton and 10%

Crochet needles

  • Size 3 mm

Stuffing

  • 35 grams of stuffing

Steps

  1. Round 1Ch 1 (does not count as a st), sc around the edge of the sole evenly. Join with a sl st to the first sc. (You’d aim for a logical number of stitches that evenly encompasses the sole, such as 30-40 sc, depending on the exact sole size reached.)
  2. Rounds 2–5Ch 1, sc in each sc around. Join with a sl st to the first sc. (This creates the sides of the slippers.)

Shaping the Toe

To create the toe section, you may start to decrease.

  1. Round 6Ch 1, sc in the first 5 sts, dec over the next 2 sts, sc in the next 10 sts, dec over the next 2 sts, sc in the last 5 sts. Join with a sl st.
  2. Round 7Ch 1, sc in each st around, executing a decrease at each end of the row as per the previous pattern or working evenly as needed for shaping.

Putting it together

Step 1

Continue with a few more rows if needed, decreasing as necessary to shape the slipper to the desired closure. Fasten off and weave in ends. To add a flap or straps for securing the slipper, pick up stitches at the desired starting point and crochet to your preferred length; secure with buttons or ties as per your design choice.

Marlene's notes

Note 01

Use a stitch marker on the first stitch of each round, since every round here is joined with a sl st and it's easy to lose track of where you started once the toe shaping begins.

Note 02

Keep your tension even and fairly snug on the sole round in particular, since a loose first round makes the 30-40 sc edge harder to keep flat.

Note 03

If you're adding the 35g of stuffing for a firmer toe or sole, tuck it in gradually as you approach the final rounds rather than all at once, so you can still close the toe neatly.

Porch photos

Before you sit down

  • Check you have enough of the 240m/100g cotton-acrylic yarn on hand, since both slippers will draw from the same ball if you're matching a pair.
  • Have your 3mm hook ready and check your tension against a small swatch of plain sc before you commit to the sole round.
  • Read through the toe shaping round once before you get there, since the decreases are placed at specific points (after the first 5 sts, then again after 10, then again at the end) rather than evenly spaced.
  • Set aside your 35g of stuffing near your workspace if you're padding the sole or toe, so you're not hunting for it mid-round.

How the hours go

Sole and sides (Steps, rows 1-5)
about 1.5-2 hours because you're establishing 30-40 sc around the sole, then repeating that count evenly for four more rounds
Toe shaping (rows 6-7)
about 1-1.5 hours because placing the paired decreases correctly takes more attention than the straight rounds before it
Finishing and closure
about 1-2.5 hours because continuing to decrease to full closure, fastening off, weaving in ends, and adding any flap or strap all add up

Looking after it

  • Hand wash in cool water and lay flat to dry, since the cotton-acrylic blend can lose its shape if wrung out or hung wet.
  • Reshape the toe and sole gently while damp and store the finished pair flat rather than folded, so the decrease shaping at the toe stays crisp.
FAQs

Asked on the glider

the ones that come up on the glider

How many stitches should I have around the sole?

The pattern aims for a logical number that evenly wraps your sole, typically 30 to 40 sc depending on the exact sole size you've reached. Count as you go rather than forcing a fixed number.

What hook and yarn does this pattern use?

You'll want a 3mm hook with a cotton-acrylic blend yarn, roughly 240 meters per 100 grams. That gives you enough drape for the sc rounds while still holding the toe shaping.

Do I need to use stitch markers?

Yes, a marker on the first stitch of each round helps you find your join point again, especially once you reach the toe decreases. It's a small habit that saves you from miscounting.

How is the toe actually shaped?

You work sc across the first 5 stitches, decrease over the next 2, sc across the next 10, decrease over the next 2 more, then sc the last 5. The following round repeats decreases at each end, or you can adjust as needed for shaping.

Should I stuff the slippers?

That's optional. The materials list 35 grams of stuffing if you want a firmer sole or toe, but you can leave them unstuffed for a softer, more flexible slipper.

Can I add straps or a flap to keep them on?

Yes, once you've fastened off and woven in your ends, you can pick up stitches at your chosen starting point and crochet a flap or strap to your preferred length. Secure it with buttons or ties depending on what suits the baby wearing them.