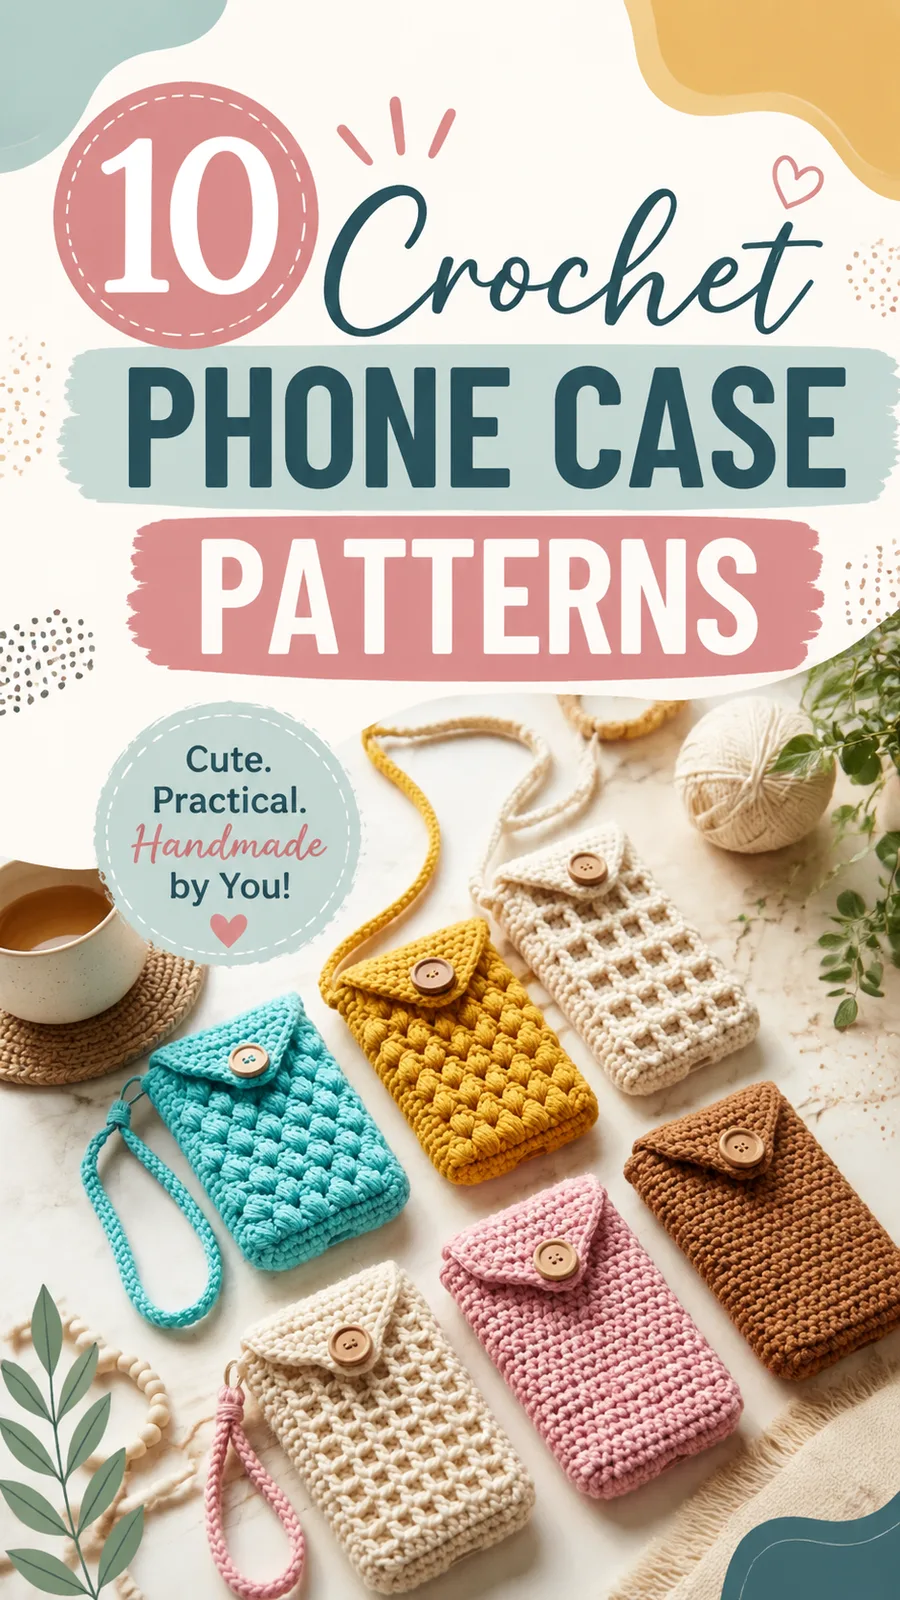
Intermediate 4-6 hours Worsted yarn

Worked on the glider, counted out loud —

Textured Rib Crochet Phone Case With Fold-Over Flap

A cozy cotton phone case with a ribbed texture and button flap. Confident beginners, roughly 4-6 hours start to finish.

Jump to the rounds

What this one is

You know that stretch of evening when the phone's finally face-down and your hands want something to do that isn't scrolling. This case is for that moment, and for anyone who's tired of their phone riding bare in a bag, picking up scratches and lint. It's a small, finishable thing, a good one to make for yourself or to tuck into someone's stocking drawer as a quiet little gift.

Your hands will mostly be doing single crochet in rows, shaping two flat panels with simple decreases, then dipping into front post double crochet for that ribbed texture on the special stitch section. Once the panels are joined and the flap folds over, you're sewing on a button and you're done. Plan for a few sittings rather than one long one -- it's steady work, not fast work.

Try it another way

There's real satisfaction in watching a flat rectangle turn into a shaped case through nothing fancier than sc2tog decreases worked evenly on both edges -- you can feel the piece narrowing under your hands row by row. The front post double crochet section is the other quiet pleasure here: working around the post instead of into the top of the stitch gives you that raised, ribbed line that makes the front panel look far more complicated than it actually is. Joining two matching panels along the sides and bottom is satisfying in its own right, because the decrease shaping lines up and you can see your own consistency. And a fold-over flap with a button closure turns a simple pouch into something that reads as a finished, considered object, not just a swatch with a seam.

The rounds, in full

Written out, round by round

Intermediate4-6 hours4.0 mmWorsted

Bring to the porch

Everything this one takes, in the order you will reach for it.

  • Worsted weight cotton or cotton-blend yarn, approximately 120 yards (110 meters)
  • 1 medium wooden or plastic button, approximately 0.75 inch (2 cm)
  • 4.0 mm US G/6 crochet hook
  • Yarn needle
  • Scissors
  • Stitch marker (optional)

Special Stitch

Front Post Double Crochet (fpdc): Yarn over, insert hook from front to back and around the post of the indicated stitch, yarn over and pull up a loop. Complete as a regular double crochet.

Back Panel

Ch 30.

  1. Row 1Sc in second ch from hook and across. Turn. (29 sts)
  2. Row 2Ch 1, sc across. Turn. (29 sts)
  3. Row 3Ch 1, sc in first 2 sts, fpdc around next st, sc in next st. Repeat fpdc pattern across, ending with sc in last 2 sts. Turn. (29 sts)
  4. Row 4Ch 1, sc across. Turn. (29 sts) Repeat Rows 3 and 4 until the panel measures approximately 6 inches (15 cm).Fasten off and weave in ends.

Front Panel

Repeat the back panel instructions until the piece measures approximately 5 inches (12.7 cm).

Do not fasten off.

Continue directly into the flap section.

Flap

  1. Row 1Ch 1, sc across. Turn. (29 sts)
  2. Row 2Ch 1, sc across. Turn. (29 sts)
  3. Row 3Ch 1, sc2tog, sc across until 2 sts remain, sc2tog. Turn. (27 sts)
  4. Row 4Ch 1, sc across. Turn. (27 sts)Repeat Rows 3 and 4 until 17 stitches remain.
  5. Next RowCh 1, sc2tog, sc across until 2 sts remain, sc2tog. (15 sts)Continue decreasing one stitch at each end every row until 3 stitches remain.Fasten off, leaving a long tail for attaching the button loop.

Putting it together

Step 1

Place the front and back panels together with the textured sides facing outward.

Step 2

Using matching yarn, join the side edges and bottom edge with slip stitches or mattress-style whip stitch.

Step 3

Leave the top edge open for the phone opening.

Step 4

Sew the button securely onto the front panel approximately 1 inch (2.5 cm) below the opening.

Step 5

Create a small chain loop from the flap tip to fit around the button.

Step 6

Secure all ends neatly inside the case.

Step 7

Lightly steam block the finished case or gently shape it with your hands. Avoid stretching the fabric too much. A small amount of moisture can help the stitches relax and create a cleaner shape.

Marlene's notes

Note 01

Cotton has very little give, so keep your tension even and not too tight, especially through the sc2tog decrease rows, or the panels can end up stiffer than you'd like.

Note 02

The case is worked in three sections -- back panel, front panel, and flap. Turning chains are not counted as stitches, and the first stitch of every row is worked into the first stitch of the previous row, so double check your stitch count after each decrease row before moving on.

Note 03

A 4.0 mm hook with worsted cotton gives firm, defined stitches, which is exactly what you want for a case that holds its shape, so resist sizing up the hook even if your gauge feels snug at first.

Note 04

Finished size runs approximately 6.5 inches by 3.75 inches (16.5 cm x 9.5 cm), with a gauge of approximately 18 stitches by 20 rows in 4 inches (10 cm) worked in the textured stitch pattern, using US crochet terminology throughout.

Before you sit down

  • Check you have enough worsted weight cotton or cotton-blend yarn on hand for both the back panel and front panel plus the flap, since cotton doesn't stretch the way acrylic does if you run short.
  • Work a small test swatch in single crochet with your 4.0 mm hook to confirm your row of 29 stitches will actually fit your own phone's width before you commit to the full back panel.
  • Read through the front post double crochet instructions once before you reach the special stitch section, since working from front to back around the post feels different the first time.
  • Place a stitch marker at the first stitch of each row while you're learning the decrease pattern, since it's easy to lose track of which stitch is the true first stitch once the row count starts dropping.

How the hours go

Back panel
about 1-1.5 hours because of the steady decrease shaping across four rounds down to fewer stitches
Front panel with special stitch
about 1.5-2 hours because the front post double crochet rib texture takes a little longer per row than plain single crochet
Flap, joining, and button closure
about 1-1.5 hours because seaming the panels and placing the button neatly takes patience, not speed

Looking after it

  • Hand wash the finished case gently with mild soap, since cotton holds its shape well but harsh detergents can weaken the fibers over time.
  • Reshape the case while it's still damp and lay it flat to dry completely before you ever slide your phone back inside, then store it away from direct sunlight so the color stays true.
FAQs

Asked on the glider

the ones that come up on the glider

Can I use a different yarn weight than worsted cotton?

You can, but keep in mind the firm, defined stitch look of this case comes from pairing worsted weight cotton with a 4.0 mm hook. A thinner yarn will give you a softer, less structured pouch, so you'd want to size your hook down slightly and expect a different hand feel.

What if my sc2tog decreases don't land evenly?

Double check that you're working the first stitch of each row into the first stitch of the previous row, since skipping that spot is the most common reason counts drift. Pause every couple of rows and count your stitches rather than waiting until the end of a long decrease stretch.

Is the front post double crochet section hard to learn?

It reads trickier than it works out to be. Once you've inserted your hook from front to back around the post a few times and completed the stitch as a regular double crochet, your hands pick up the rhythm quickly.

How do I know when my front panel is the right length?

The pattern has you repeat the back panel instructions until the piece measures approximately 5 inches, so keep a tape measure handy rather than counting rows alone. Cotton can block slightly differently than it measures mid-row, so check length while the piece is lying flat and unstretched.

Do I need to fasten off between the front panel and the flap?

No, the instructions specifically say not to fasten off and to continue directly into the flap section. This keeps your yarn tail count down and avoids an extra seam at the fold.

Can I skip the button closure?

You could leave the flap as a simple fold-over without a button if you want an open-top pouch, though the button is what gives the case its closed, protective finish. If you skip it, consider a slightly longer flap so it still tucks snugly without fastening.